There are so many different ways to show your holiday spirit this season. I love having our home looking like a winter wonderland. I want to share a few simple cost friendly decorating ideas to help you gear up for the big day! (9 days away)
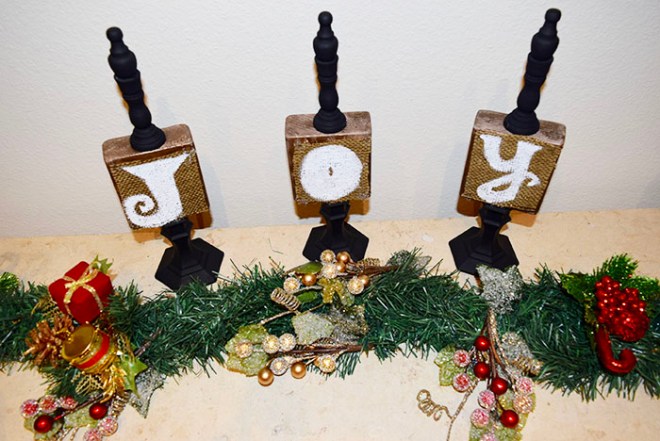
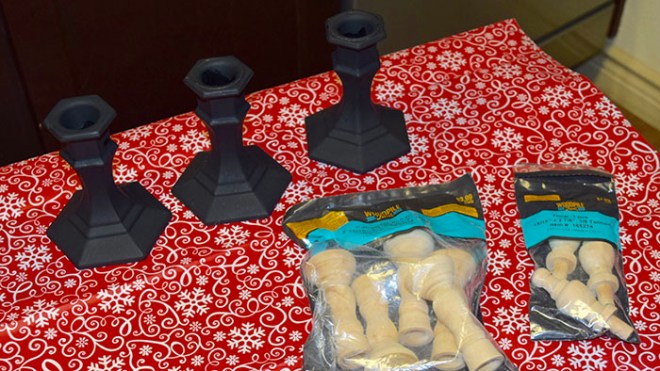
JOY CANDLE STICKS


WHAT YOU NEED:
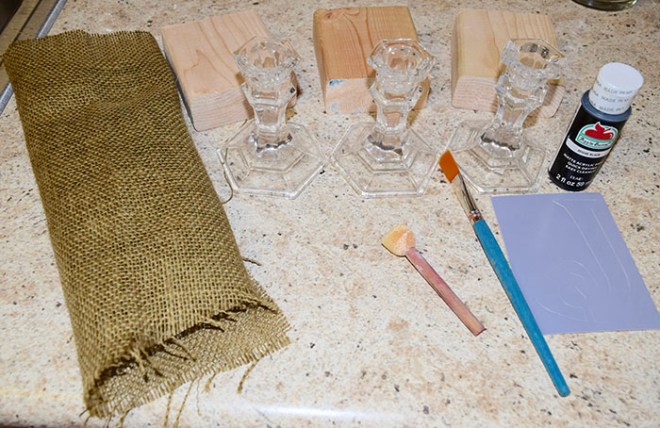
Burlap
3 Wood blocks
White paint
Black paint
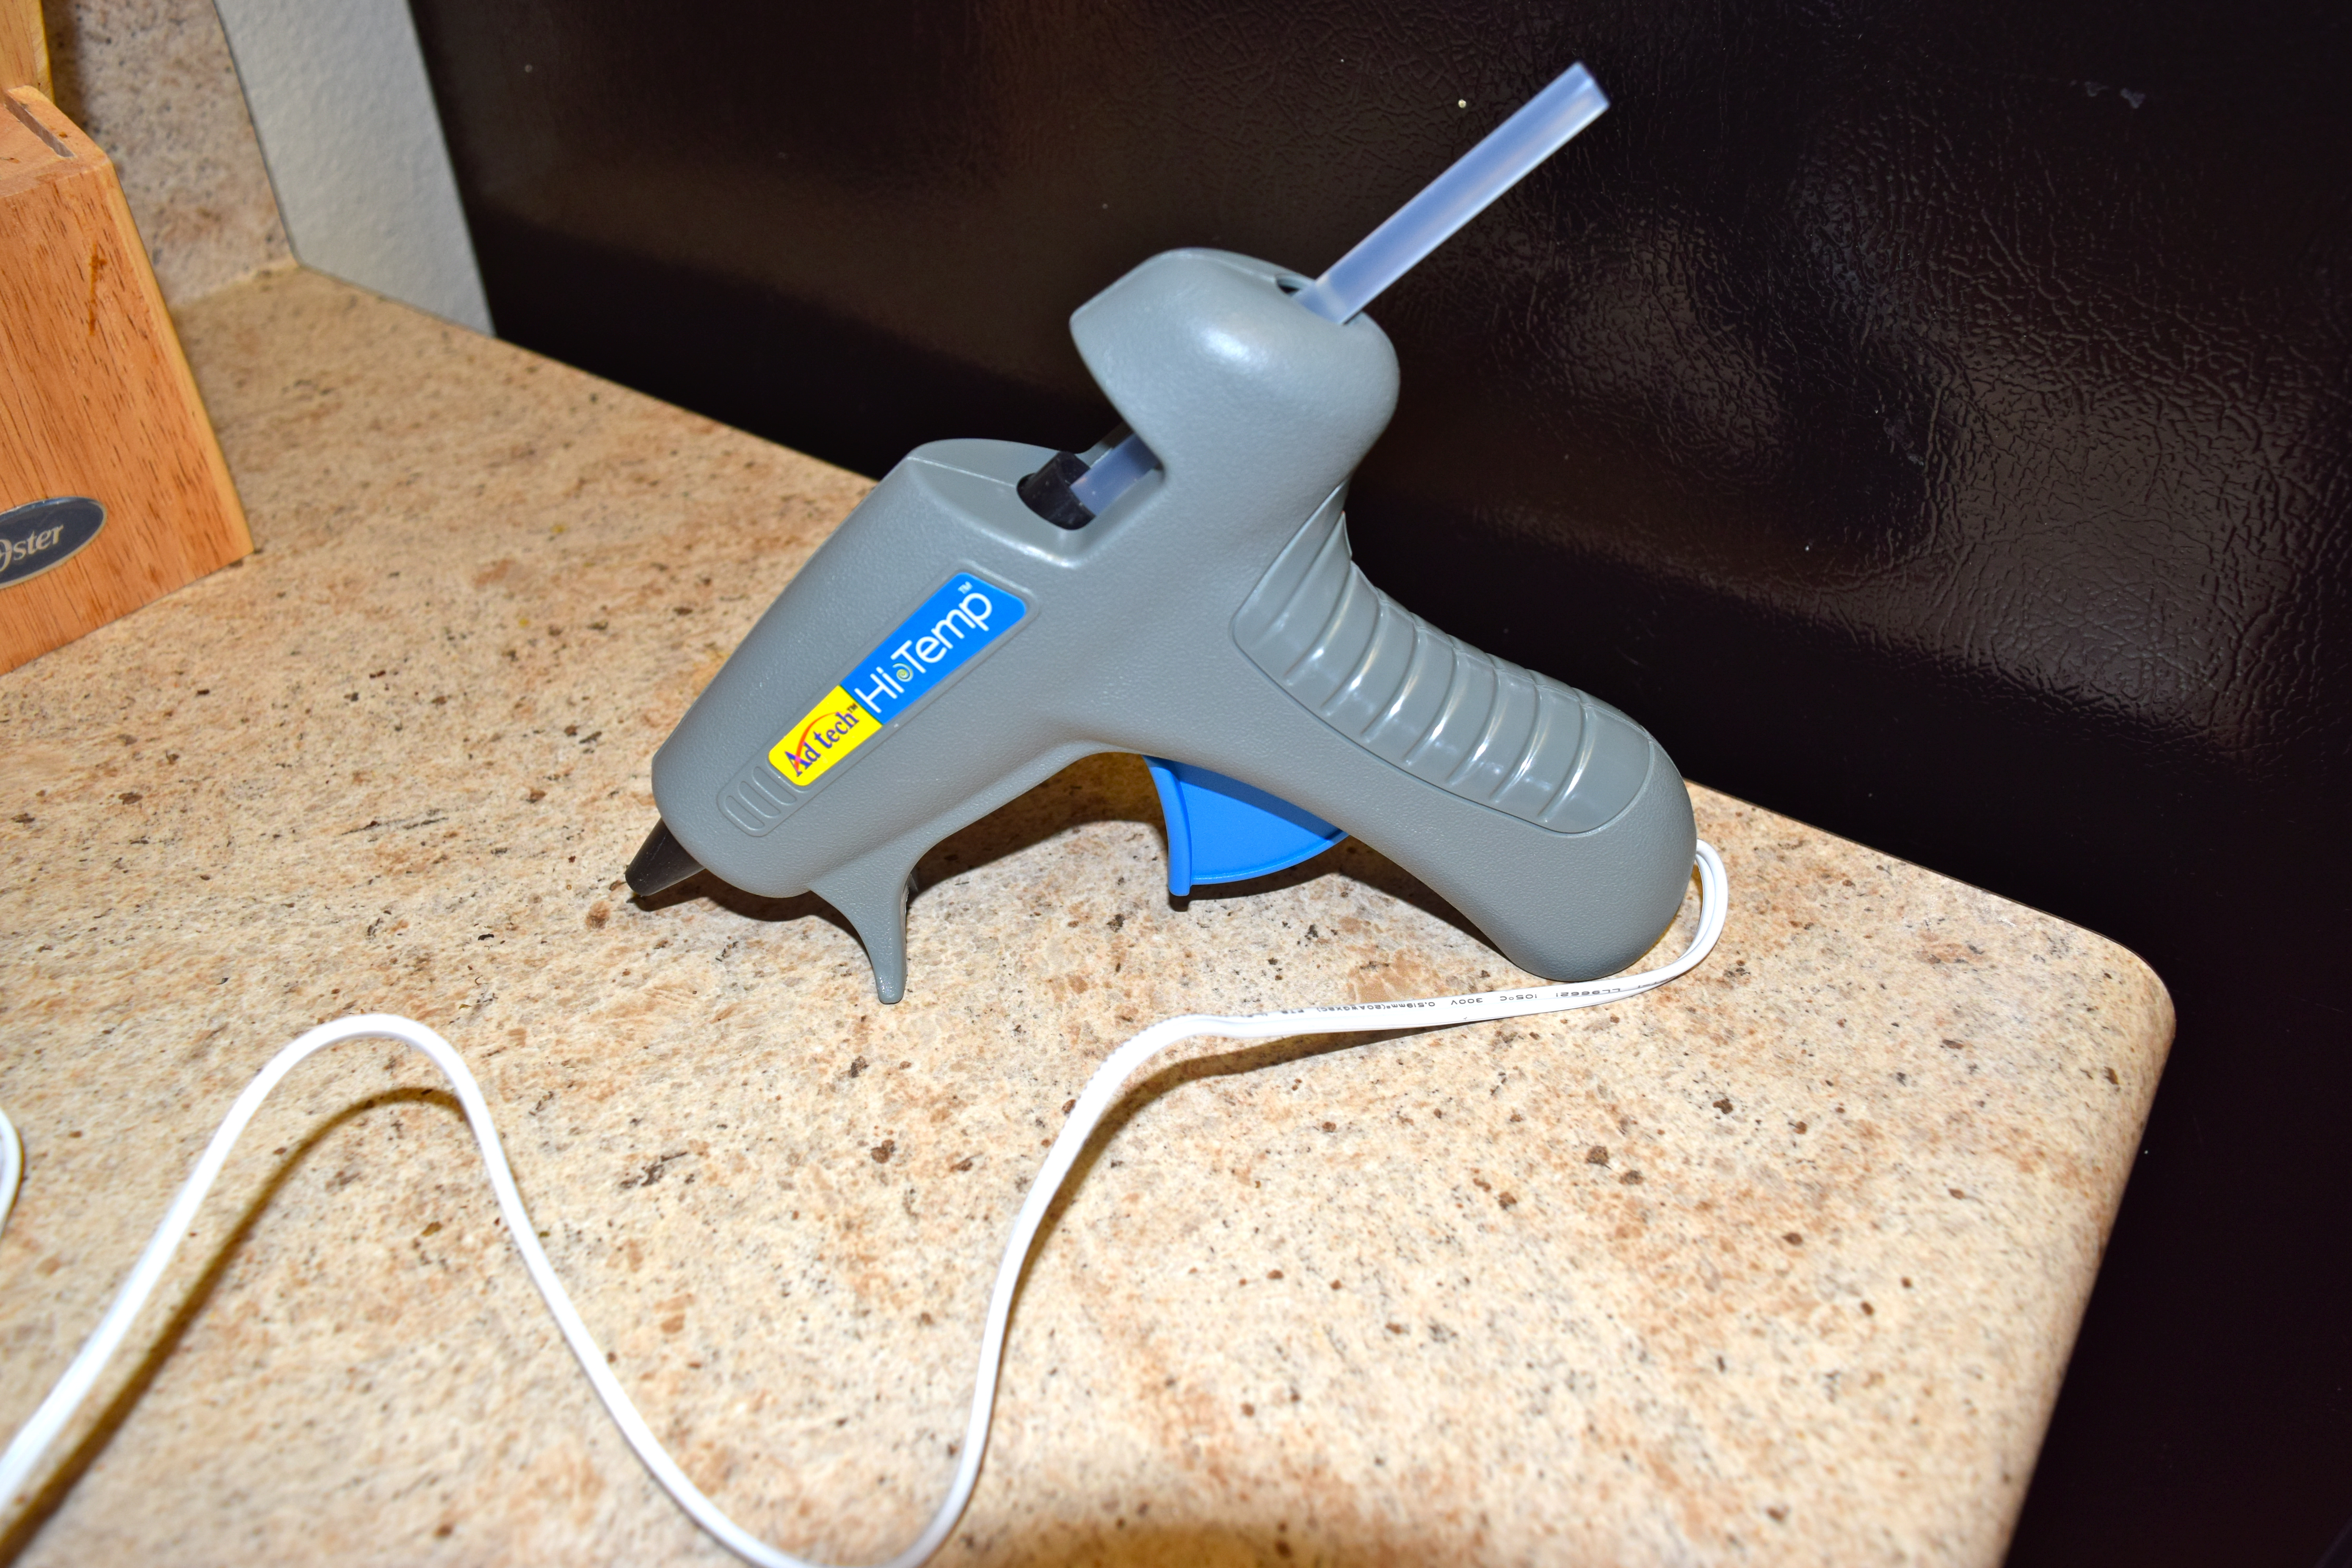
Hot glue gun
Candle sticks (got mine from the dollar store)
Wooden candle stick toppers
↓↓↓
STEP 1: Paint all candle stick parts black (I did 2 coats). As that dries sand down the 3 wooden blocks and cut burlap to fit each block.
STEP 2: Paint each block on the burlap letters to spell out the word ‘JOY’ (I did 3 coats). Once dried, glue each block to the glass candle sticks.
STEP 3: Glue on the candle stick tops to the wooden blocks.
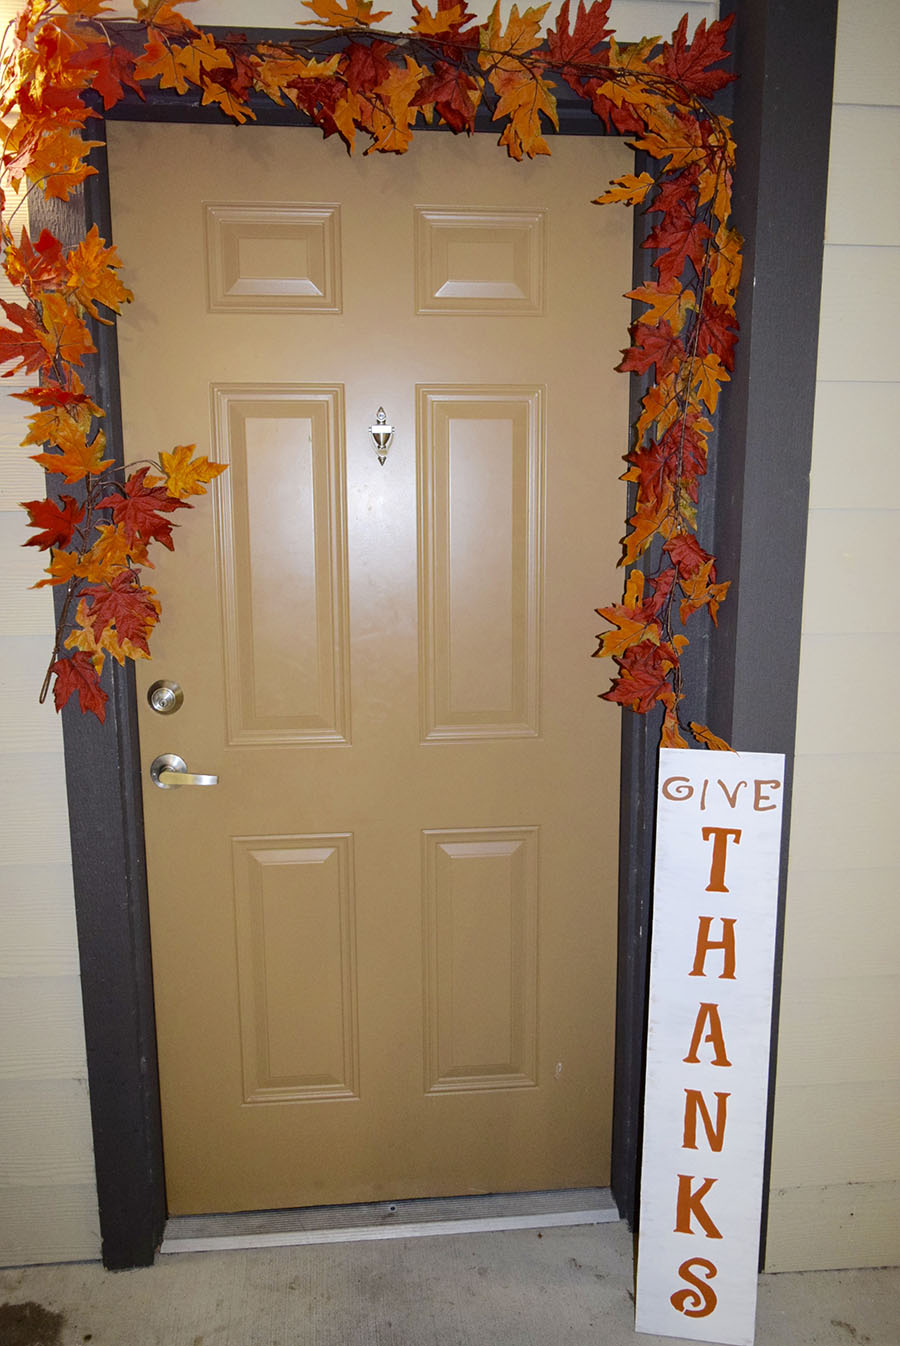
LET IT SNOW SIGN


WHAT YOU NEED:
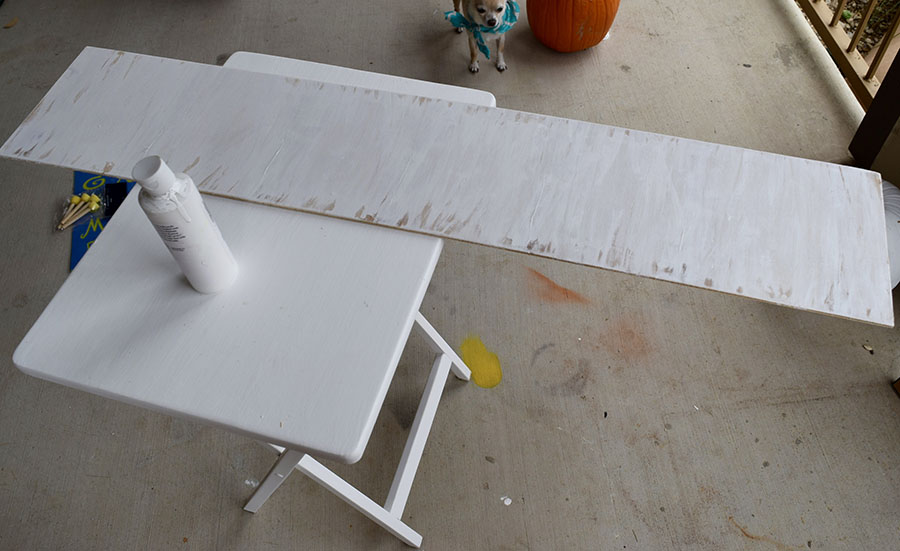
Large wood plank (or plank you used for ‘give thanks’ project)
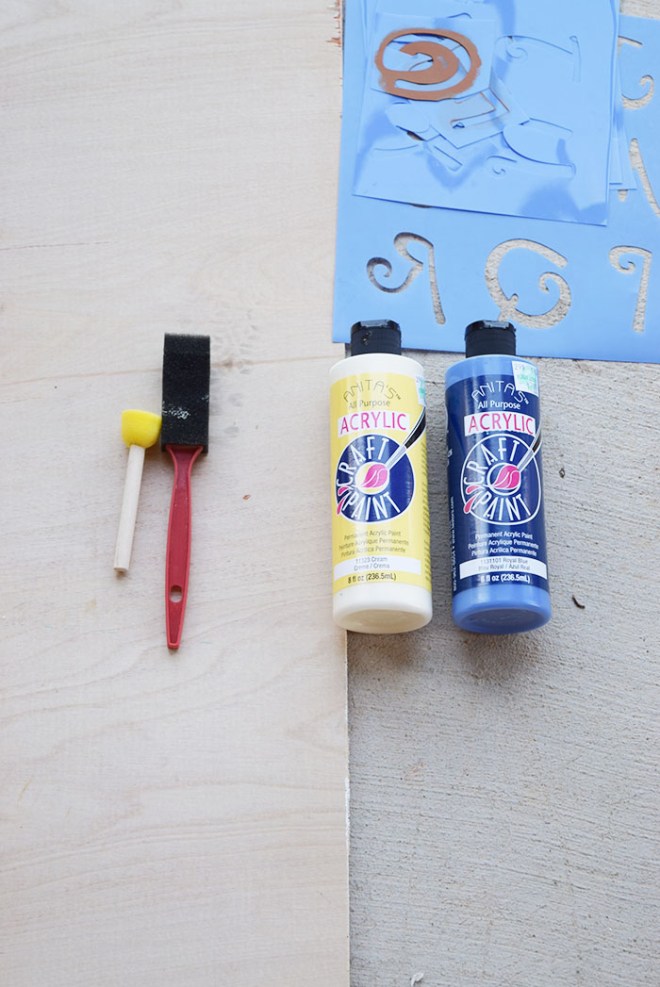
White paint
Blue paint
Silver paint pen
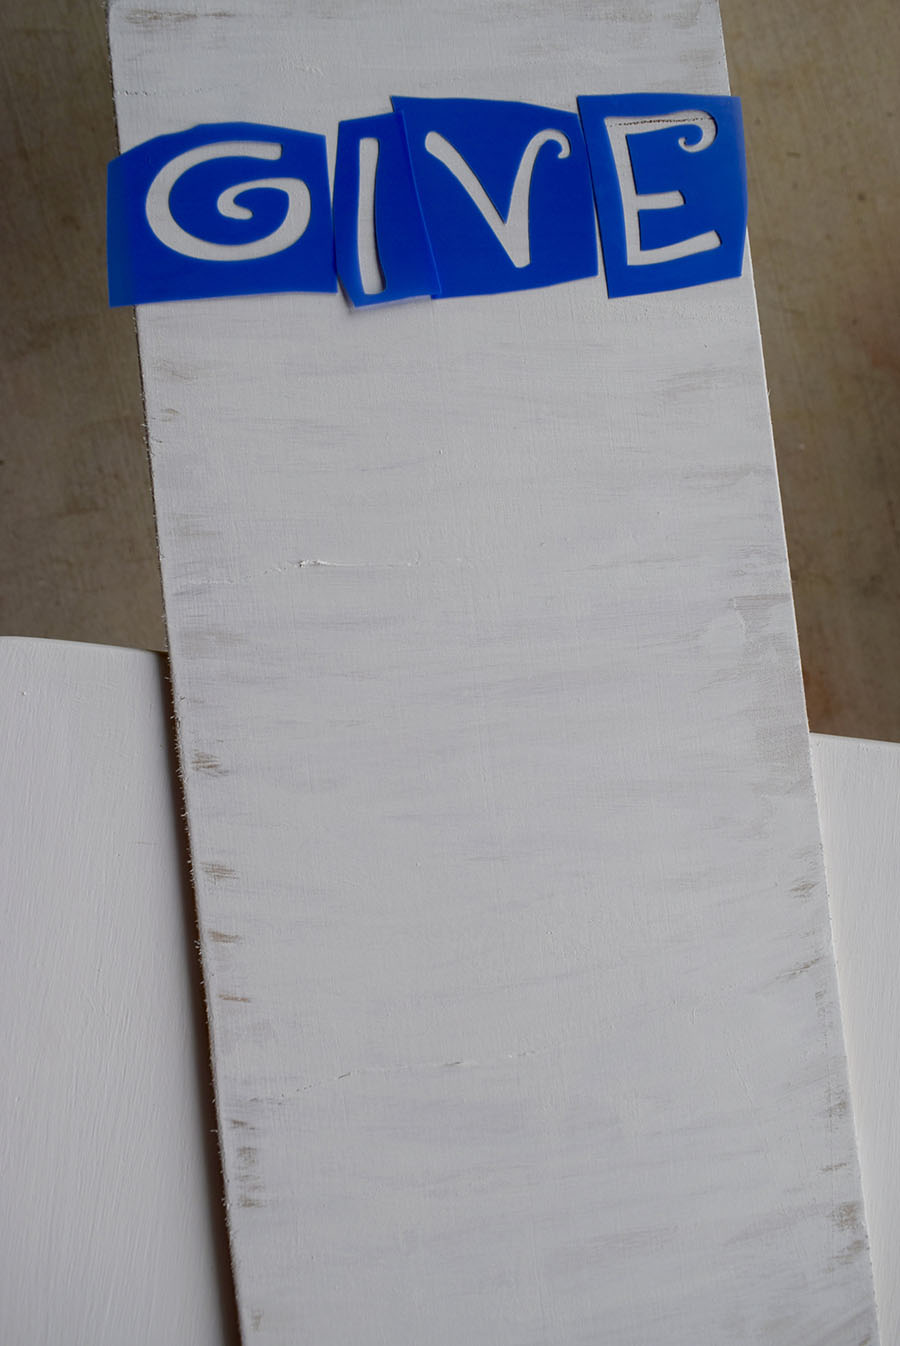
Stencil
↓↓↓
STEP 1: Sand board to liking and paint blue. I used the other side of my ‘Give Thanks’ board I made for Thanksgiving. I mixed the blue and white paint to get the exact color I wanted it. (2 coats)
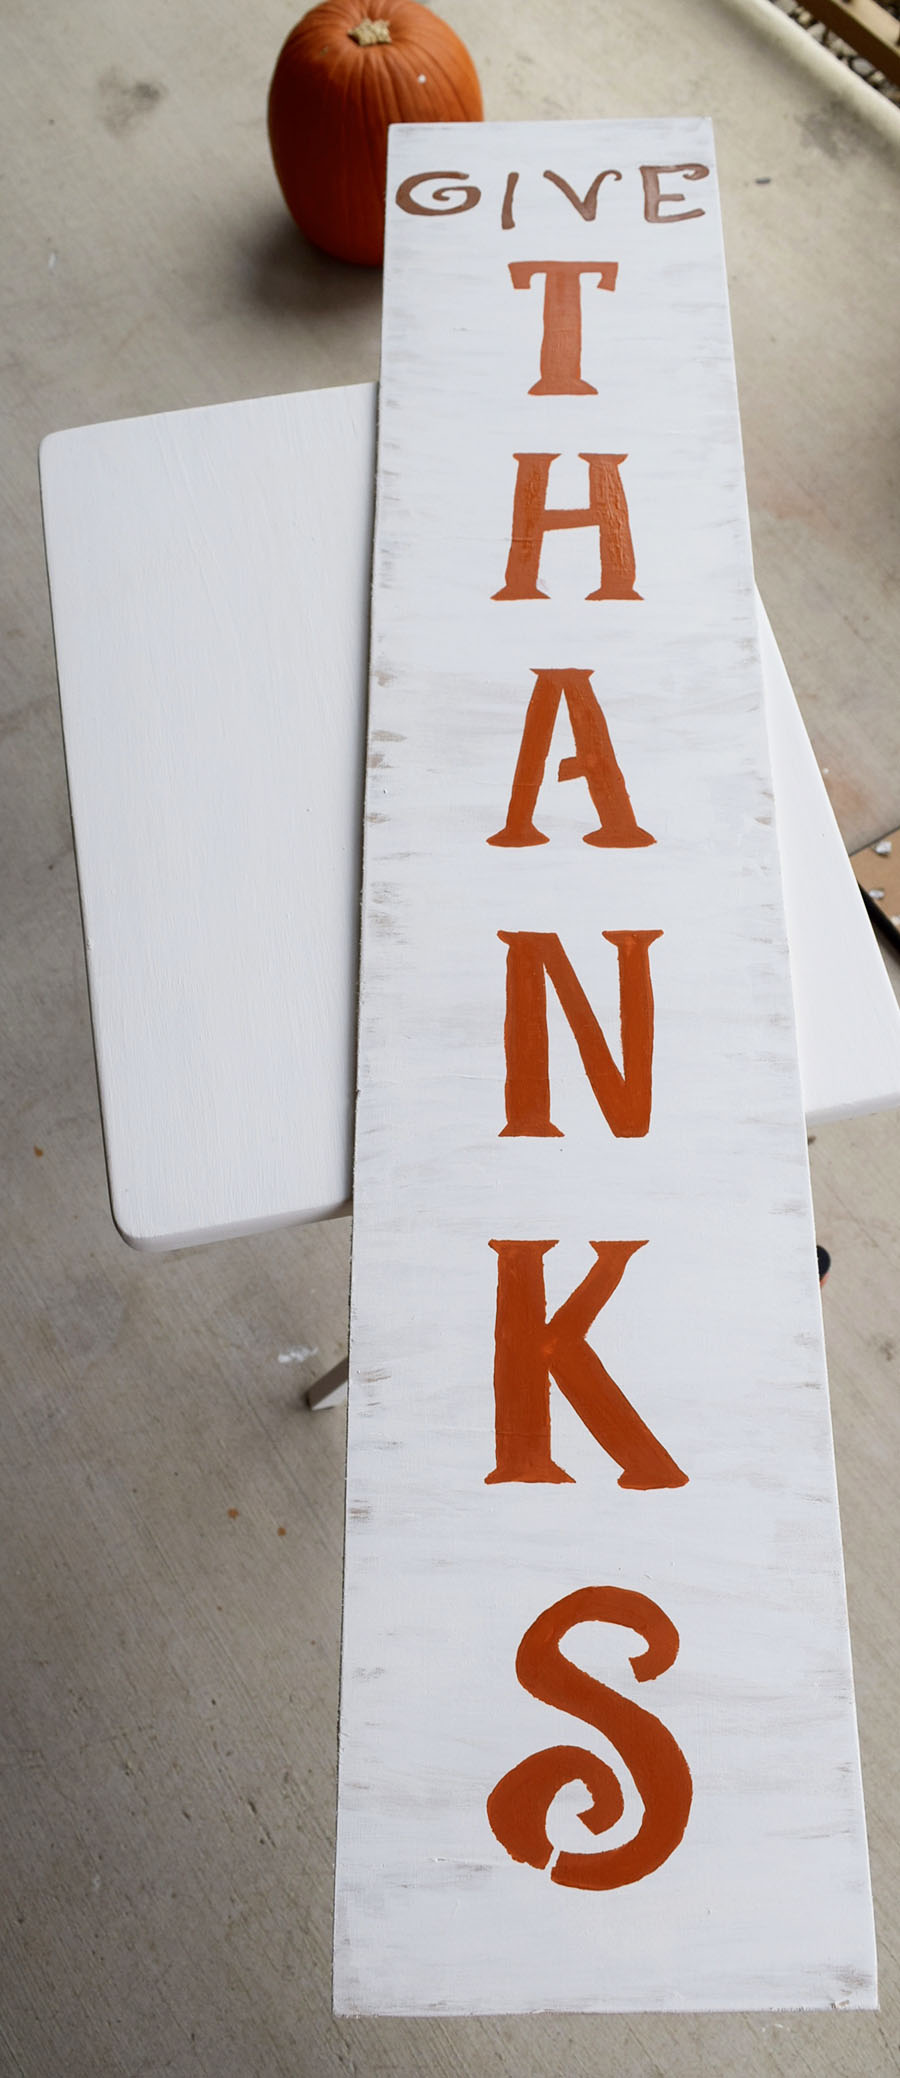
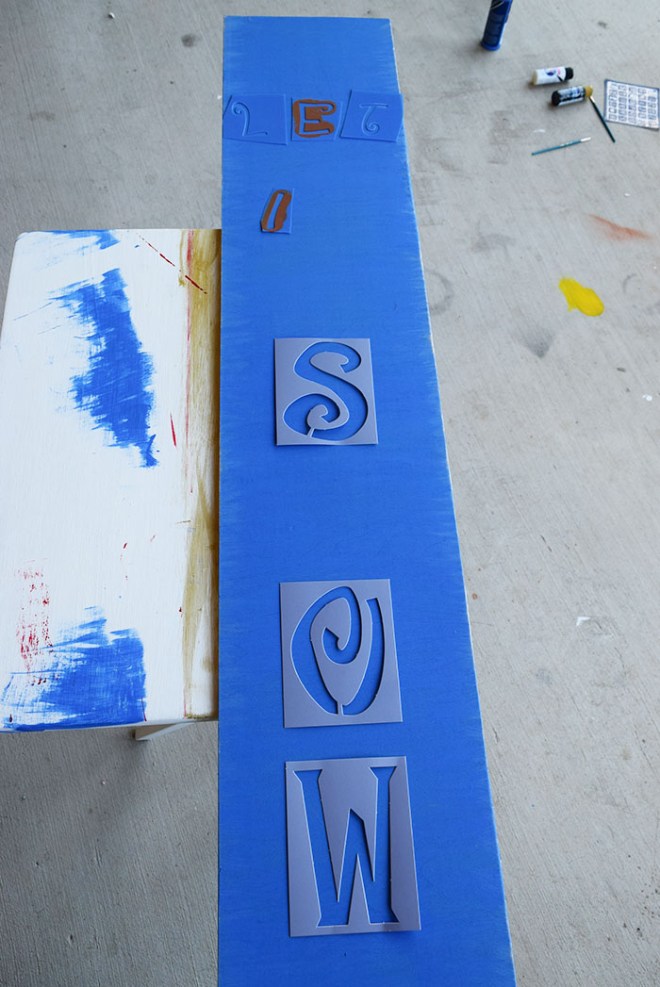
STEP 2: Use stencils to paint ‘let is snow’. Once dried, use small brush to touch up and add 2nd coat.
STEP 3: Paint on snow flakes. I used a small brush and silver paint pen to do this.
XMAS CENTER PIECE


This is seriously SO easy and will cost you less than $5! I bought everything I used at the dollar store. All you need is a glass container of your choice, ornaments of your choice, and individual fake plants. The dollar store has plenty of options for all three of these things! Just fill the glass container with ornaments and then stick in 2-3 plants of your liking.
ALL FLAKES WELCOME SIGN
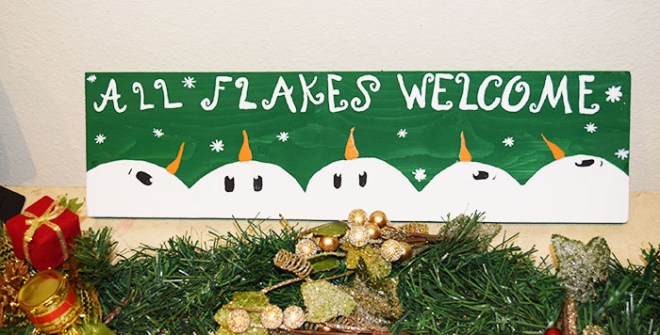
This is another really easy craft to add to your home this season! I used a piece of scrap wood and painted it green first, then added the white ‘humps’ at the bottom (3 coats). Once they dried I added the eyes, noses, and flakes. Lastly, I painted out ‘ALL FLAKES WELCOME’ with a fine brush. This was my first time not using stencils and I’m actually happy with the outcome. You can hang this on your front door, in your home, or place it on a shelf.
WINE GLASS CANDLE STICKS

Who would have thought I could find another use for wine glasses besides filling them to the rim with wine lol. I got these from the Dollar Store and they are actually pretty great quality. The candles and ornaments are from the Dollar Store as well, so this project cost me less than $5! Just fill the glasses with ornaments, flip them upside down and put a candle on top. TA-DA! 🙂
Feel free to email me if you have any questions at all and thank you for reading! Happy Holidays 🙂
Shelbysoileau@yahoo.com