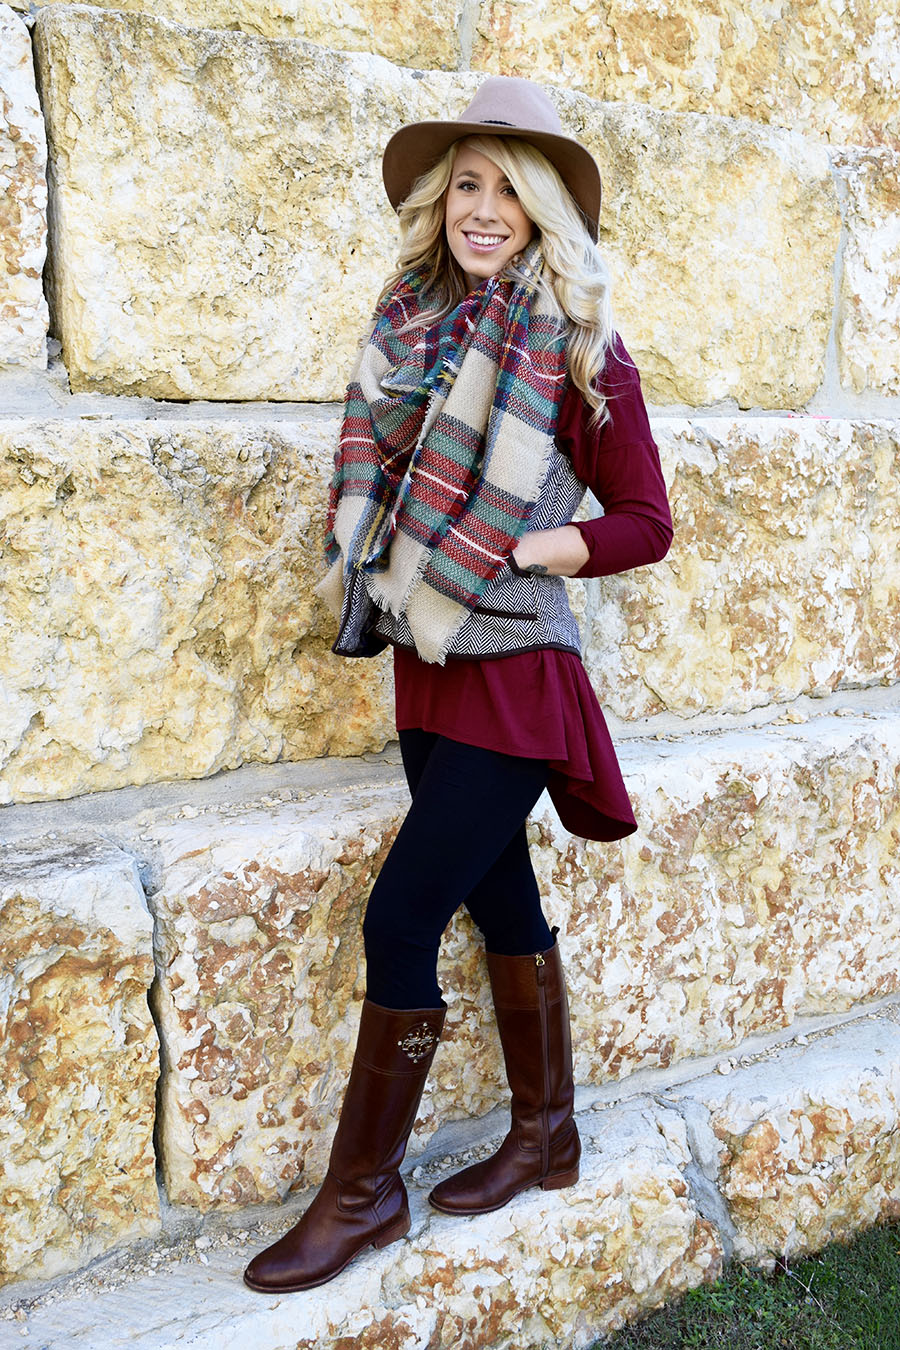
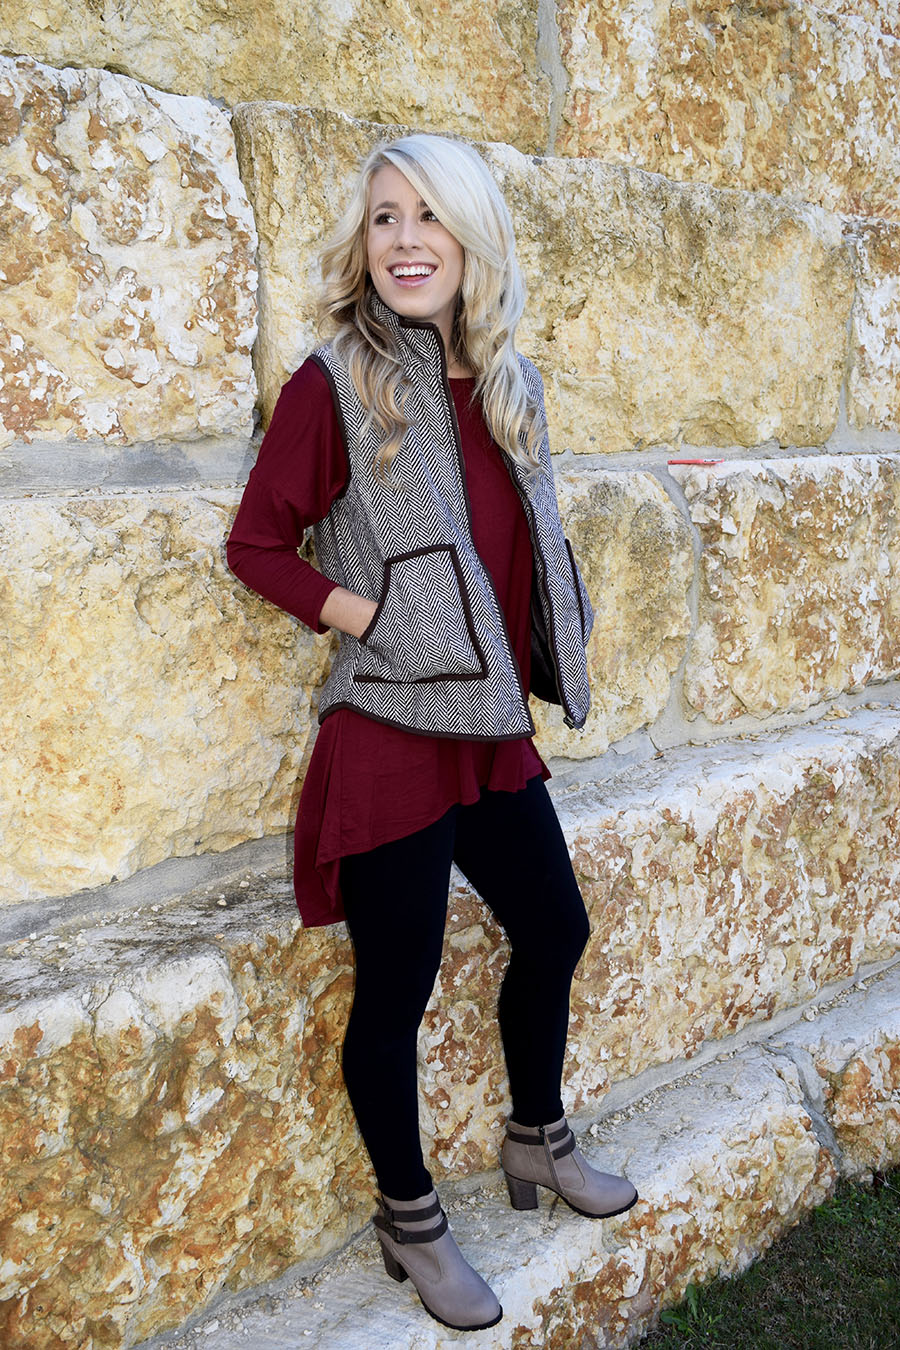
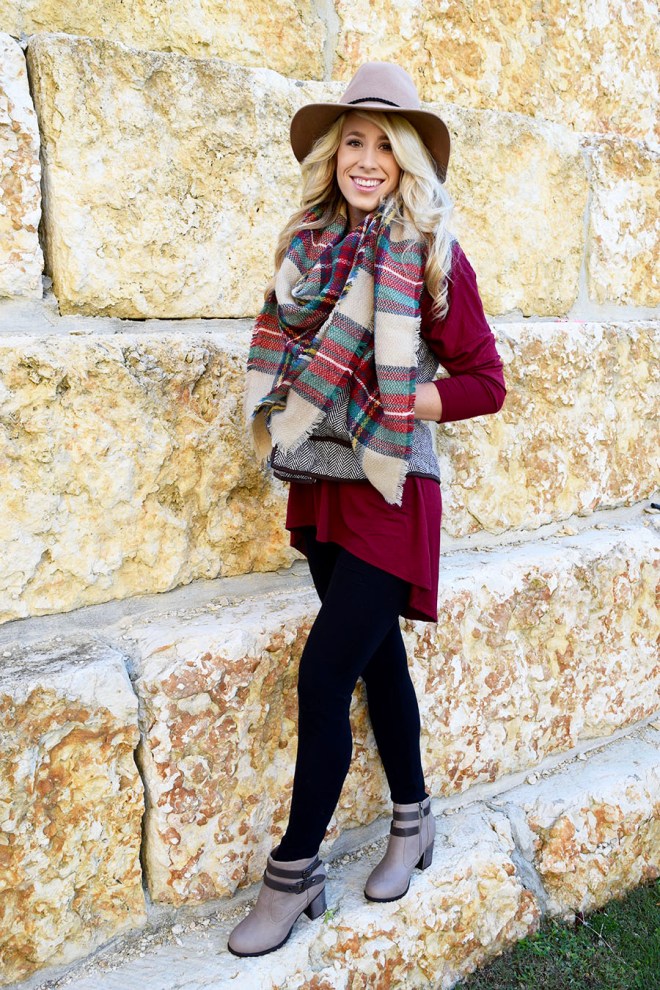
Thanksgiving Look

DSC_1366

DSC_1367

DSC_1370

DSC_1371

DSC_1376

DSC_1378

maroon top 5

Maroon Top 1

maroon shirt 3

maroon top 6

maroon shirt 11

maroon shirt 9

maroon shirt 10

maroon shirt shoes 2

maroon shirt shoes


TUNIC: Ebay

SCARF: Ebay

VEST: Sold out / Similar

BLACK BOOTS: Charlotte Russe

BROWN BOOTS: Tory Burch

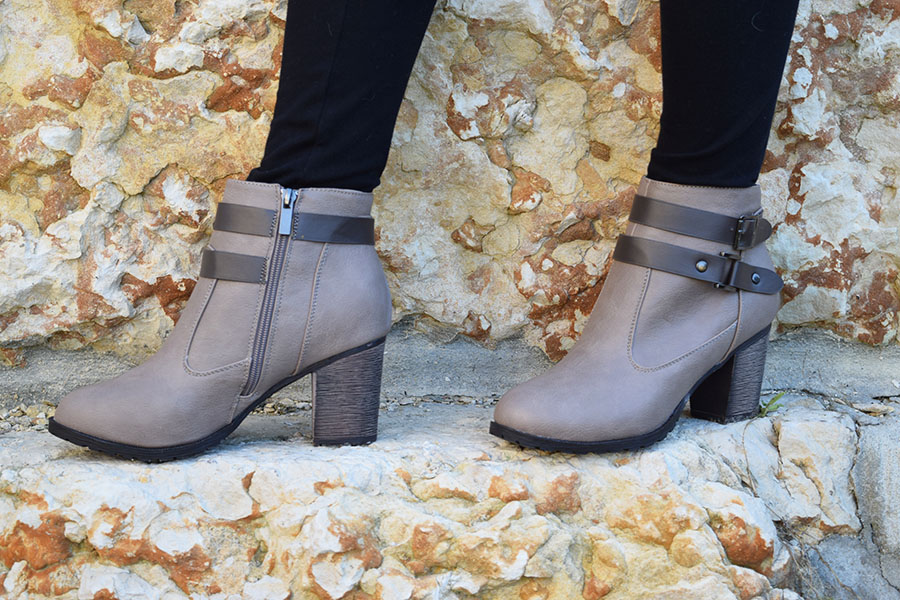
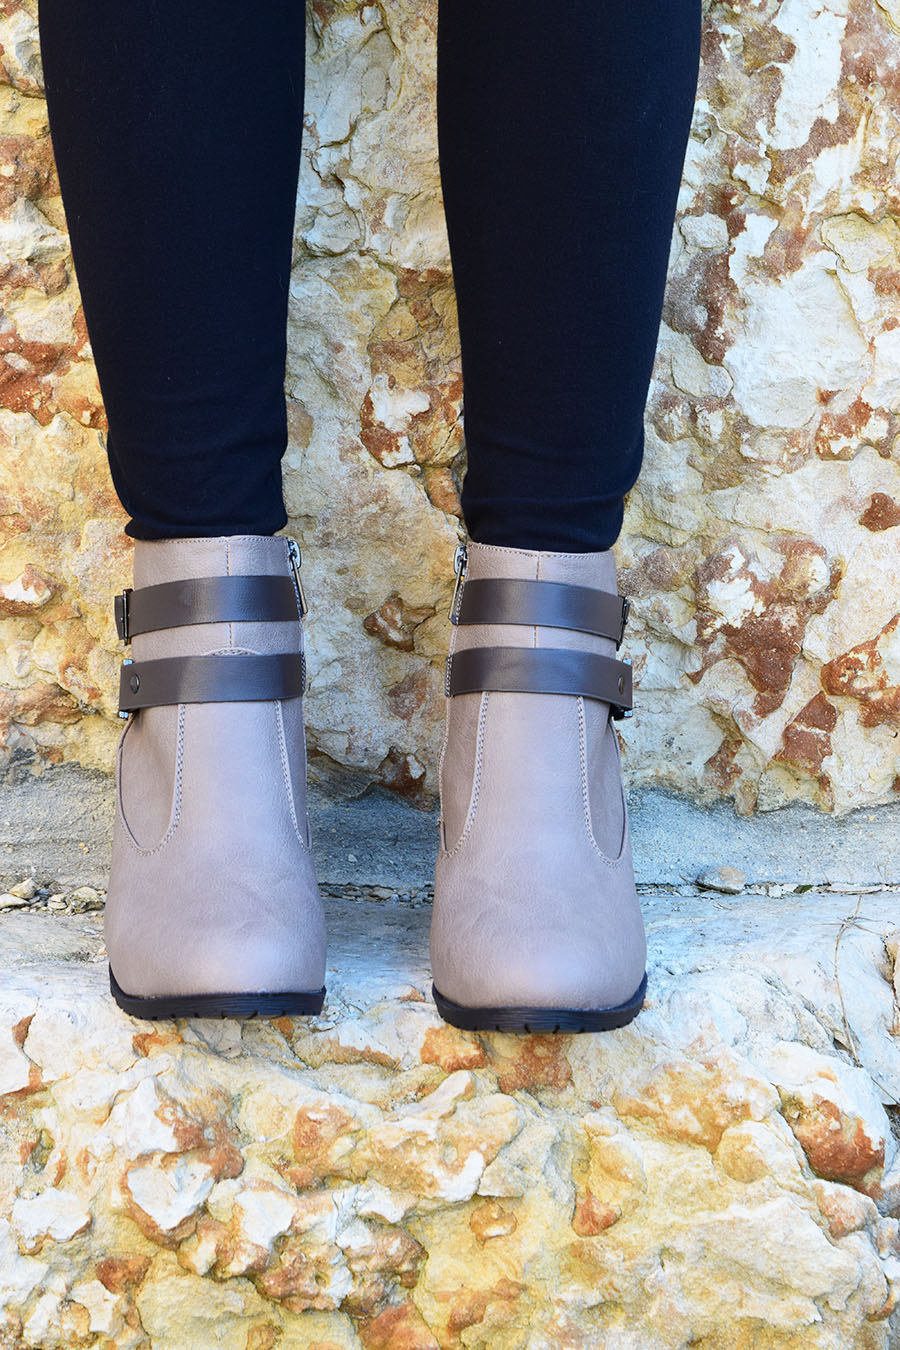
BOOTIES: Sold out / Similar

BLACK HAT: Sold out / Similar

BEIGE HAT: Sold out / Similar


I hope you are all having a wonderful Thanksgiving Day! 🙂 This is definitely one of my favorite holidays. There is no better combination than spending the day with family and friends, along with some home-cooked food! Throughout the year, things get so busy sometimes that it feels like we don’t get enough quality time with family, so having a long weekend off of work to spend time in our hometown, Houston, Texas, is a real treat! Tyler and I grew up about 30 minutes away from each other, so finding time for both our families and friends is pretty easy. I love revisiting all of my favorite restaurants, parks, and schools I used to go to. Tyler and I always have the best time showing each other the places we grew up and sharing old stories. The Texas Renaissance Festival is currently going on in the Houston area and we plan on going if the weather holds up! 🙂

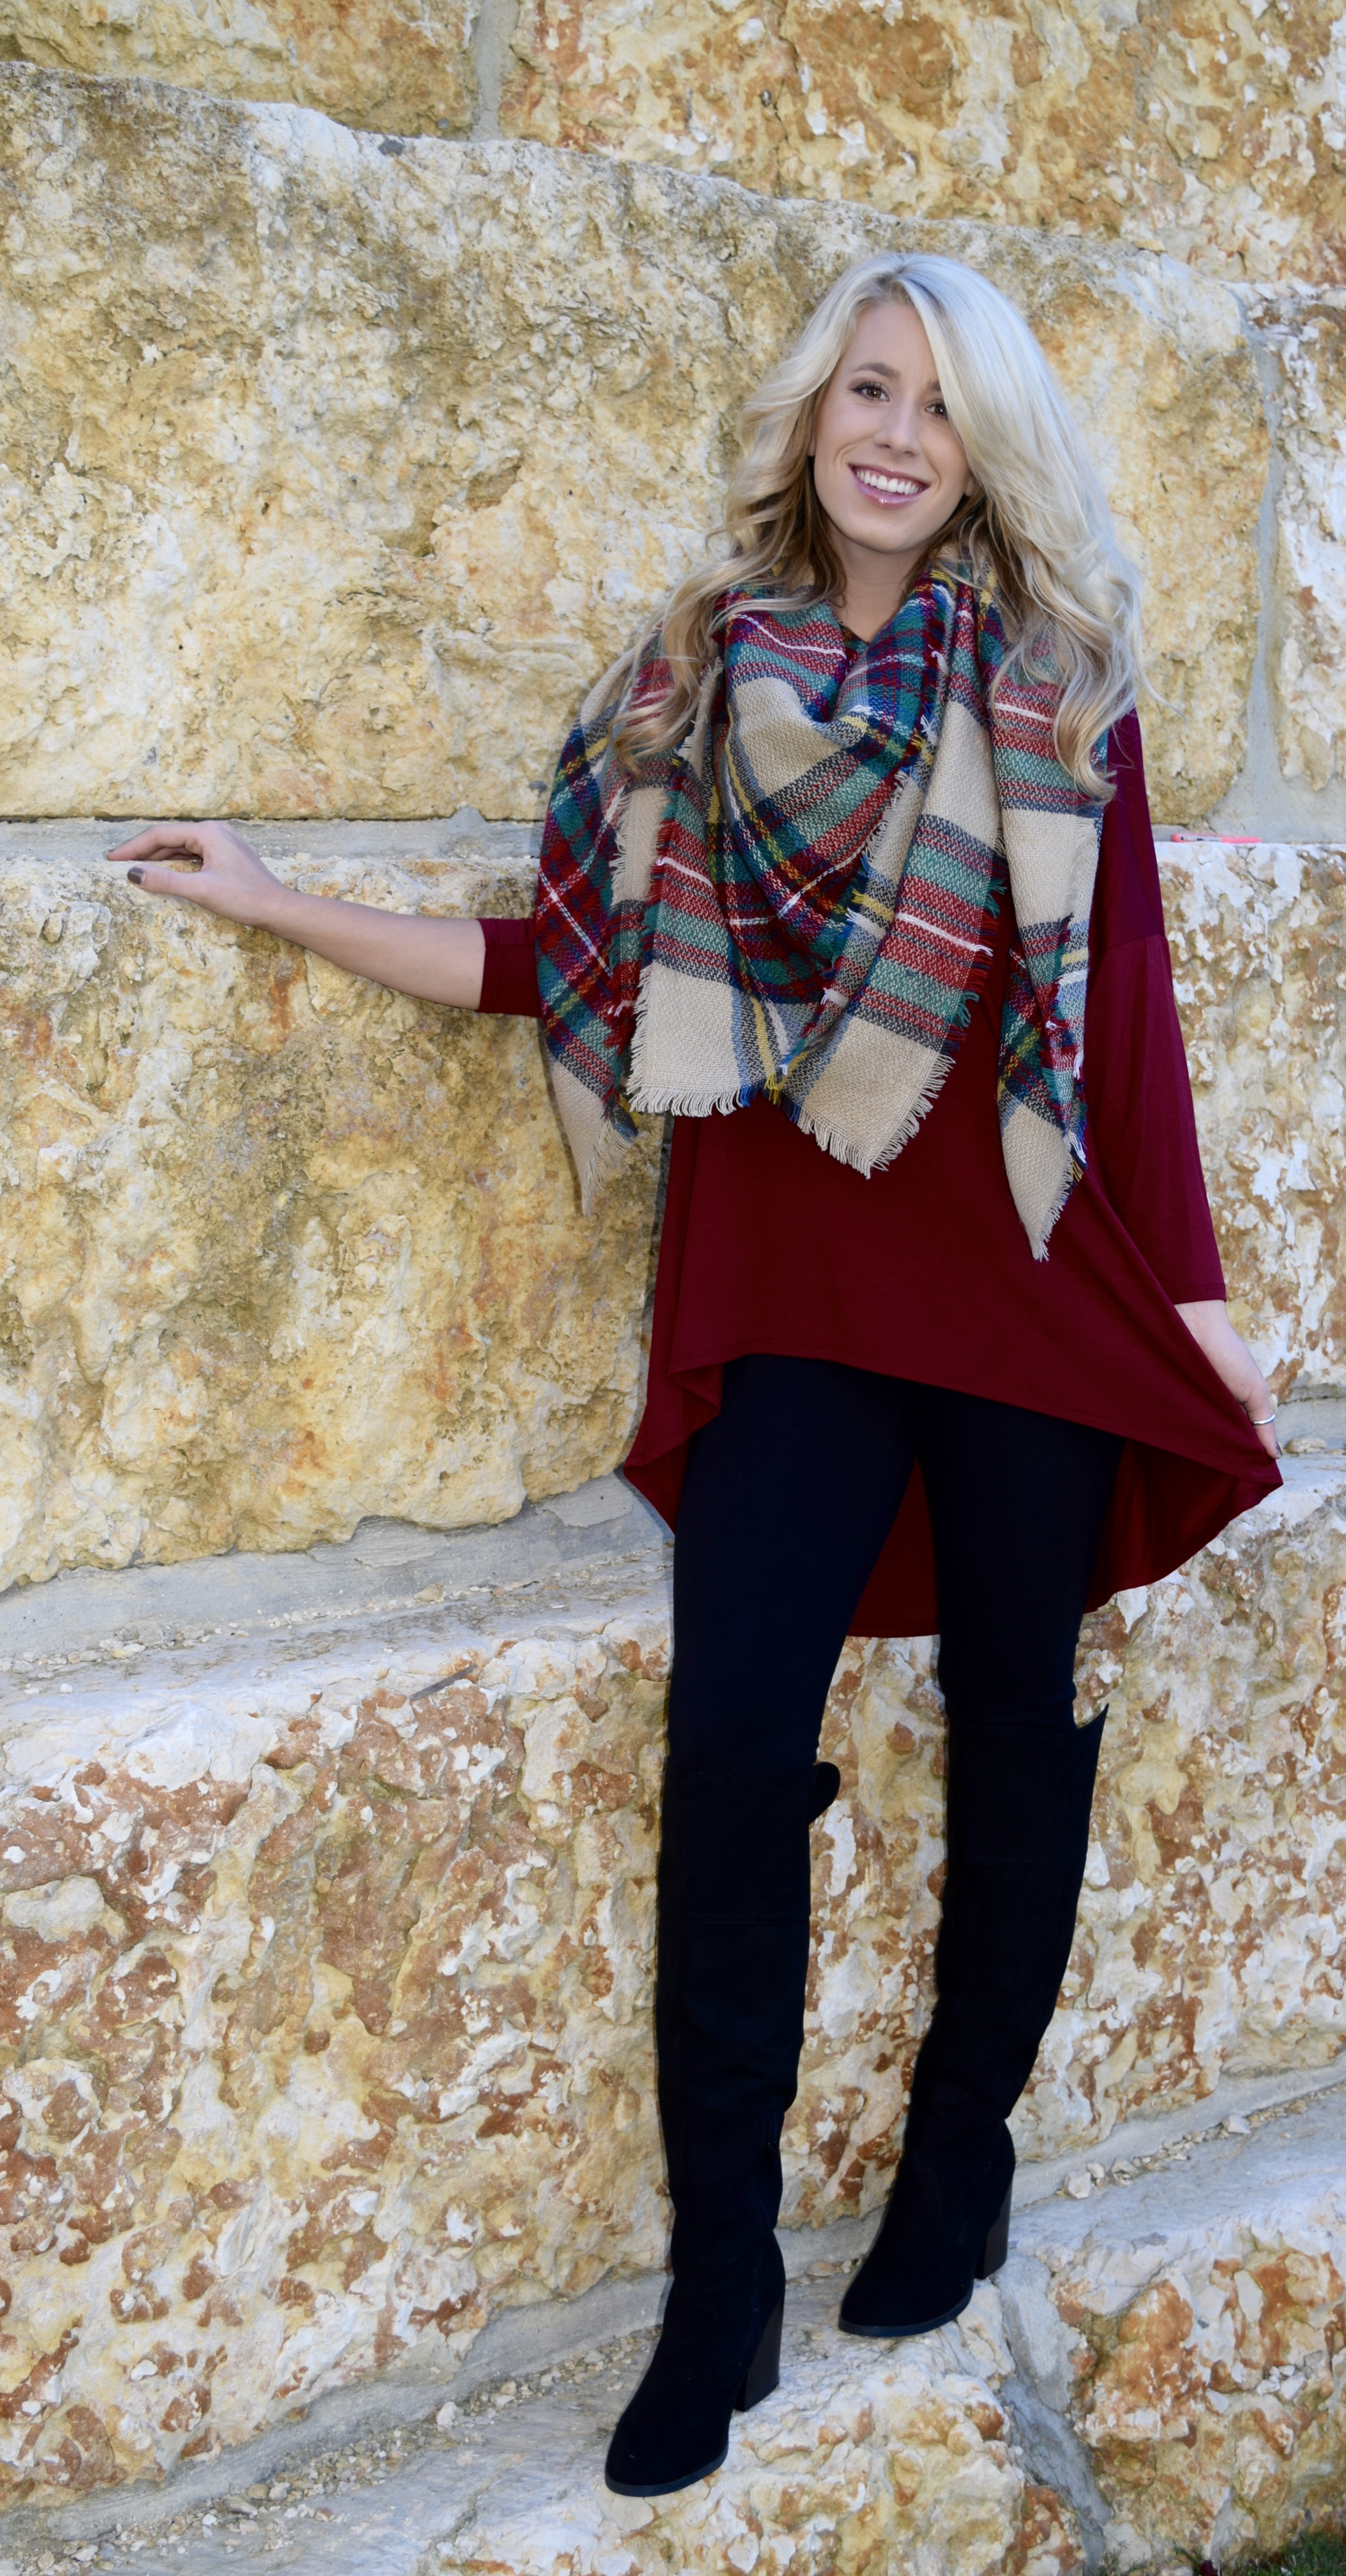
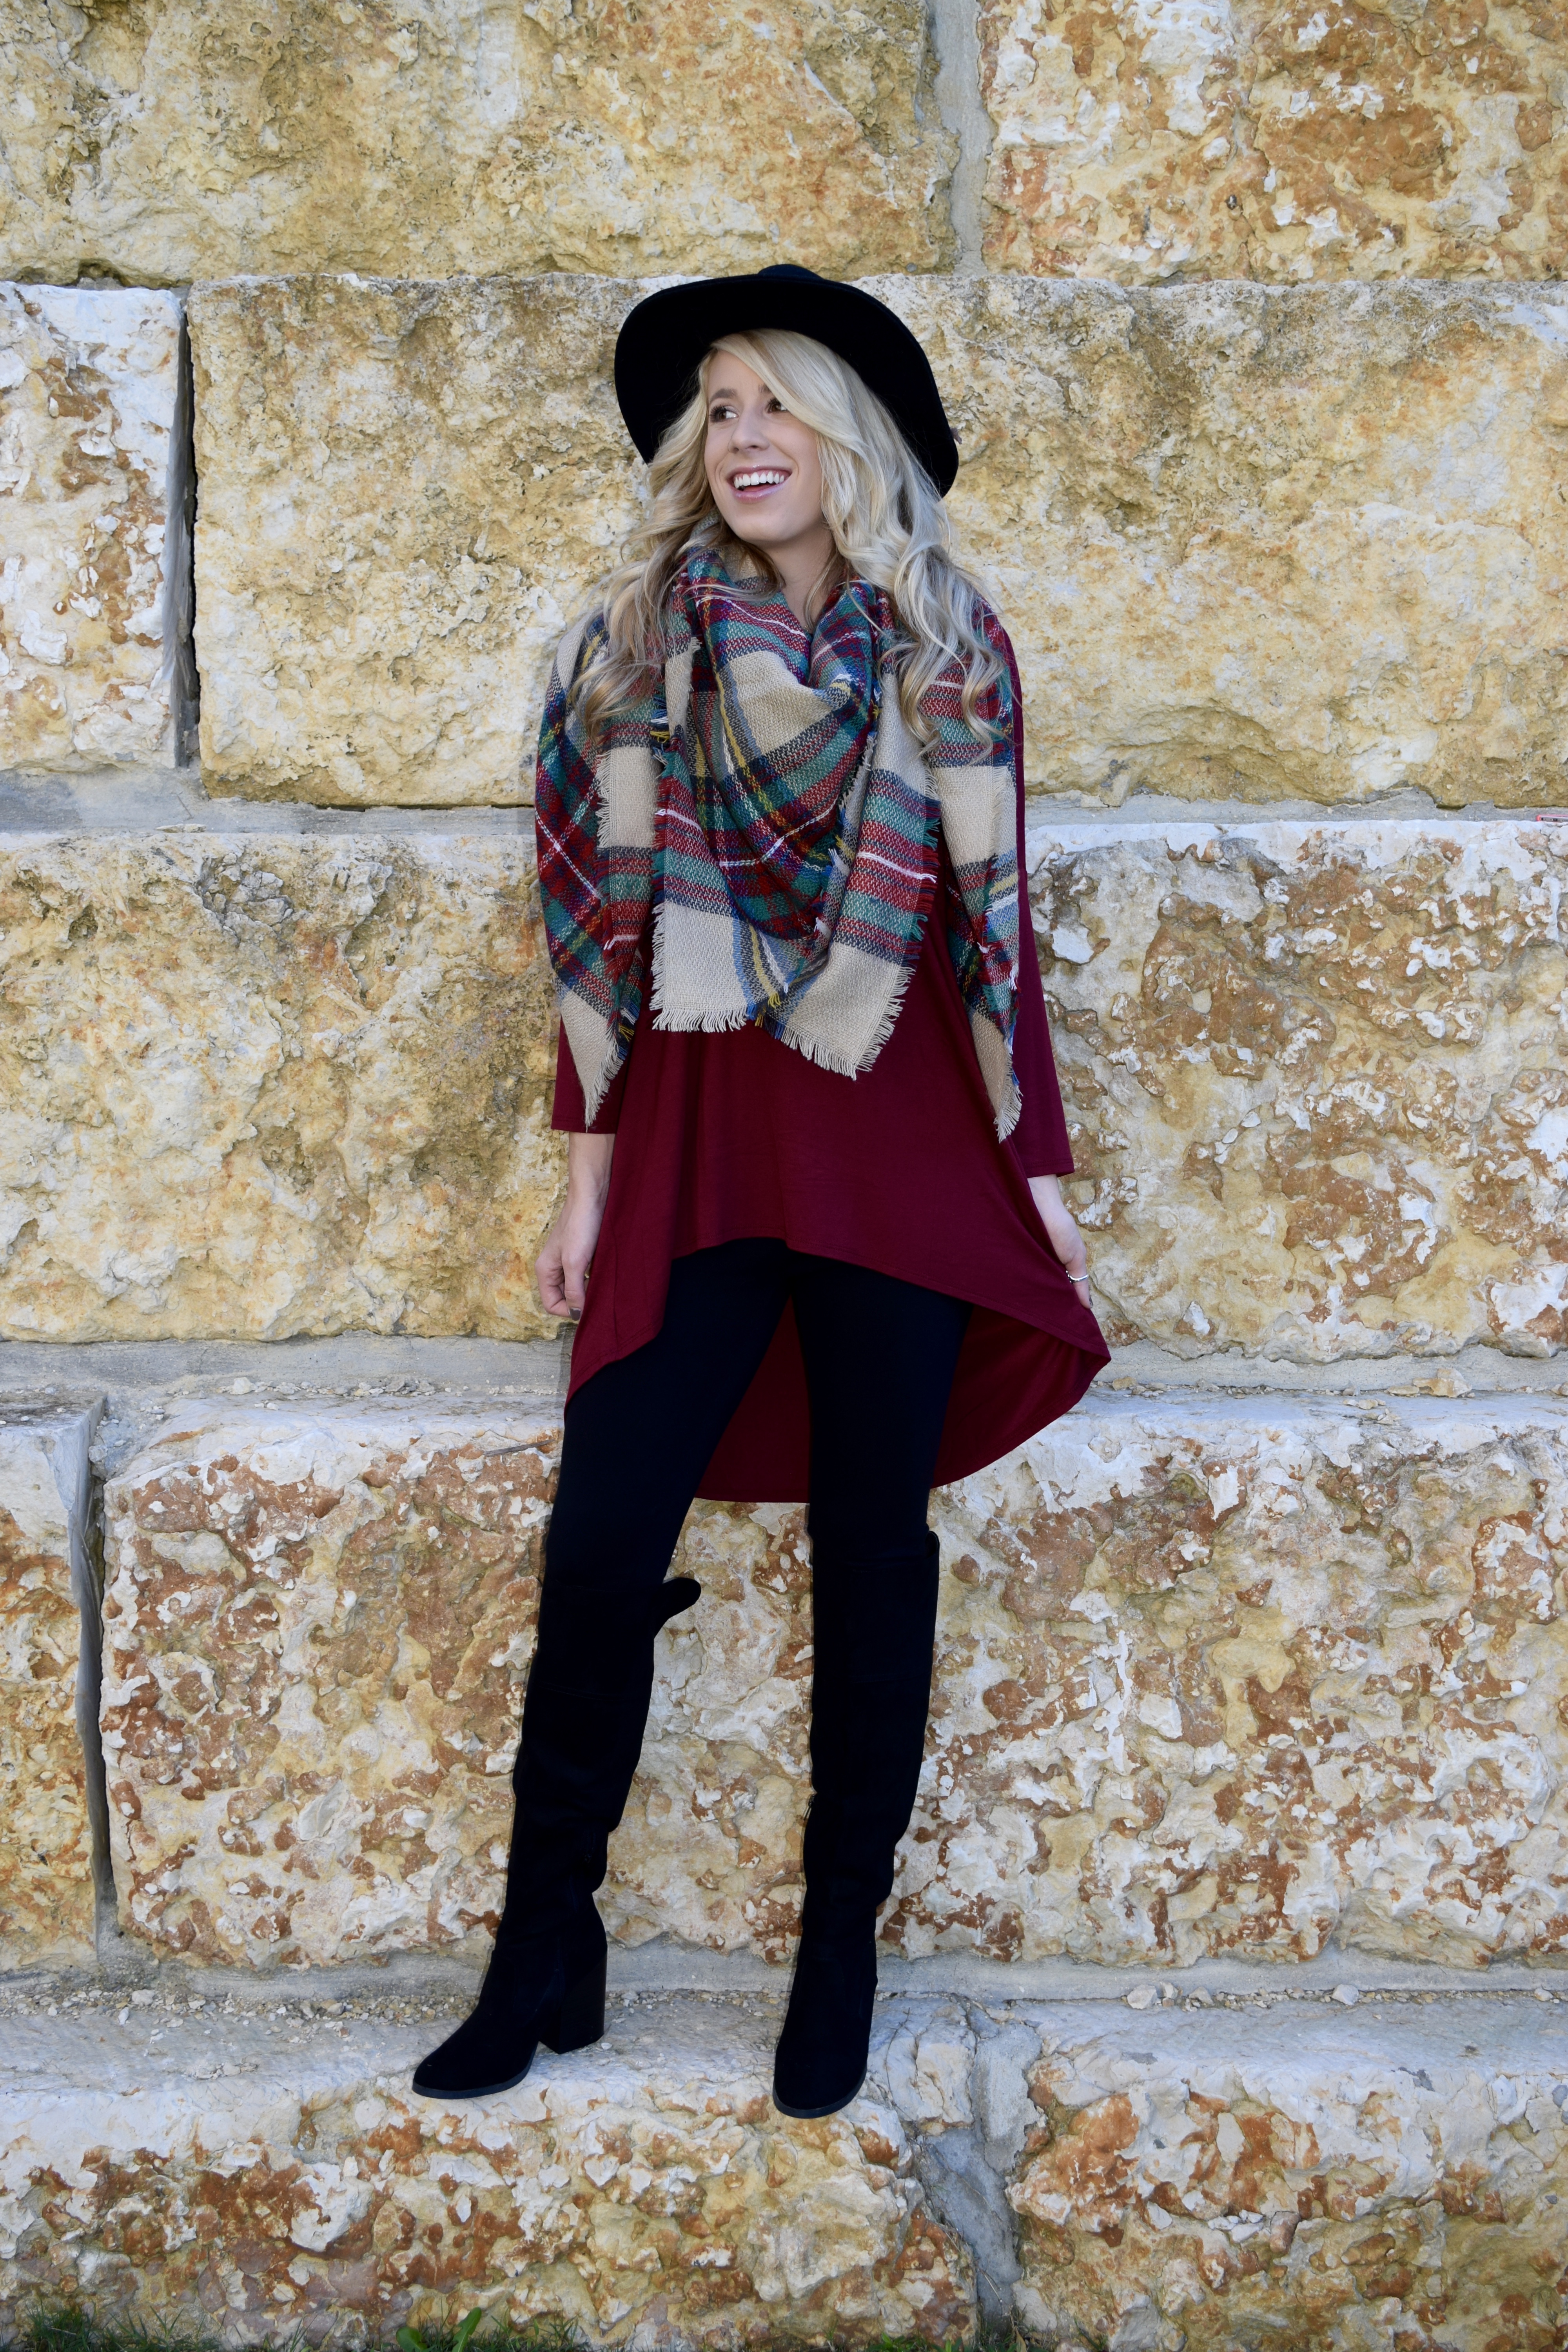
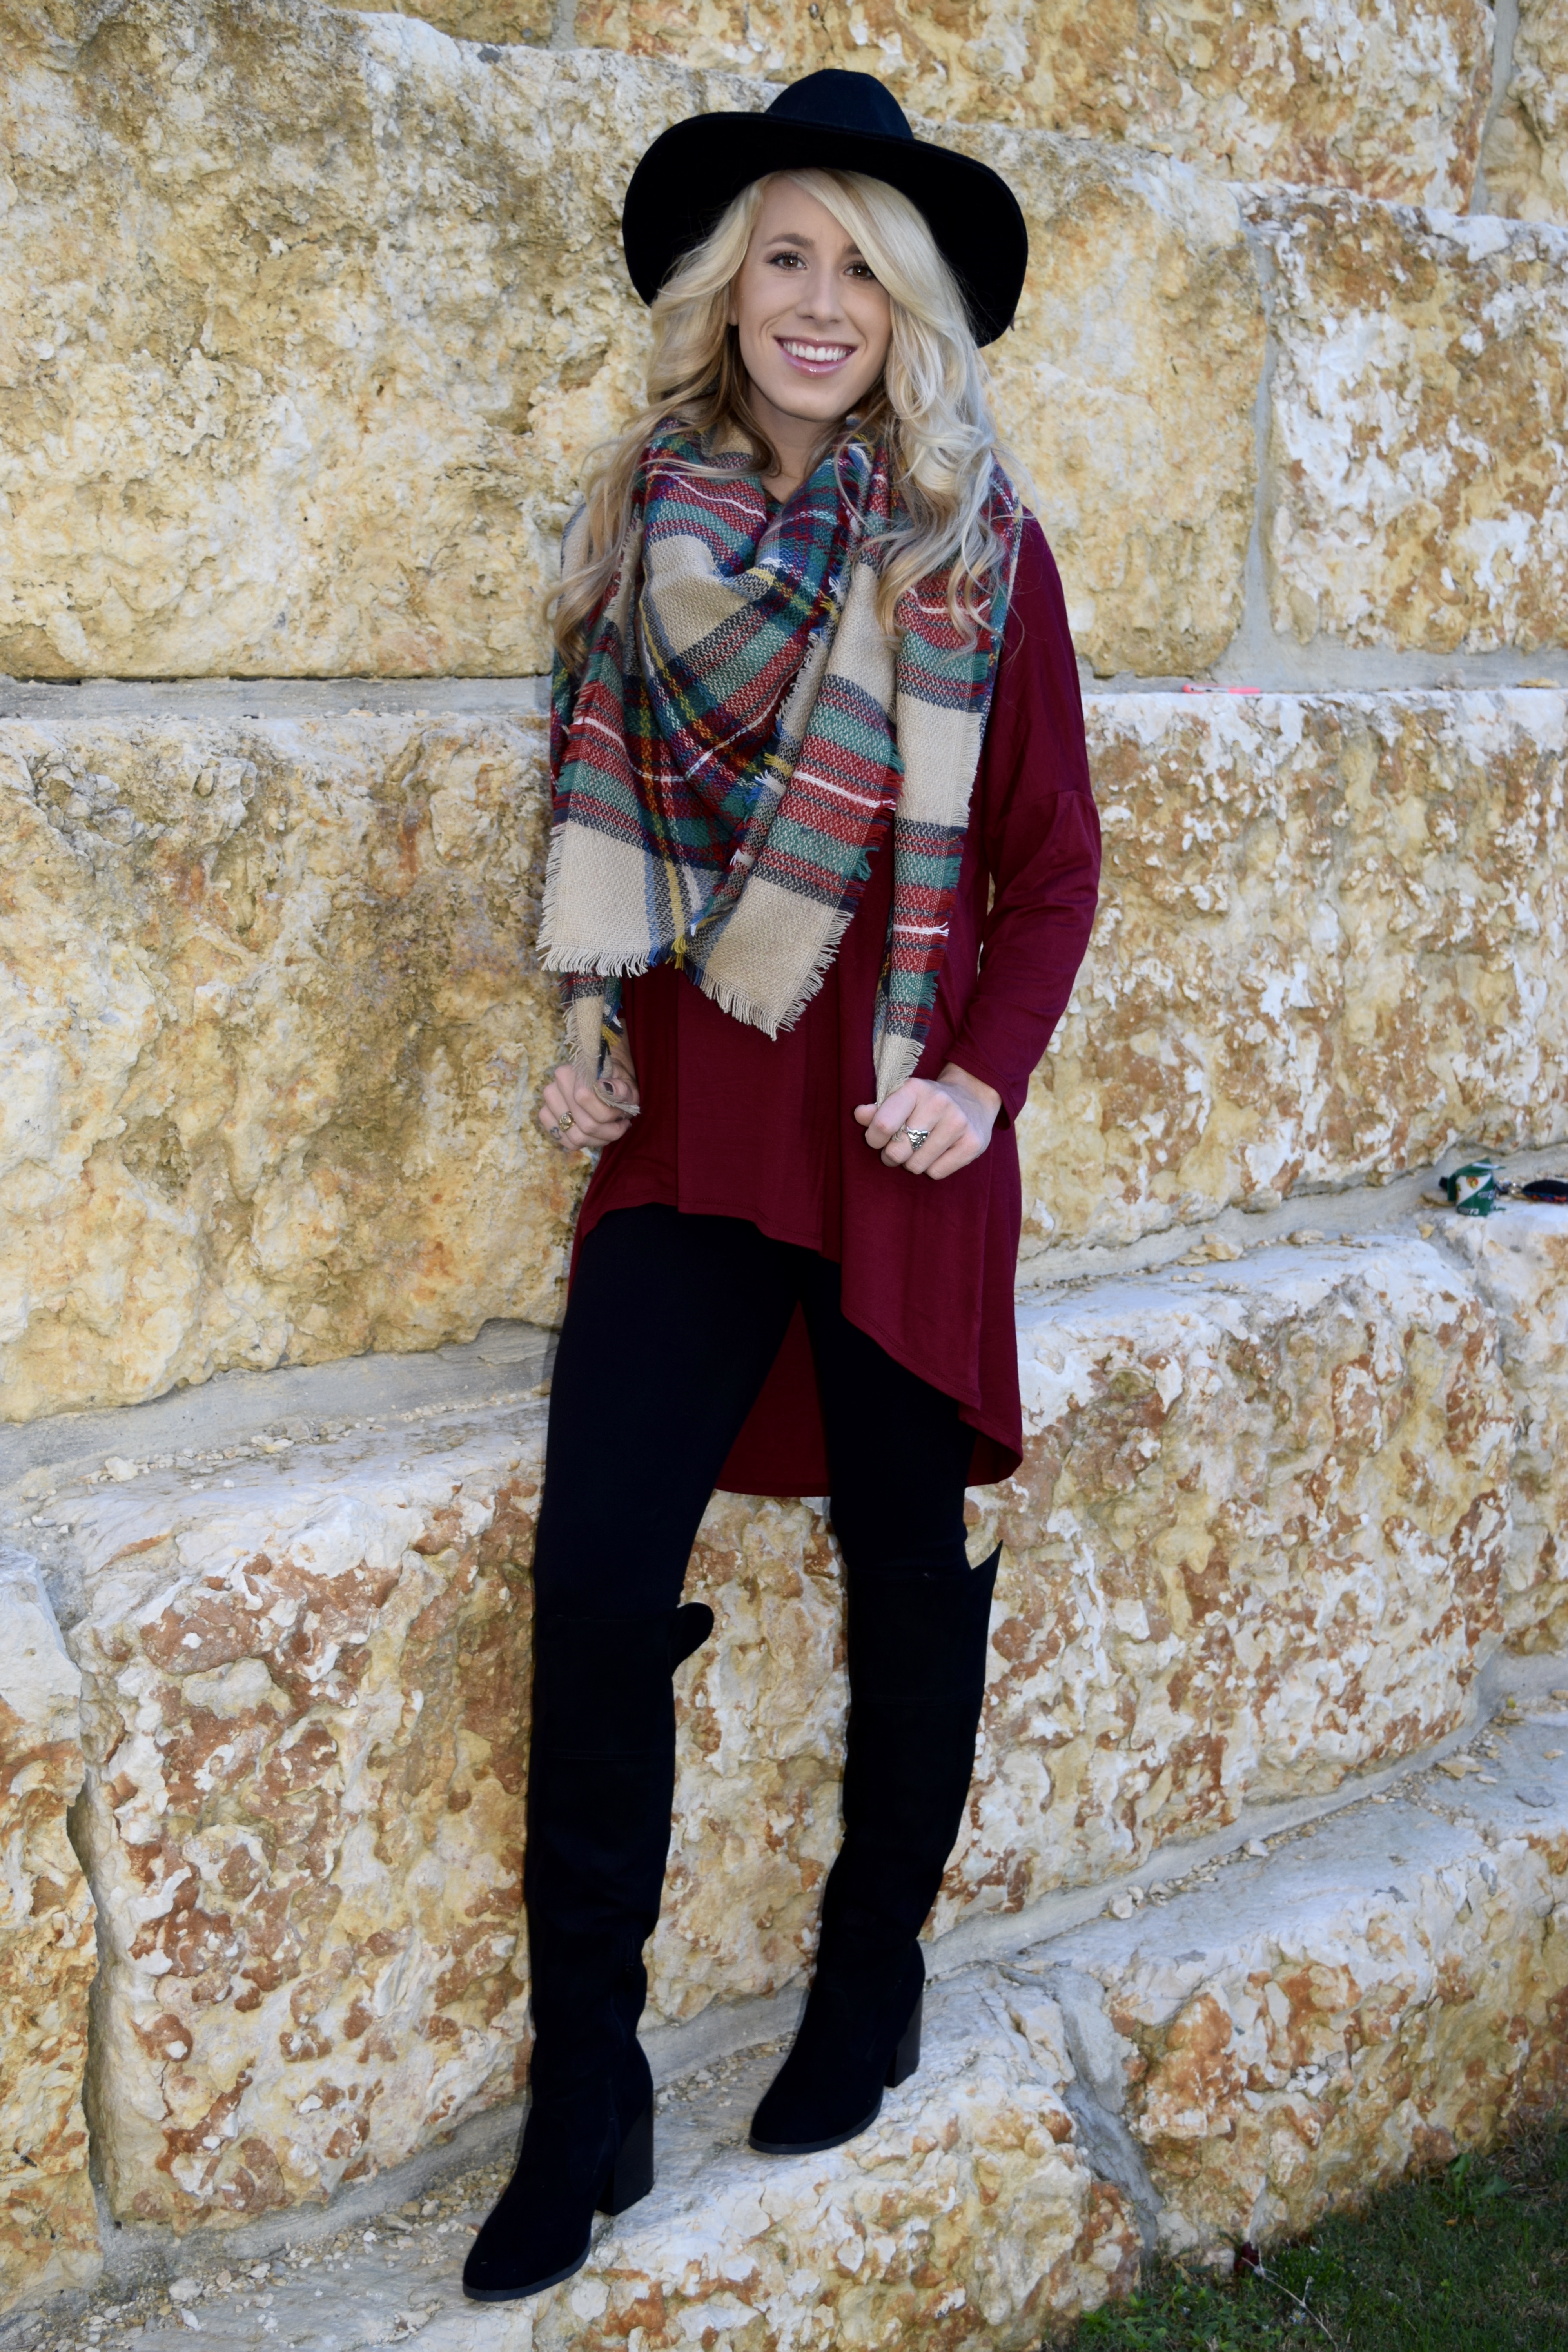
I ordered the tunic off of eBay to save some money. It’s very high-quality and ended up fitting perfectly! I tend to eat way more than I should on Thanksgiving, so I chose to wear a loose fitting shirt to hide my food baby lol! The scarf is from eBay as well, and again the quality is amazing! It ends up costing you less than $10, including shipping; what a steal! Pictured above is a couple of different ways that you can wear these two items! 🙂

Happy Thanksgiving and thank you for stopping by! 🙂


Water Gate Salad

green

green2

green3

green4

green5


WHAT YOU NEED:

1 box of pistachio jello

1 20 oz can crushed pineapple

1 8oz cool whip


STEP 1: Pour jello packet into large bowl

STEP 2: Mix in crushed pineapples

STEP 3: Mix in cool whip

STEP 4: Sit in fridge over night

Enjoy cold! 🙂


This recipe has been made every holiday in my family since the ’70s! We usually just call it “green stuff” and it is so DELICIOUS!! Unfortunately, I refused to eat this until about 4 years ago because of the way it looked. I thought it was such a strange looking dessert and since I used to be quite of a picky eater, I wouldn’t even try a bite! Trust me this dessert sounds/looks weird but it is definitely worth trying. It is always a huge hit in our household and goes perfectly with the rest of your Thanksgiving dinner! 🙂

Thanks for reading and I hope you enjoy! 🙂

Give Thanks DIY Project

givethanks2

give4

give3

give2

give5

give6

give8

give7

give11

give9

give10

GIVETHANKS

givethanks3


WHAT YOU NEED:

1 long wooden plank

white paint

orange paint

brown paint

large sentinel letters

medium sentinel letters

sand paper

round paint brushes

medium paint brush- I used this one

thin paint brush


This project is really easy and turns out super cute! I got this piece of wood in the ‘sale’ section next to the wood cutter at Lowe’s. At the time I had no idea what I was going to use it for, but it was so cheap that I couldn’t pass it up. Thanksgiving has always been on of my favorite holidays, so when I realized I didn’t have a decoration for the front porch, I decided to make something. For me personally, I love arts and crafts and making things on my own versus buying something at the store. For this project, I got to spend some time with my pups on the porch on a perfect fall day; for me the definition of perfection! Thanks for stopping by 🙂


STEP 1: Sand down wooden plank

STEP 2: Paint board white with medium brush – 2 light layers to get the distressed look

STEP 3: Use medium stencils to spell out the word “GIVE” and paint with round brush (dabbing gets the job done the cleanest when using stencils)

STEP 4: Use large stencils to spell out word “THANKS” again using round brush

STEP 5: Once completely dry, use small brush to touch up any areas

STEP 6: Sand edges of the board to complete the distressed look