Give Thanks DIY Project

givethanks2

give4

give3

give2

give5

give6

give8

give7

give11

give9

give10

GIVETHANKS

givethanks3


WHAT YOU NEED:

1 long wooden plank

white paint

orange paint

brown paint

large sentinel letters

medium sentinel letters

sand paper

round paint brushes

medium paint brush- I used this one

thin paint brush


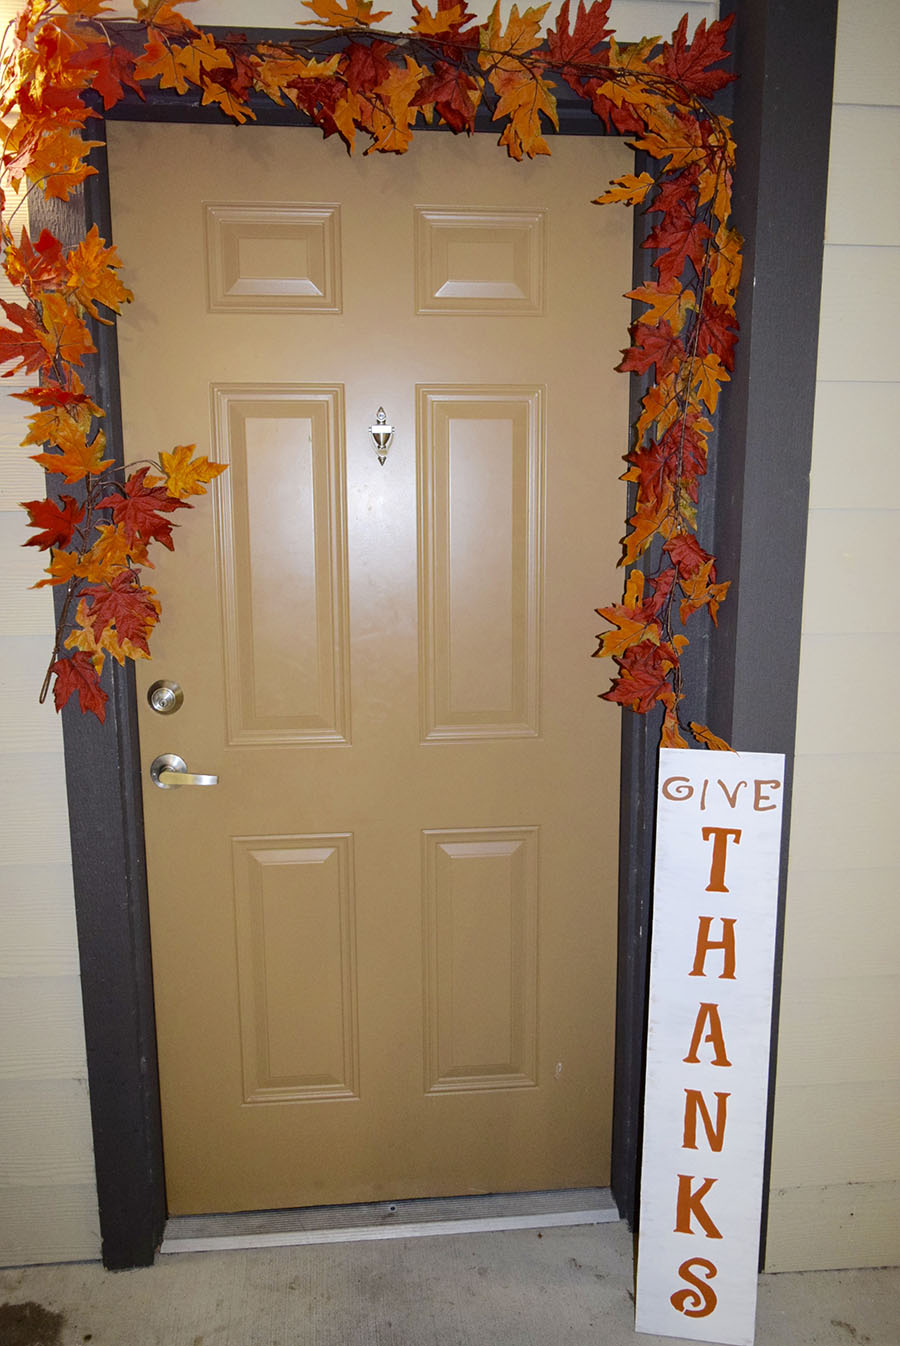
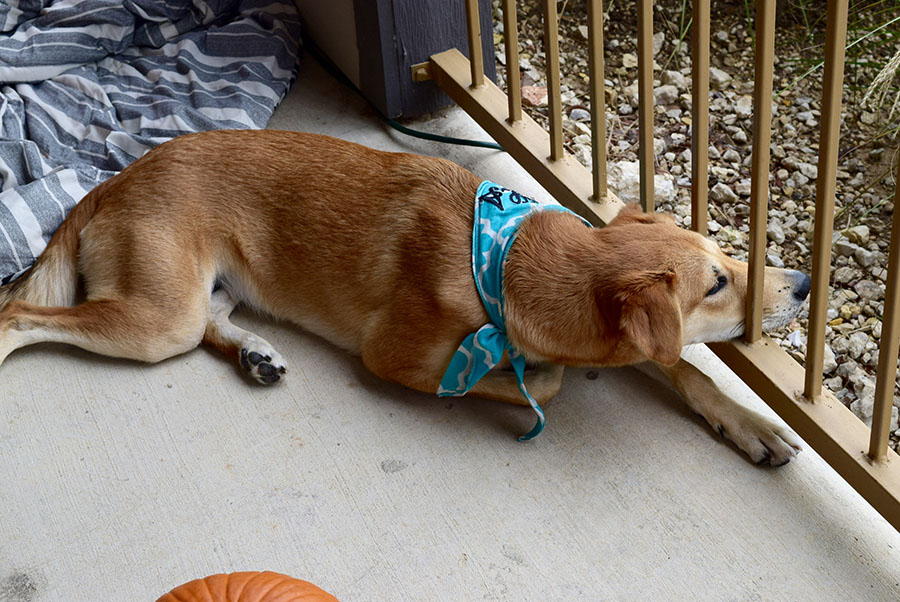
This project is really easy and turns out super cute! I got this piece of wood in the ‘sale’ section next to the wood cutter at Lowe’s. At the time I had no idea what I was going to use it for, but it was so cheap that I couldn’t pass it up. Thanksgiving has always been on of my favorite holidays, so when I realized I didn’t have a decoration for the front porch, I decided to make something. For me personally, I love arts and crafts and making things on my own versus buying something at the store. For this project, I got to spend some time with my pups on the porch on a perfect fall day; for me the definition of perfection! Thanks for stopping by 🙂


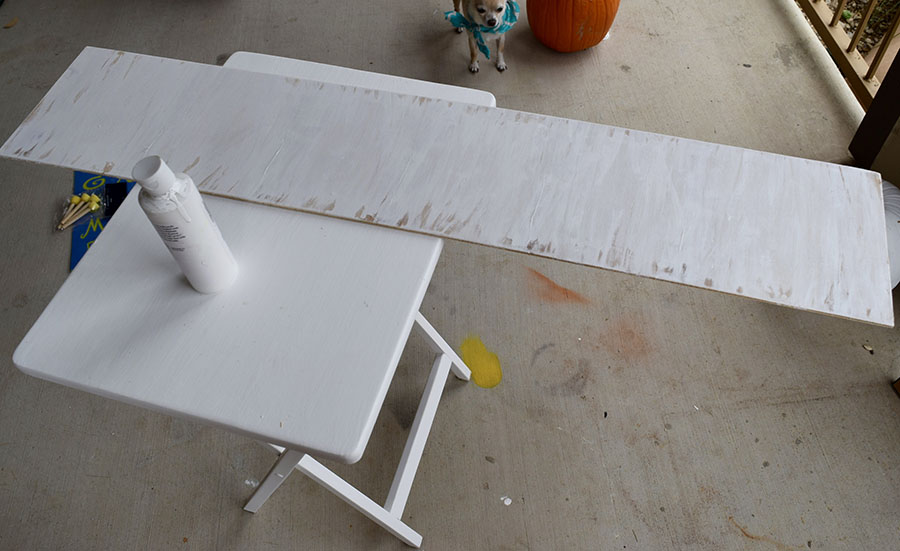
STEP 1: Sand down wooden plank

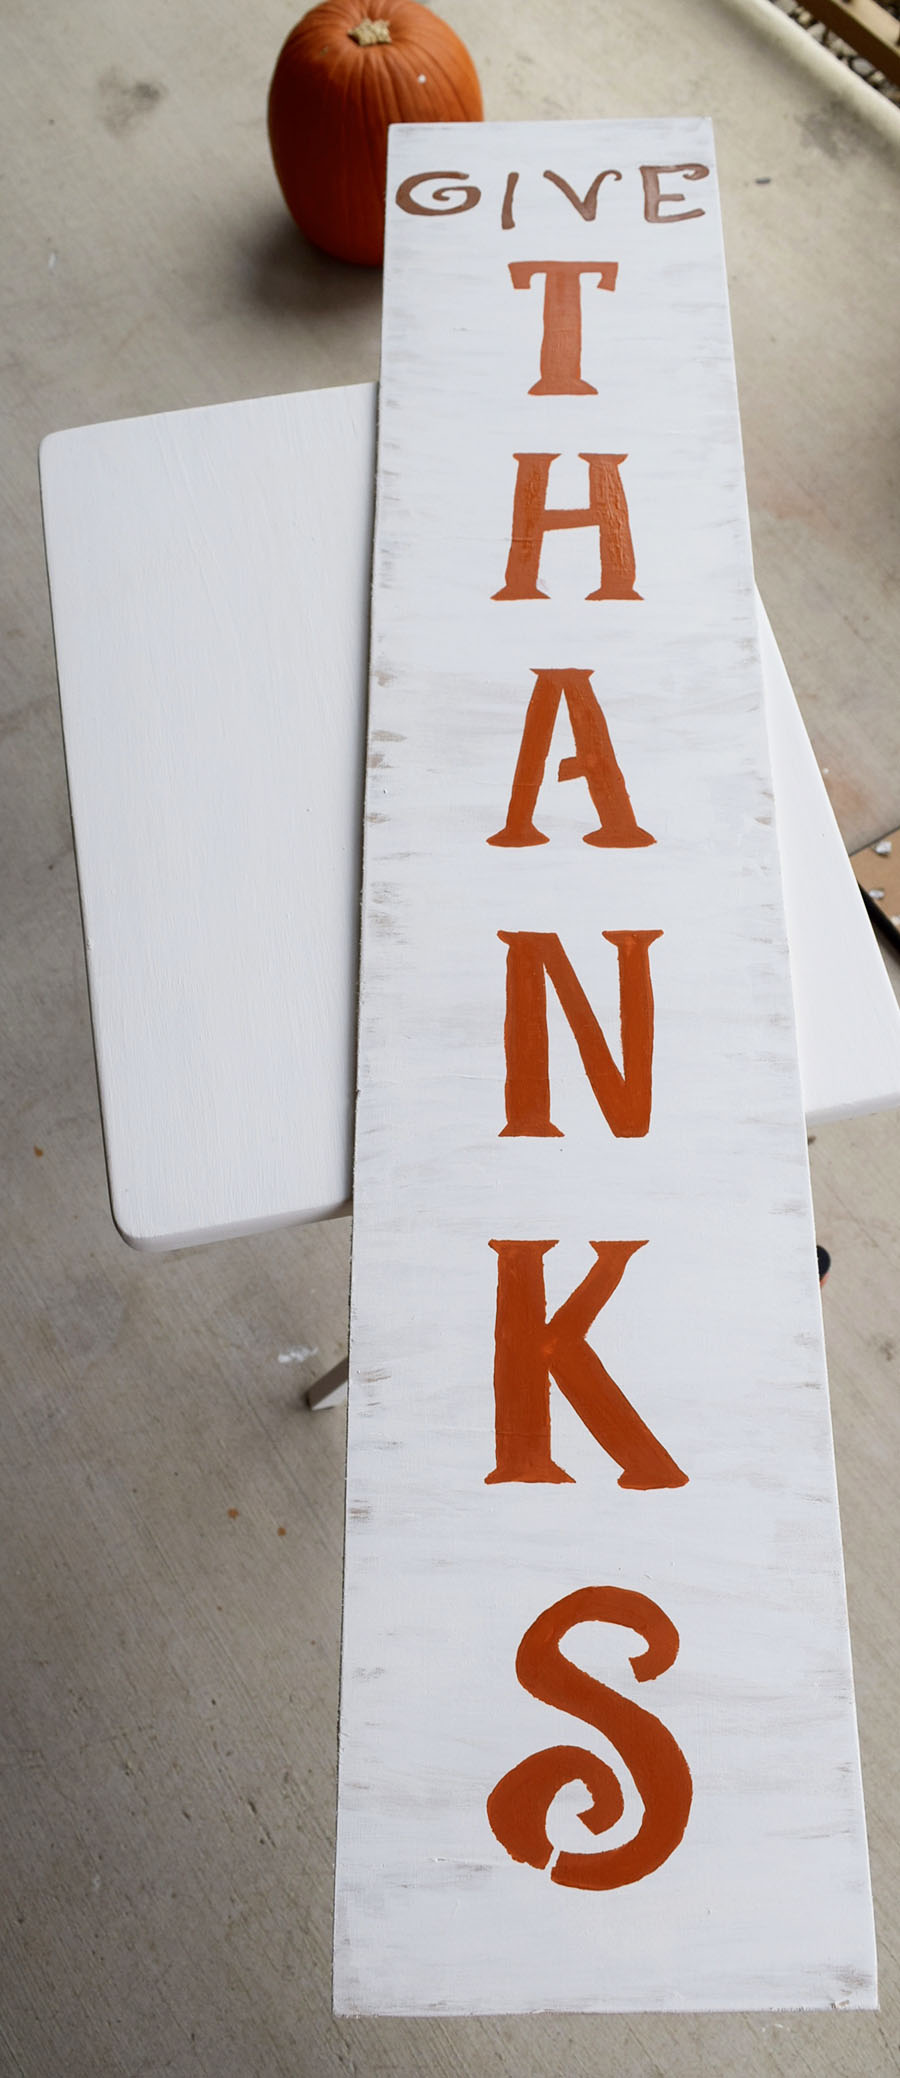
STEP 2: Paint board white with medium brush – 2 light layers to get the distressed look

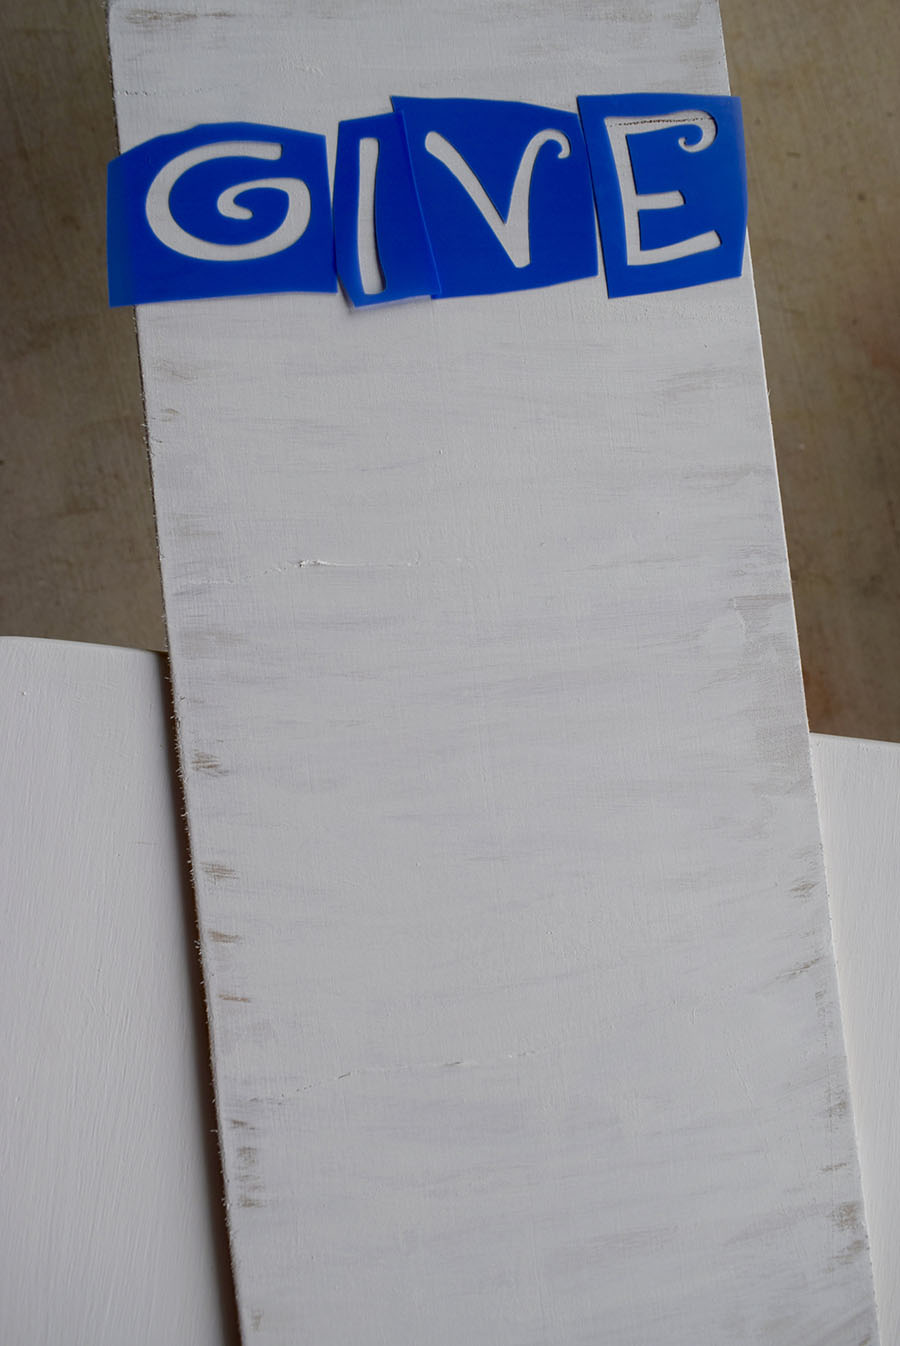
STEP 3: Use medium stencils to spell out the word “GIVE” and paint with round brush (dabbing gets the job done the cleanest when using stencils)

STEP 4: Use large stencils to spell out word “THANKS” again using round brush

STEP 5: Once completely dry, use small brush to touch up any areas

STEP 6: Sand edges of the board to complete the distressed look


Pumpkin Crafting

DSC_1060DSC_0990

DSC_0991

DSC_0992

DSC_1049

DSC_1055

DSC_1061

DSC_0994

DSC_0995

DSC_0998

DSC_0997

DSC_0999

DSC_1059

DSC_1051

DSC_1052

DSC_1053


WHAT YOU NEED:

Medium pumpkin

Small pumpkin

White paint

Gold paint

Pink paint

Yellow paint

Orange paint

Purple paint

small paint brush

medium paint brush


This is my first year painting a pumpkin instead of carving one! Definitely a little weird, though still just as fun. Tyler carved one so we still got to bake the yummy seeds. I decided to do a Sugar Skull, because I’m obsessed with them, and Dia de los Muertos is right around the corner, I thought why not! It ended up being easy, and turned out really cute. First, I painted the entire pumpkin white and did 3 coats to get it the way I liked it. Make sure you let it dry completely between each coat! Once the pumpkin dried, I painted two black circles for the eyes and did two coats for those. As that was drying, I painted a black heart upside down for the nose and a flower above the eyes, I did two coats for those as well. Then, I drew a line across the bottom for the mouth and did little humps for the teeth. Once I was done with that, I painted pink flowers inside the black circles and painted purple humps around the outside. Next, I drew swirls over the eyes with yellow paint and a heart between the eyes with 3 dots ascending in size. After that, I outline the mouth with orange paint and added some dots to the swirls and filled the hearts and dots. Finally I painted a black dot in the middle of each flower!

I was still feeling a little crafty, so I decided to paint the small pumpkin I got as well. For that one I painted two white coats of paint (make sure it drys completely between each coat). I then painted the stem gold, and did two coats for that as well. Finally I free handed our apartment number with the same gold paint, and did three coats for that. Super easy and adds a little sparkle to your front porch! Happy Halloween 🙂