


WHAT YOU NEED:
Medium pumpkin
Small pumpkin
White paint
Gold paint
Pink paint
Yellow paint
Orange paint
Purple paint
small paint brush
medium paint brush
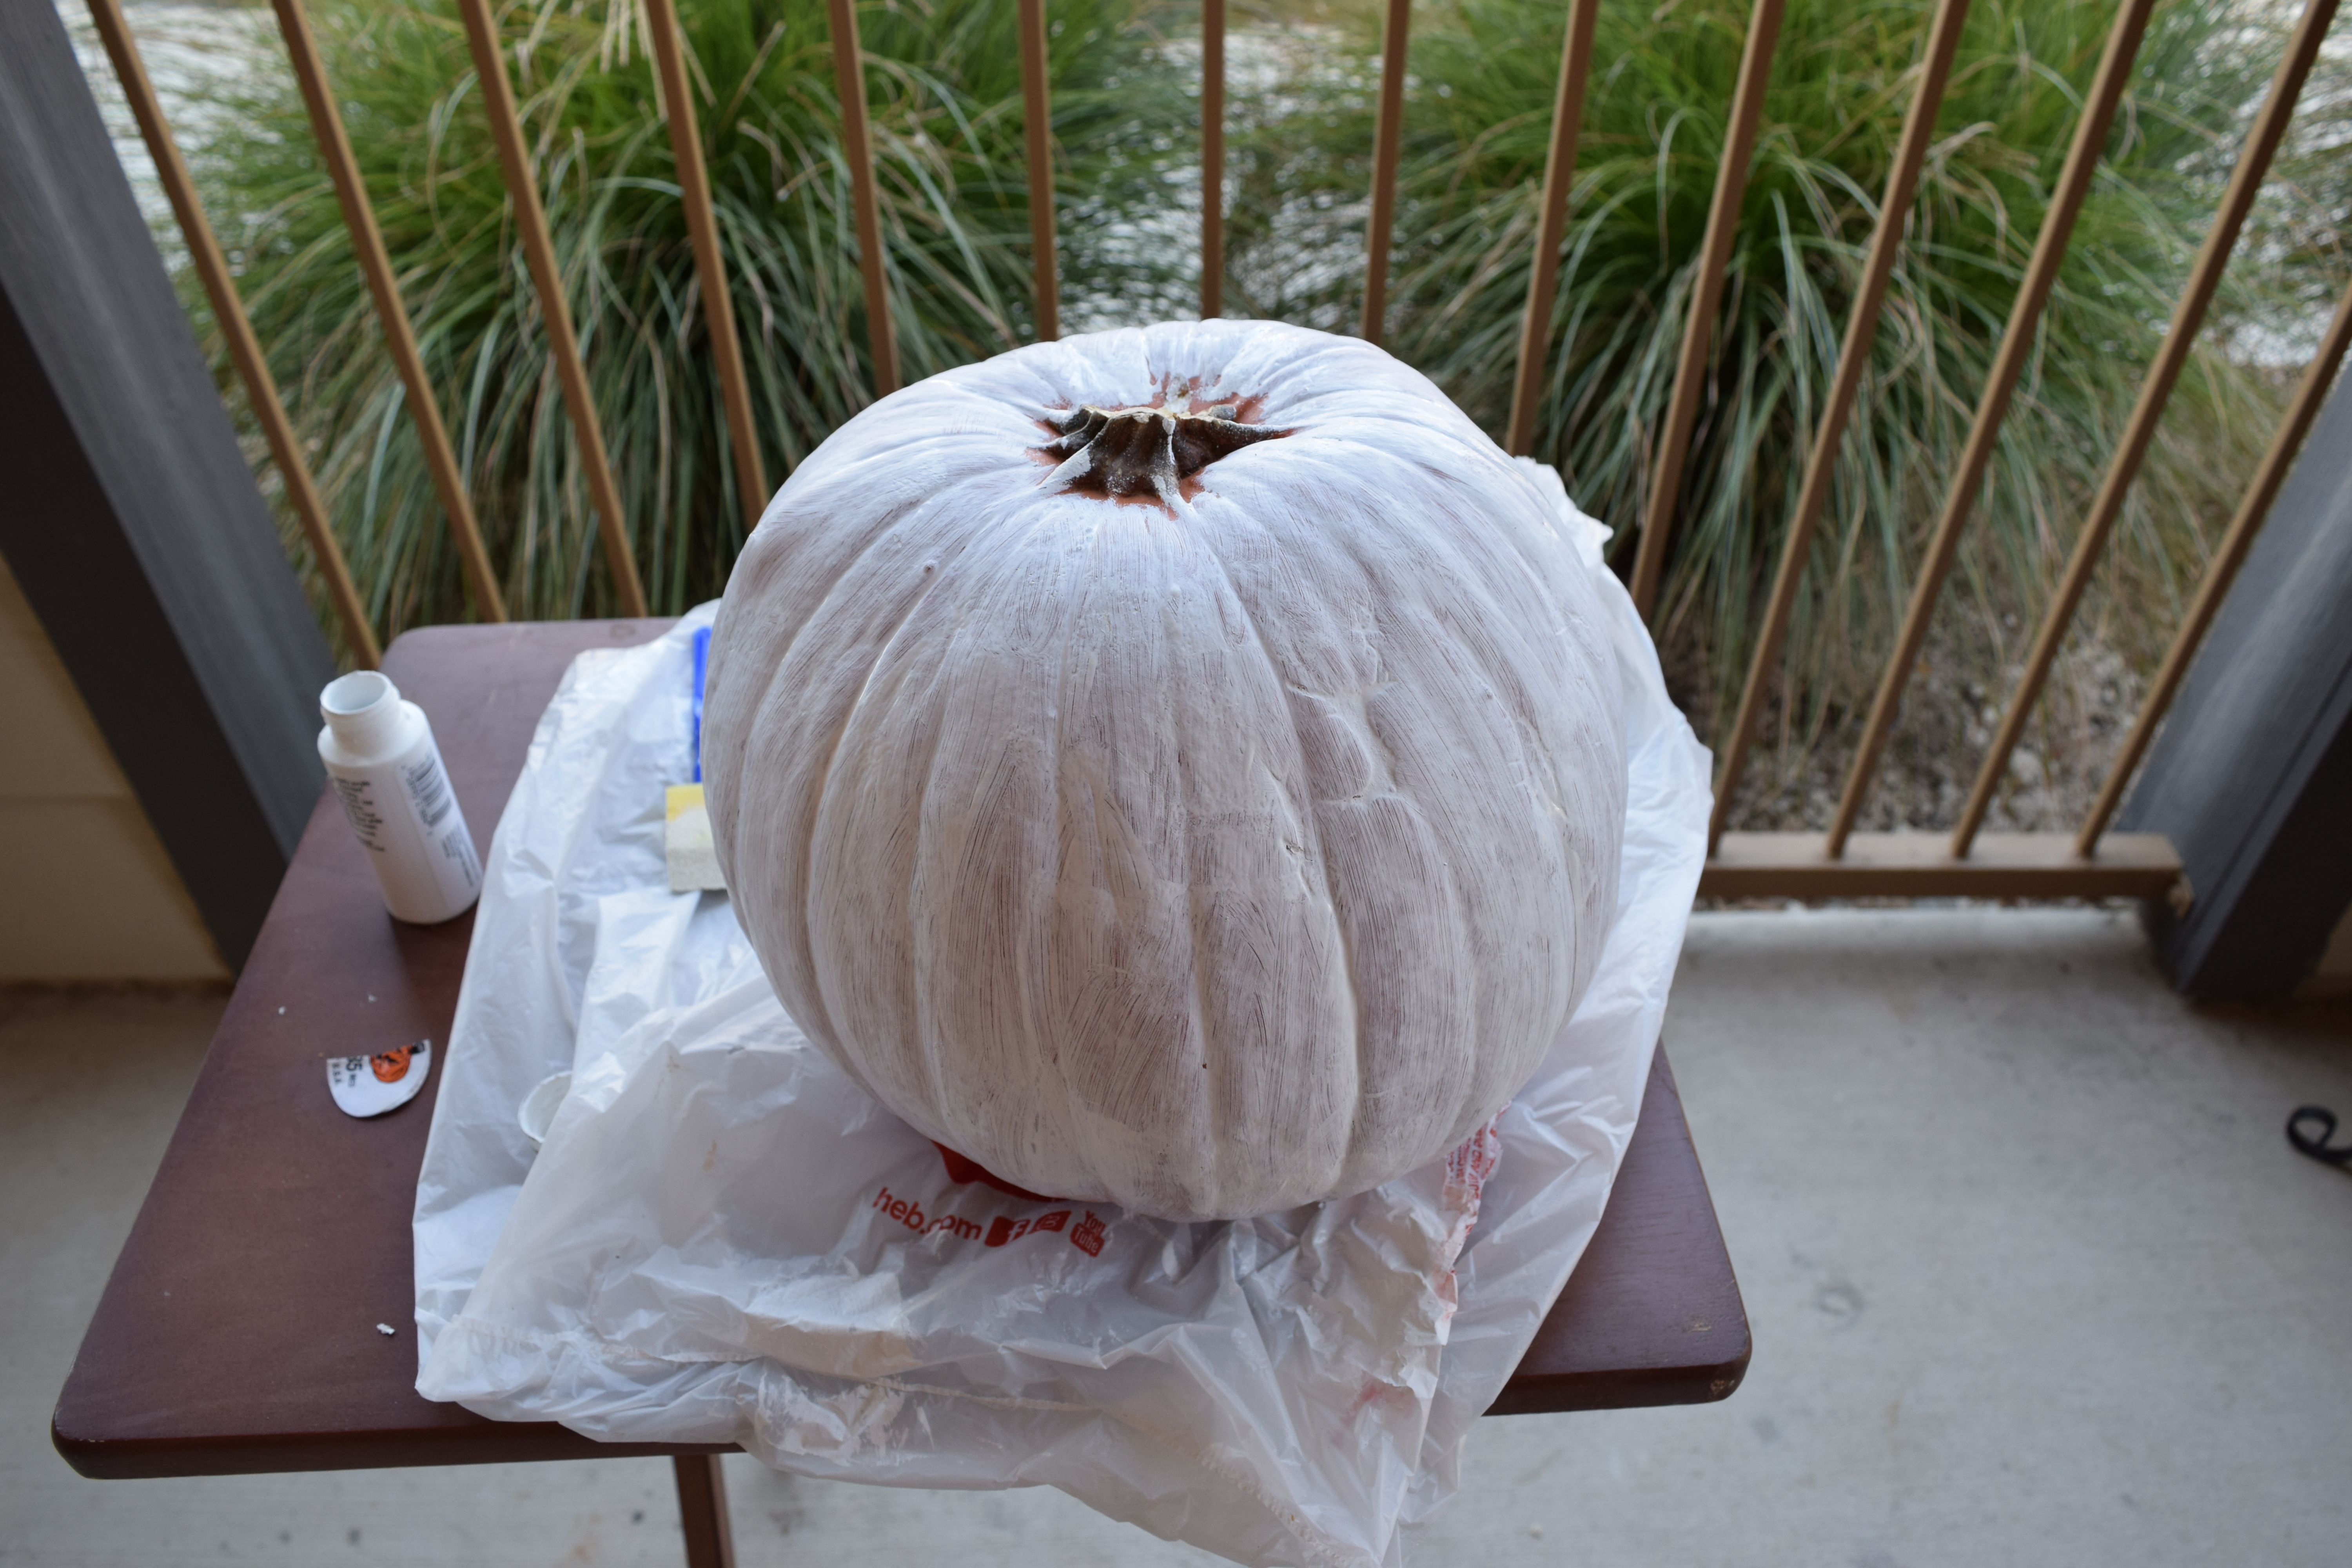
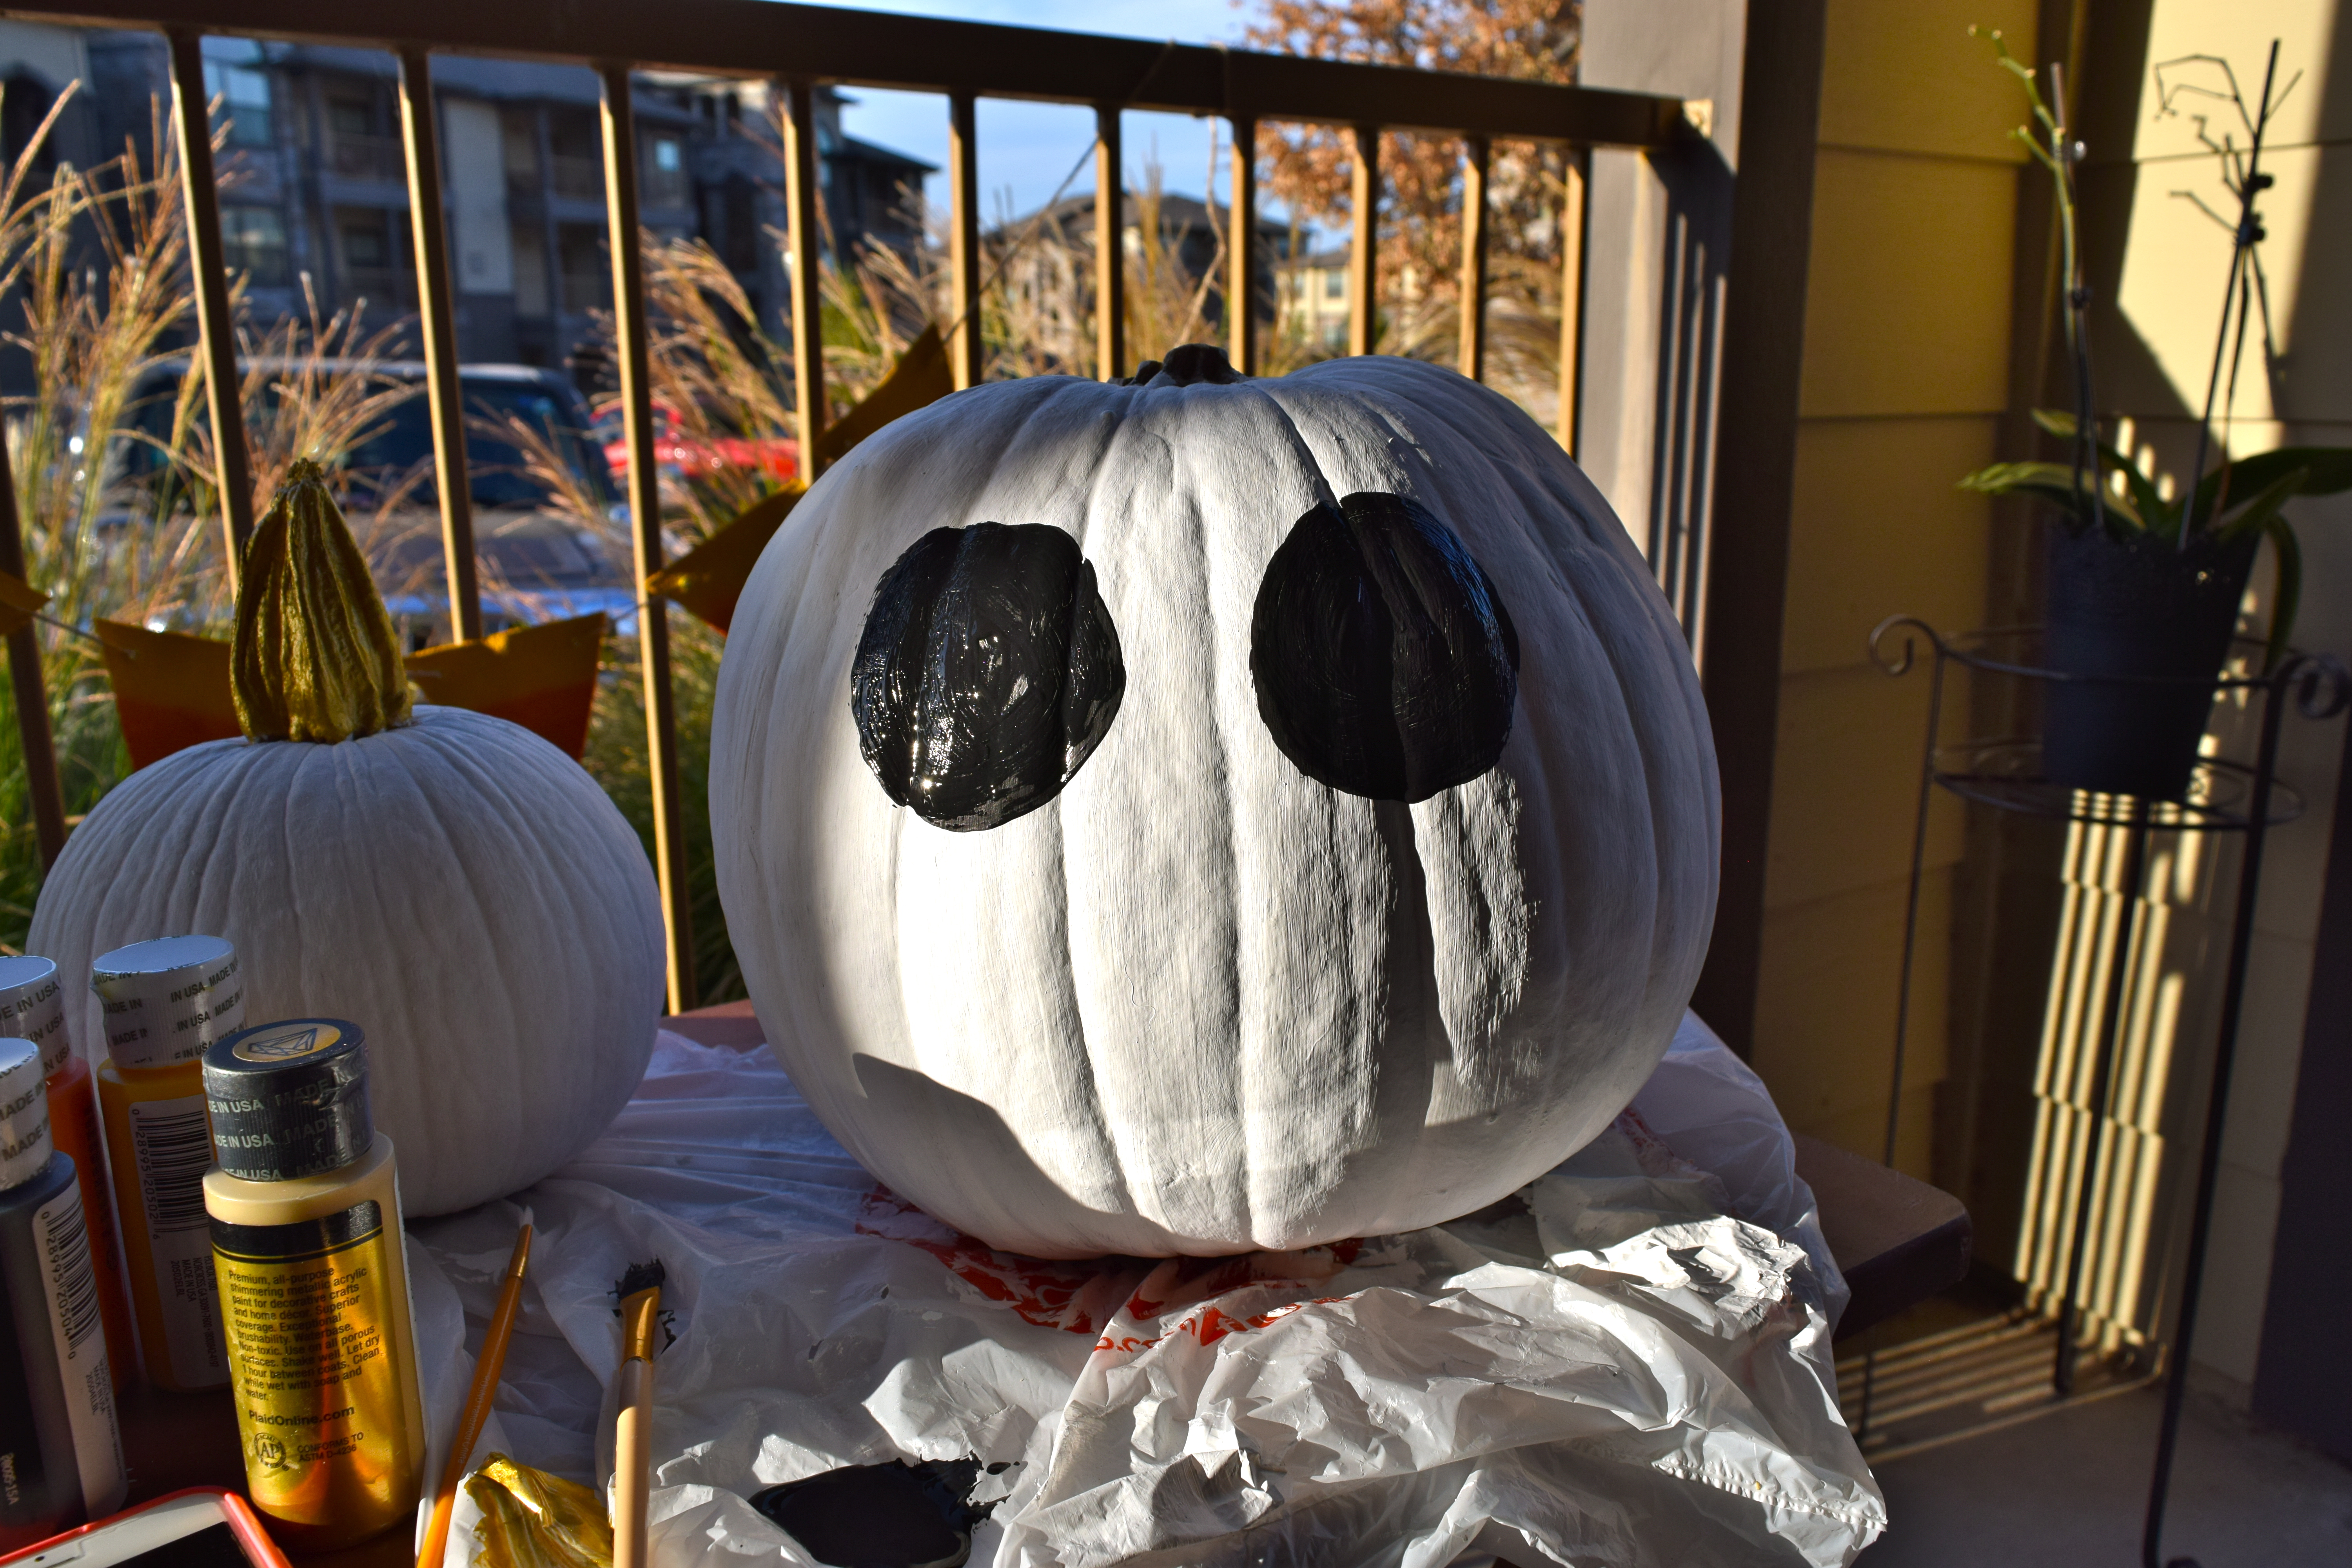
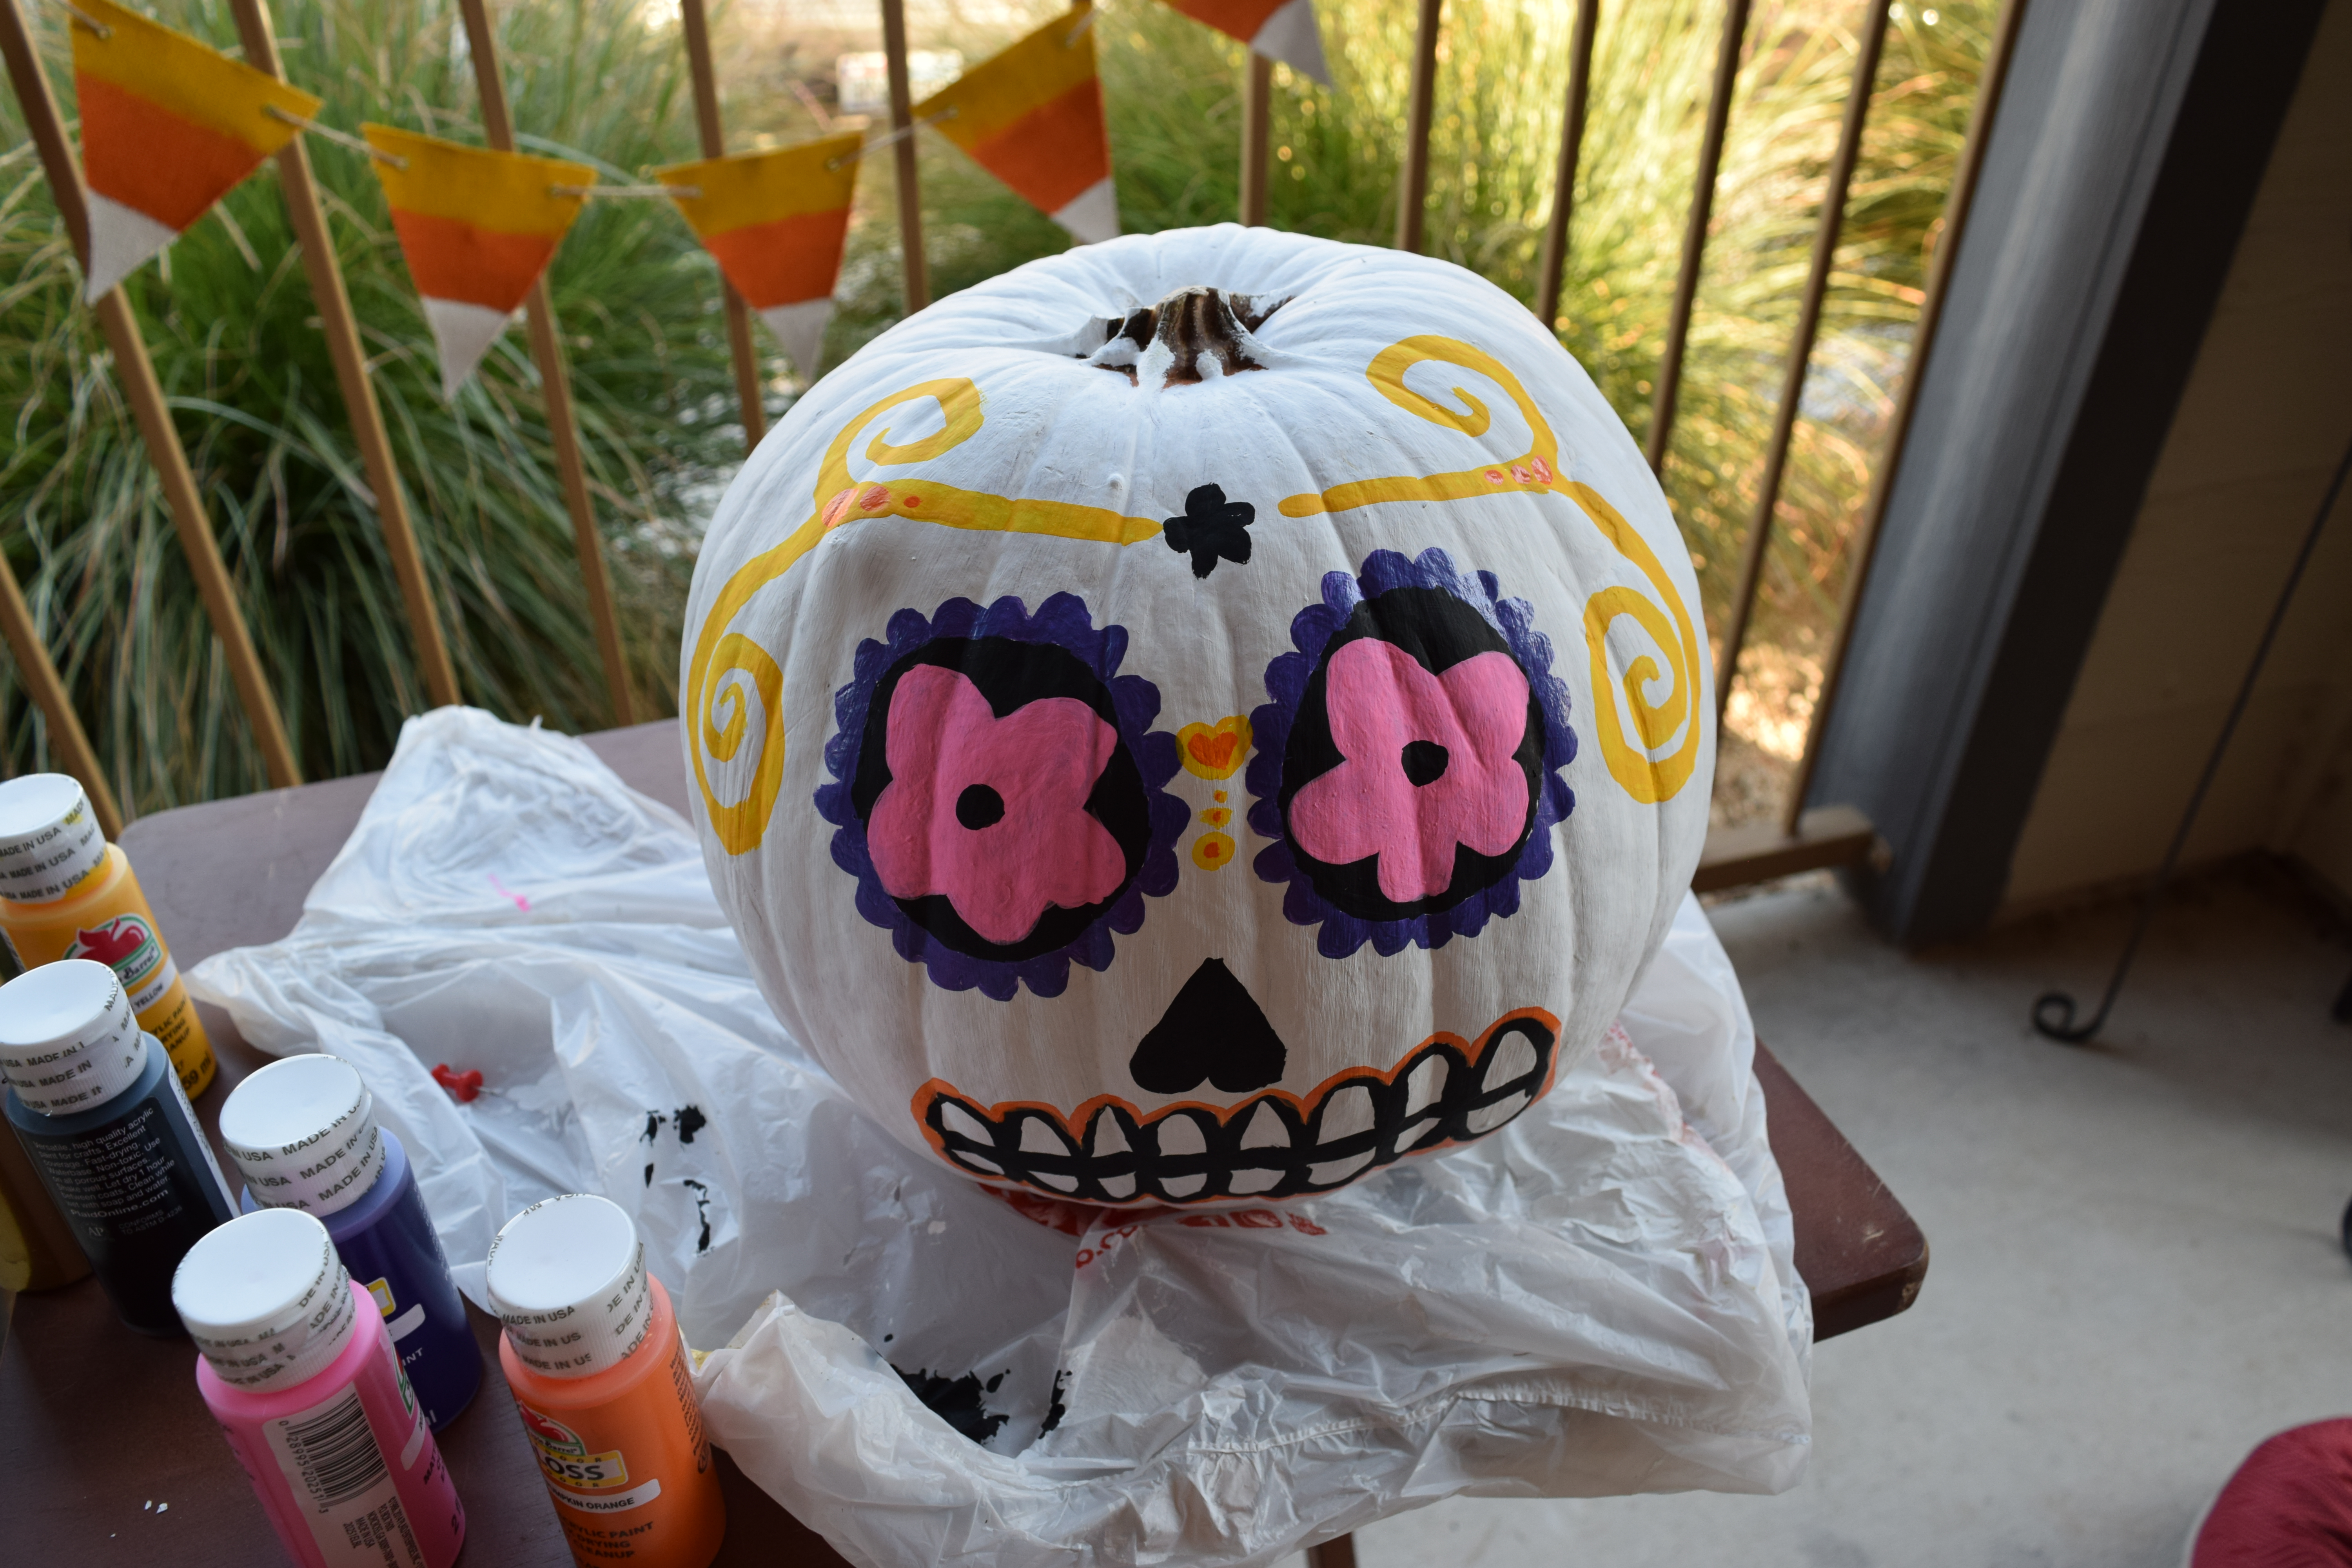
This is my first year painting a pumpkin instead of carving one! Definitely a little weird, though still just as fun. Tyler carved one so we still got to bake the yummy seeds. I decided to do a Sugar Skull, because I’m obsessed with them, and Dia de los Muertos is right around the corner, I thought why not! It ended up being easy, and turned out really cute. First, I painted the entire pumpkin white and did 3 coats to get it the way I liked it. Make sure you let it dry completely between each coat! Once the pumpkin dried, I painted two black circles for the eyes and did two coats for those. As that was drying, I painted a black heart upside down for the nose and a flower above the eyes, I did two coats for those as well. Then, I drew a line across the bottom for the mouth and did little humps for the teeth. Once I was done with that, I painted pink flowers inside the black circles and painted purple humps around the outside. Next, I drew swirls over the eyes with yellow paint and a heart between the eyes with 3 dots ascending in size. After that, I outline the mouth with orange paint and added some dots to the swirls and filled the hearts and dots. Finally I painted a black dot in the middle of each flower!
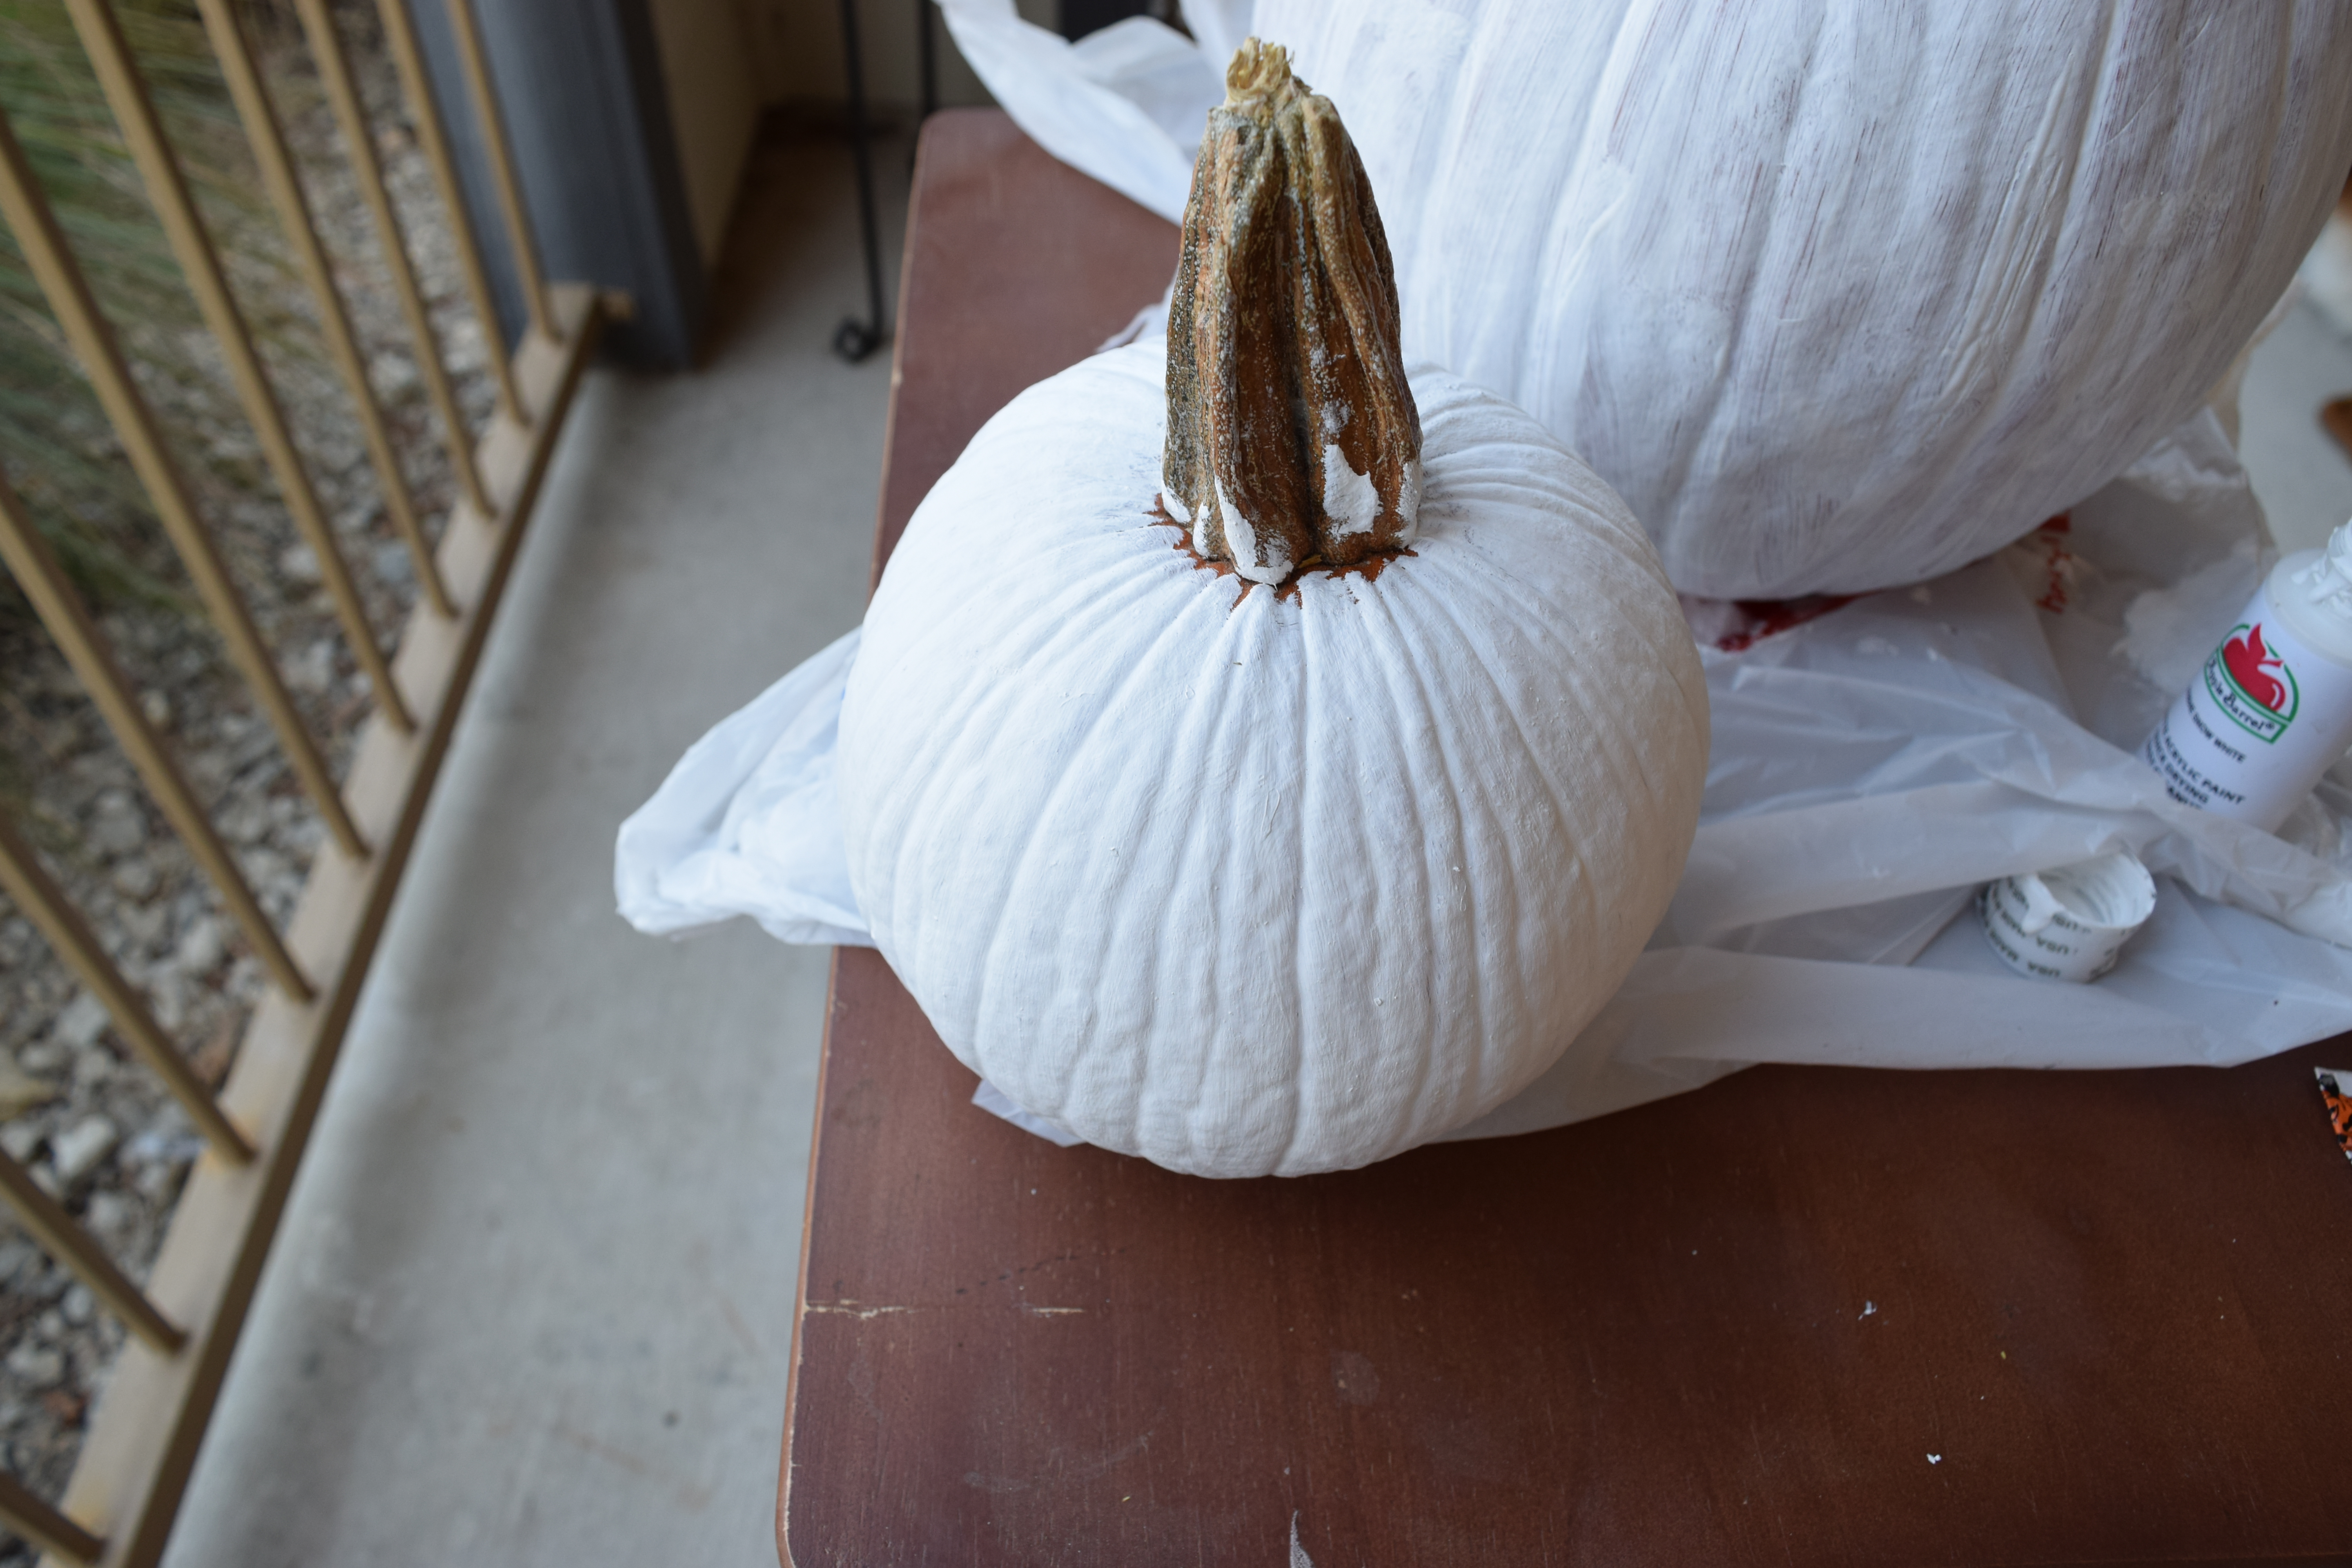
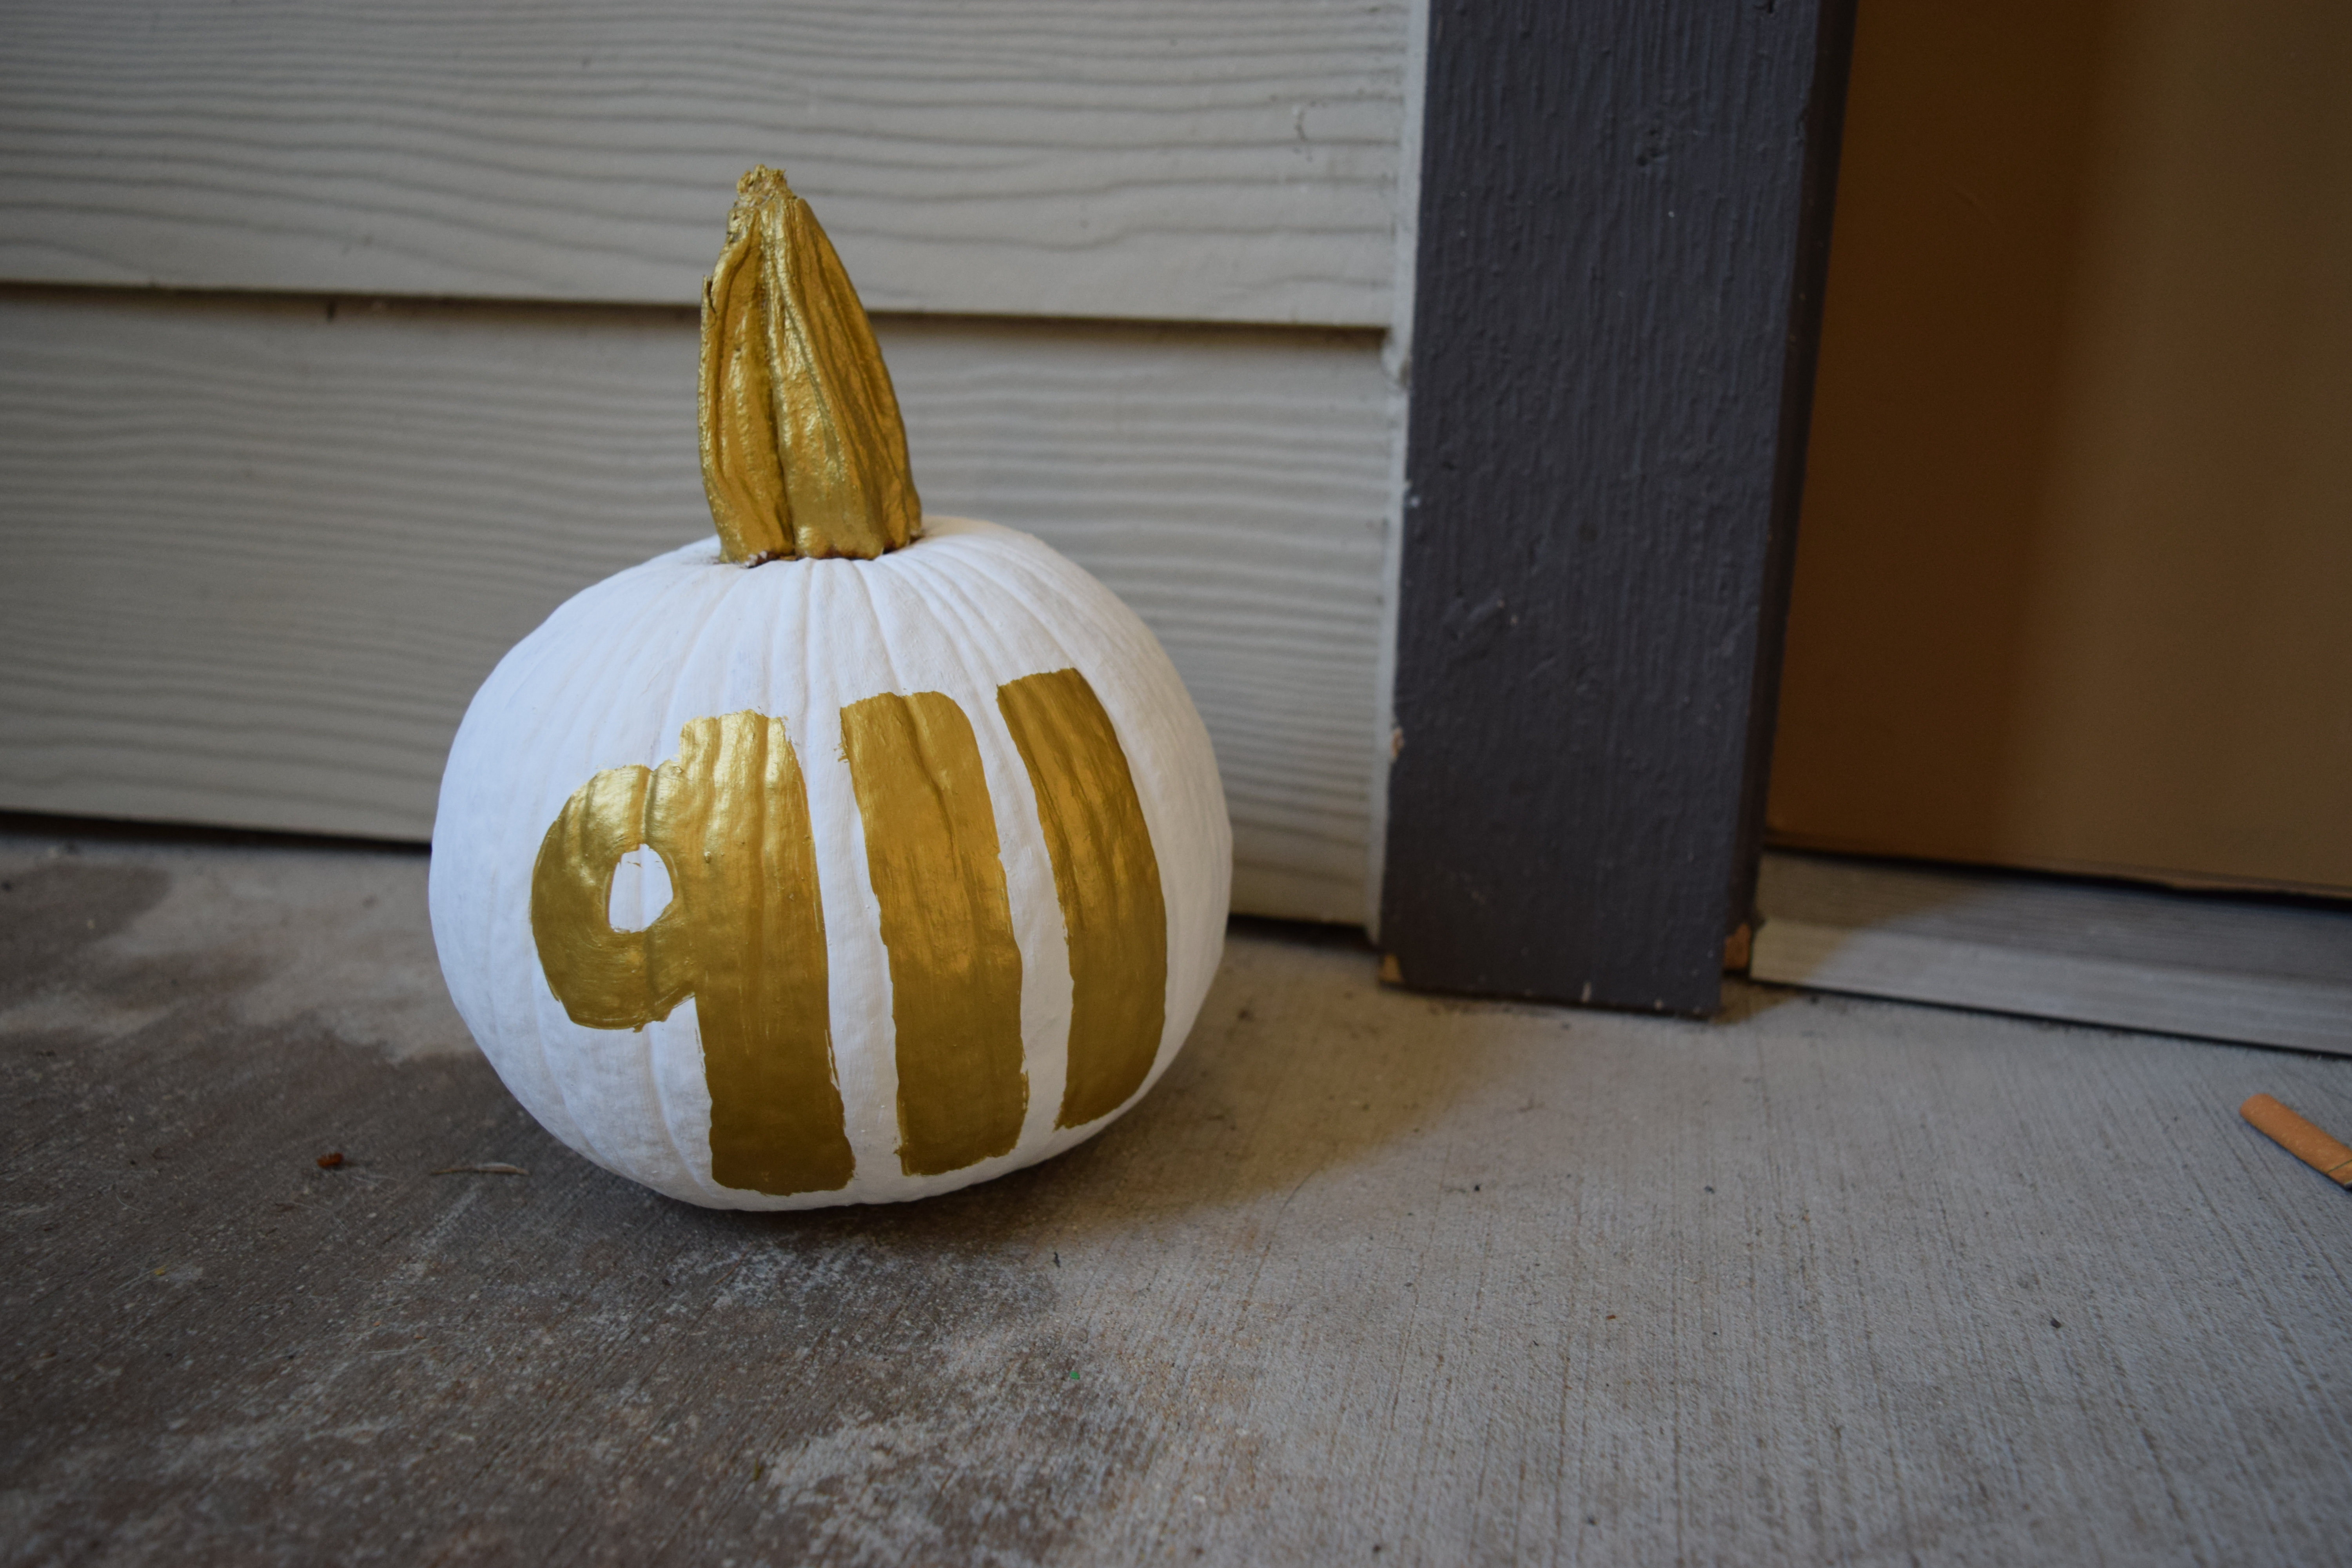
I was still feeling a little crafty, so I decided to paint the small pumpkin I got as well. For that one I painted two white coats of paint (make sure it drys completely between each coat). I then painted the stem gold, and did two coats for that as well. Finally I free handed our apartment number with the same gold paint, and did three coats for that. Super easy and adds a little sparkle to your front porch! Happy Halloween 🙂
