Halloween 2015

head piece

halloween 2015

layla and nala halloween

susan and I halloween 2015

the girls and I

selfie halloween 2015

fringe dress 5

fringe dress 2

fringe dress 3

fringe dress

fringe dress 6


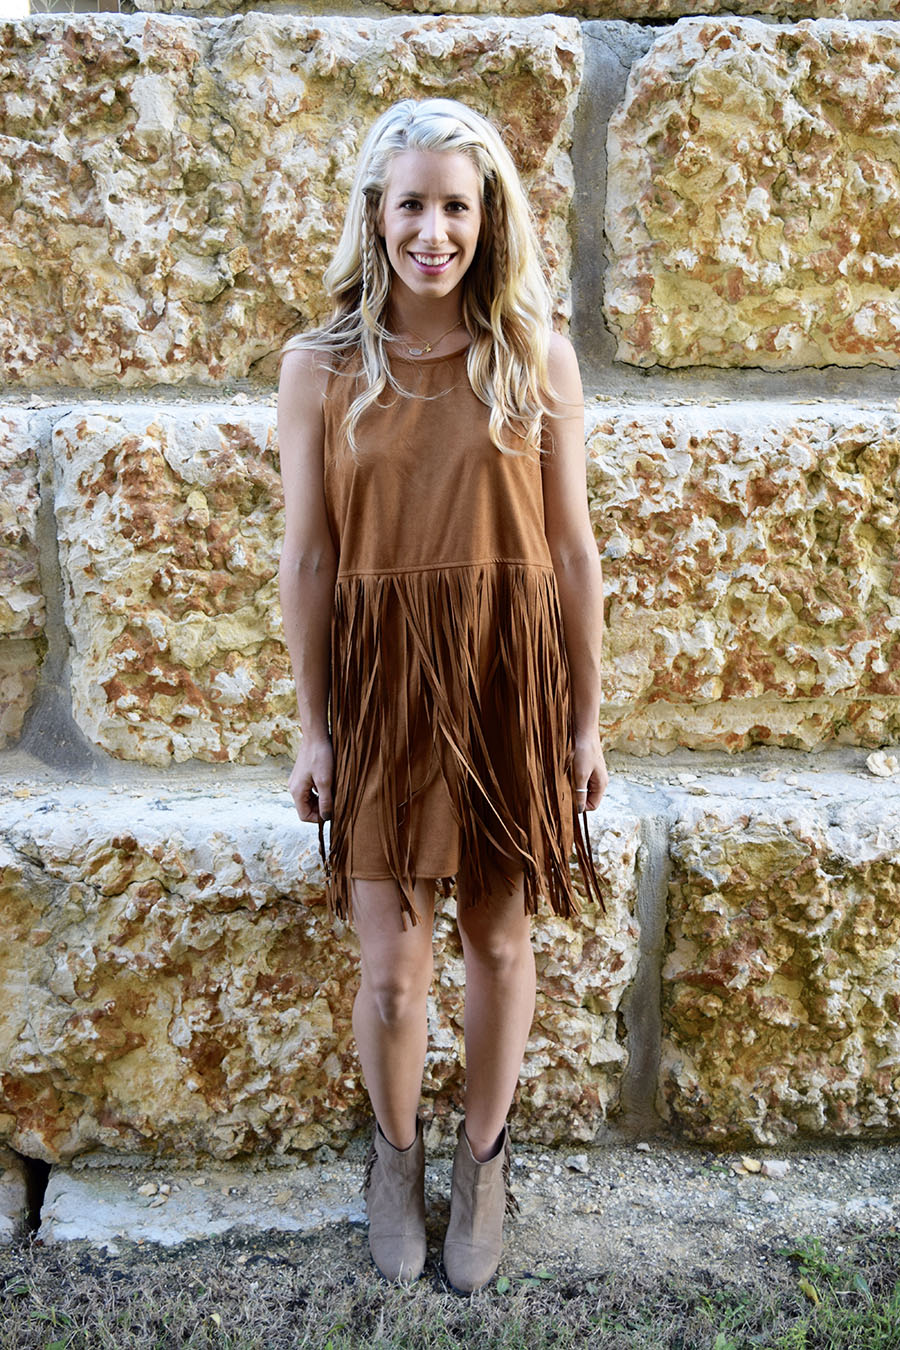
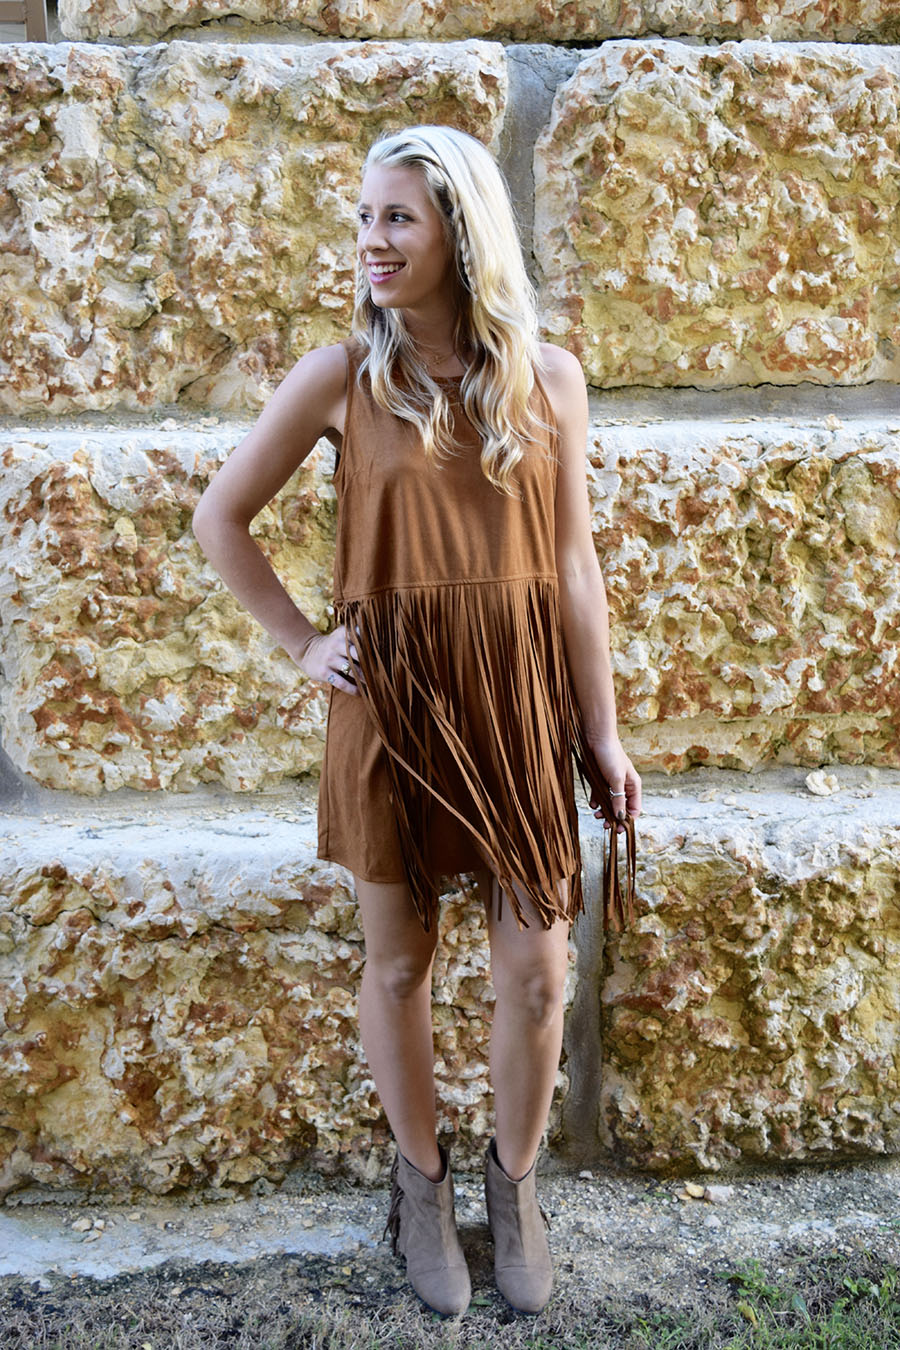
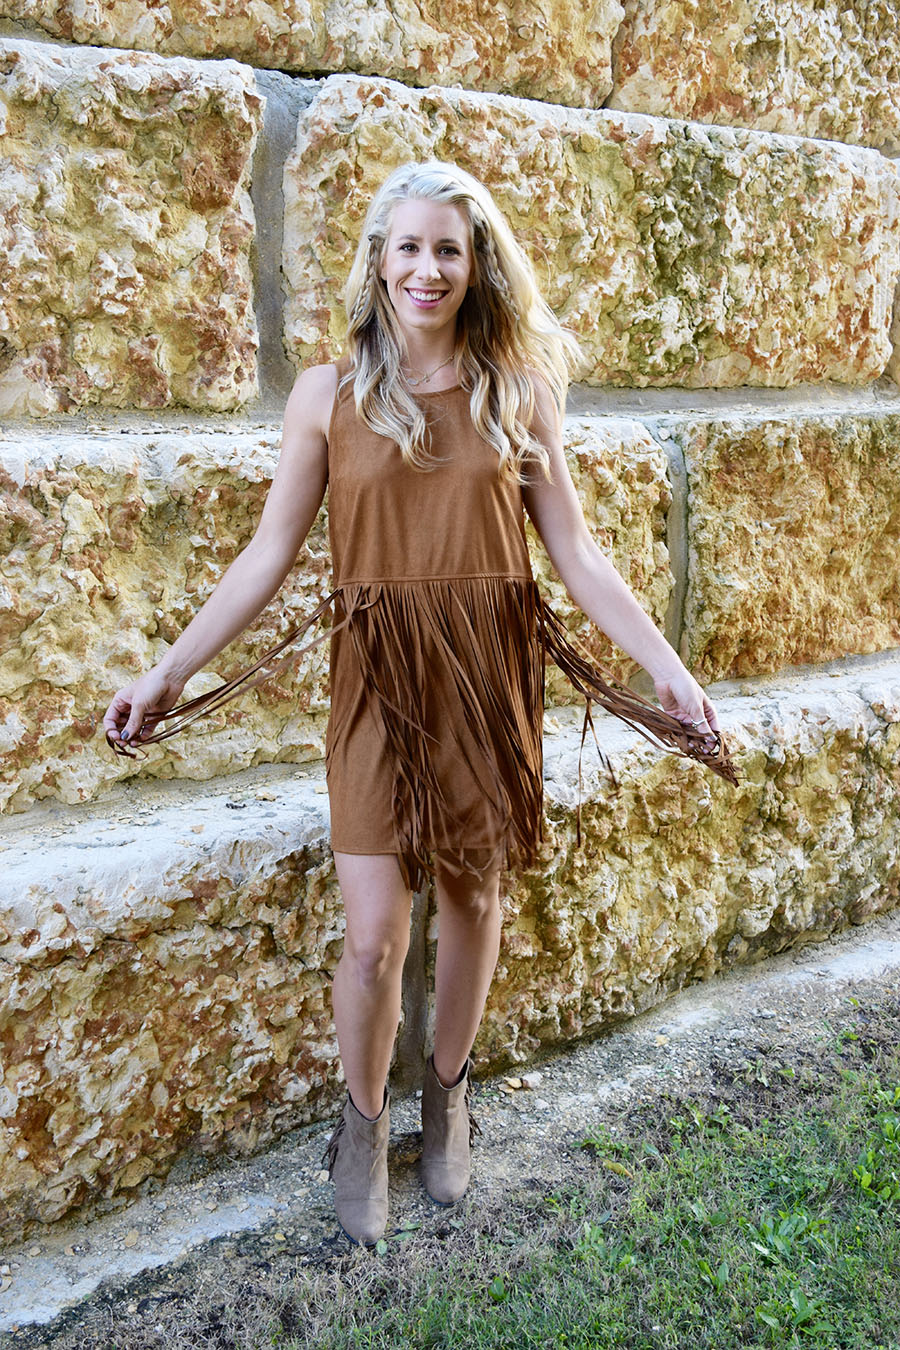
DRESS: Dottie Couture

BLACK BOOTIES: Sold out / Similar

BEIGE BOOTIES: Sold out /  Similar

TAN BOOTIES: Dottie Couture

NECKLACE: Similar / Kendra Scott


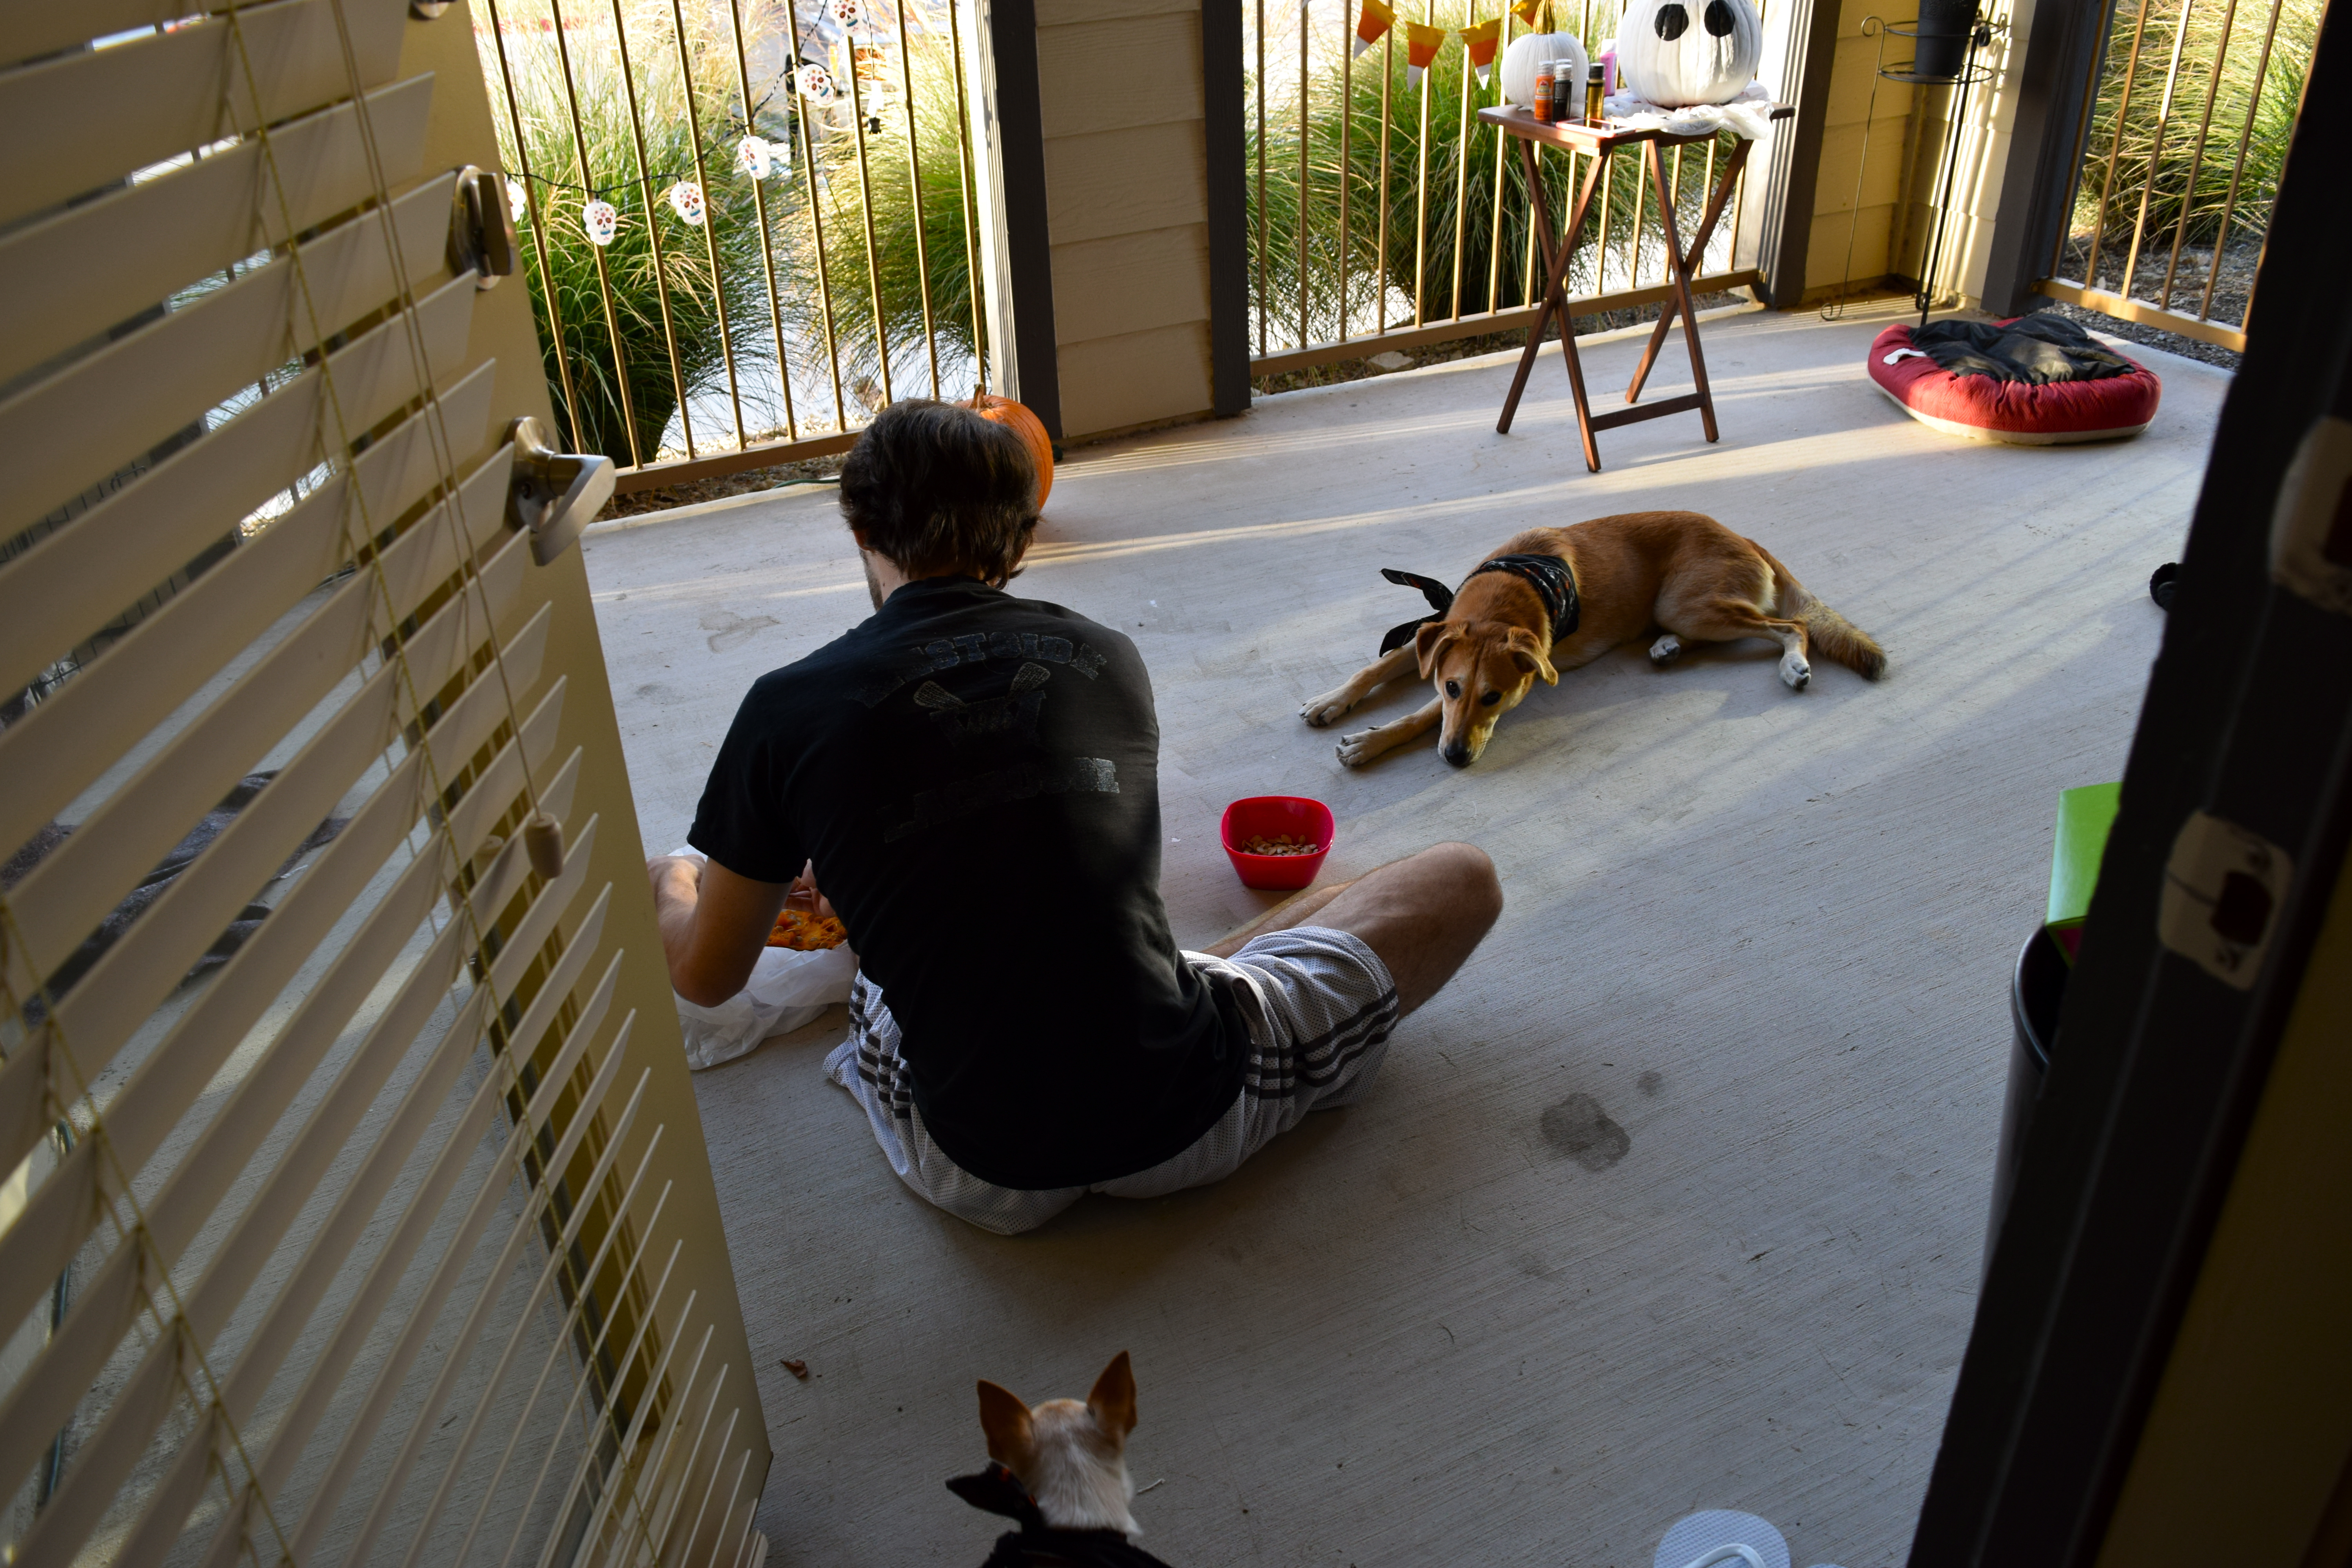
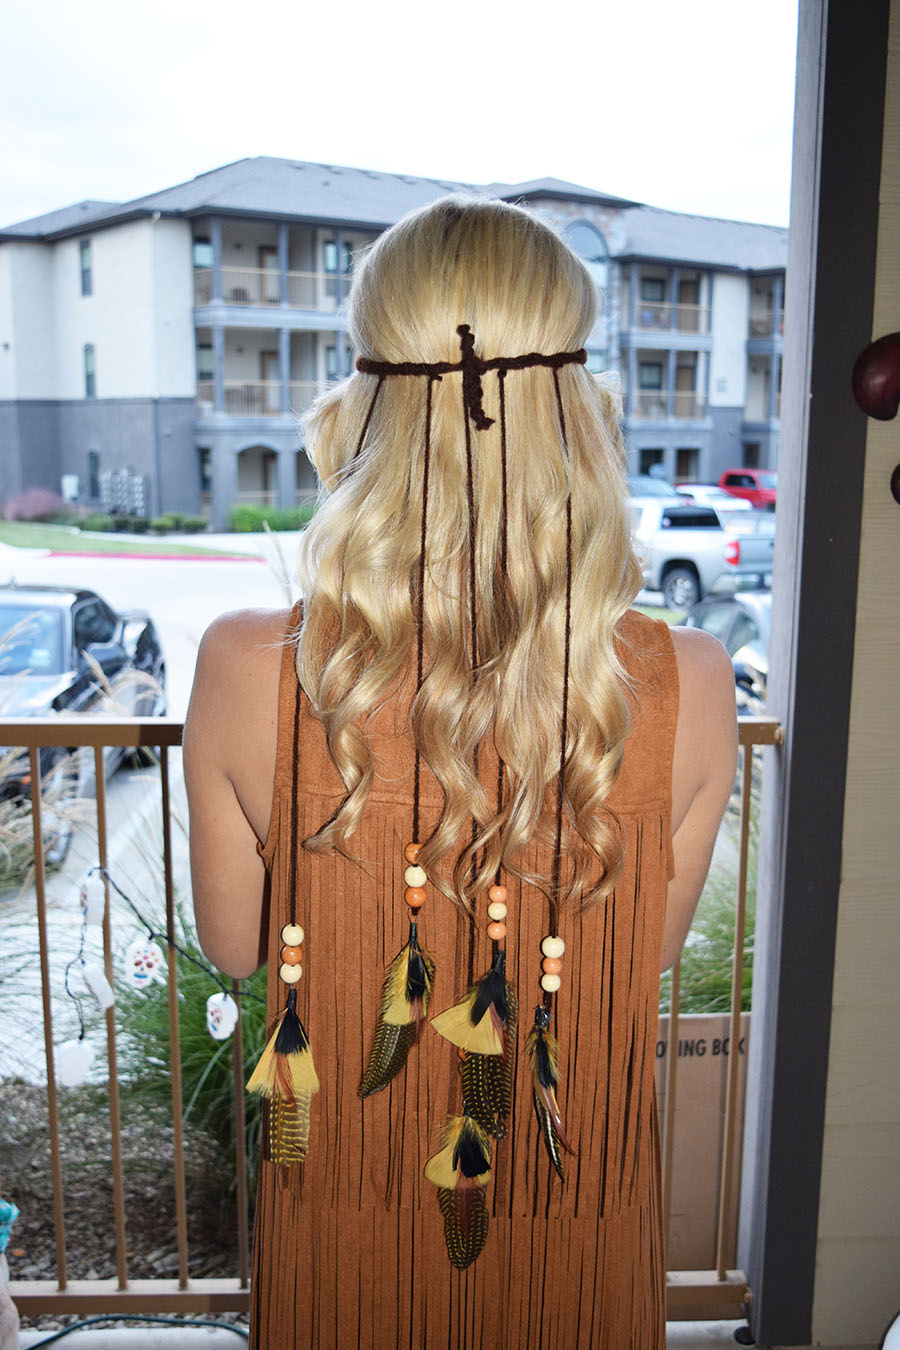
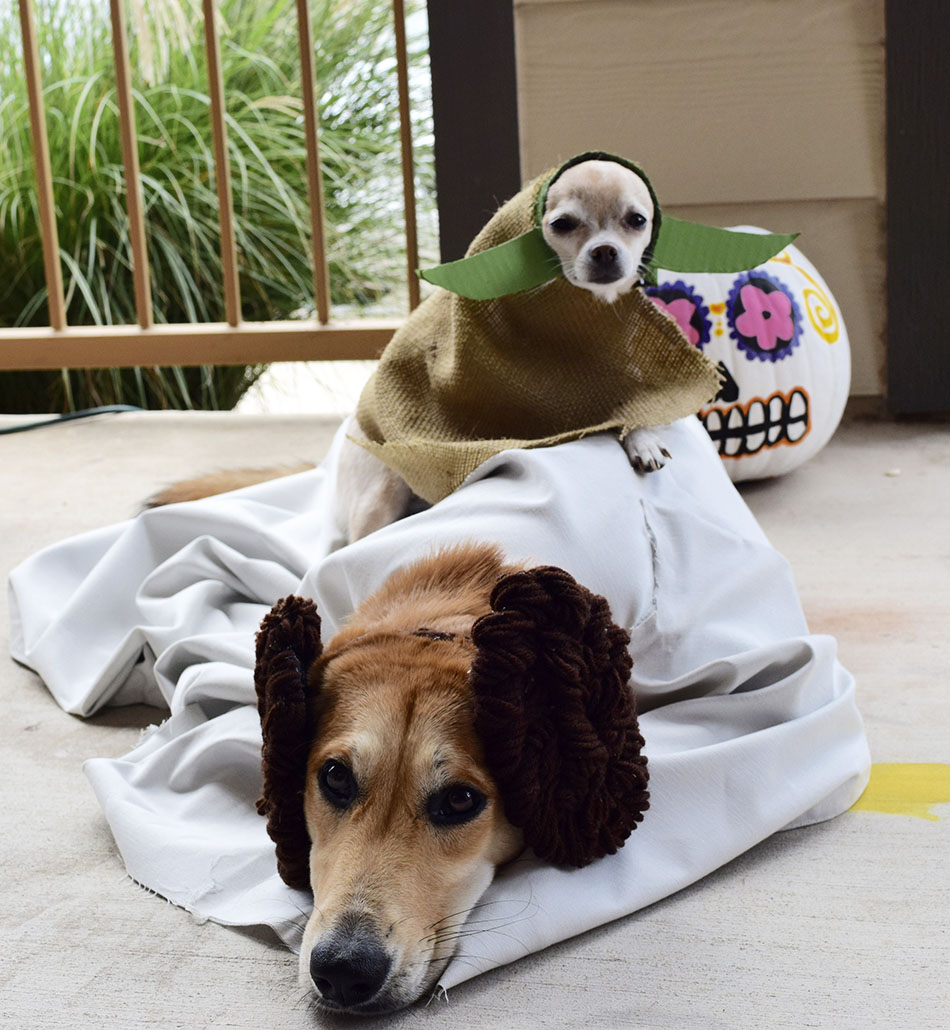
I hope everyone had a fabulous Halloween this year! Tyler and I decided to be an Indian and a Cowboy at the last minute. We ended up putting the majority of our time into our dogs’ halloween costumes and because we’ve been having a Star Wars marathon, we decided to dress Nala up as Yoda, and Layla as Princess Leia.

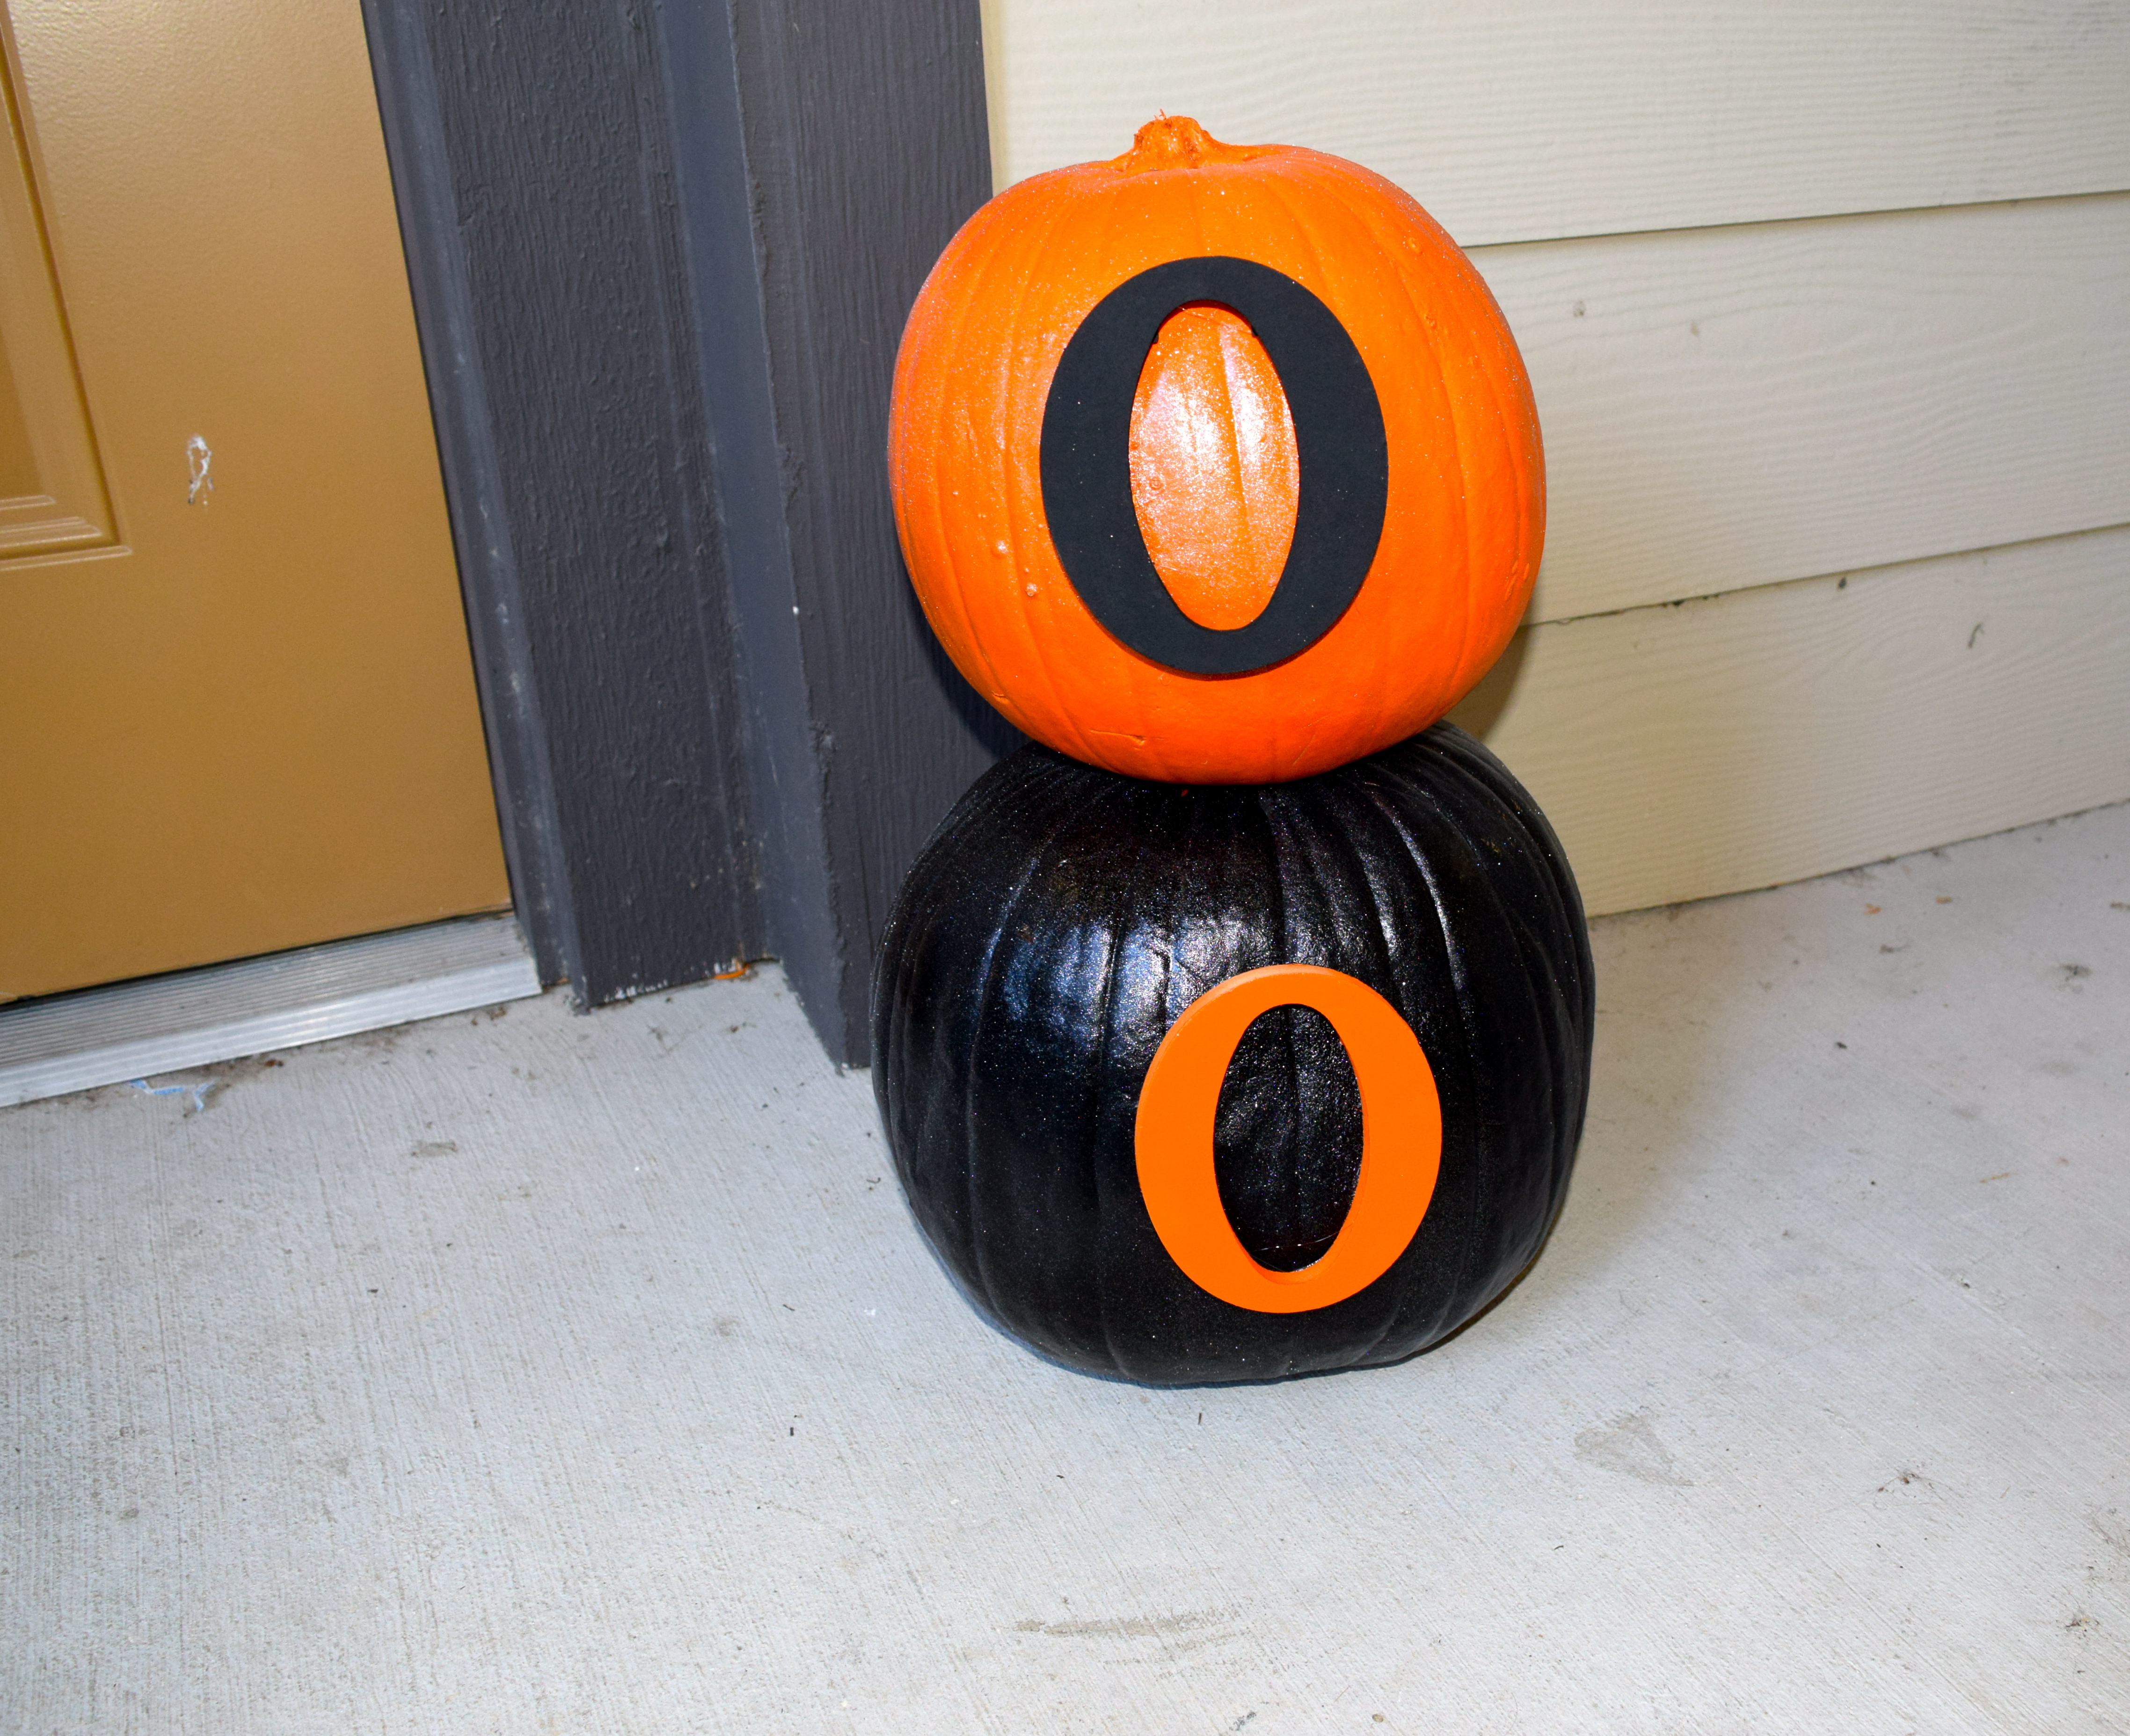
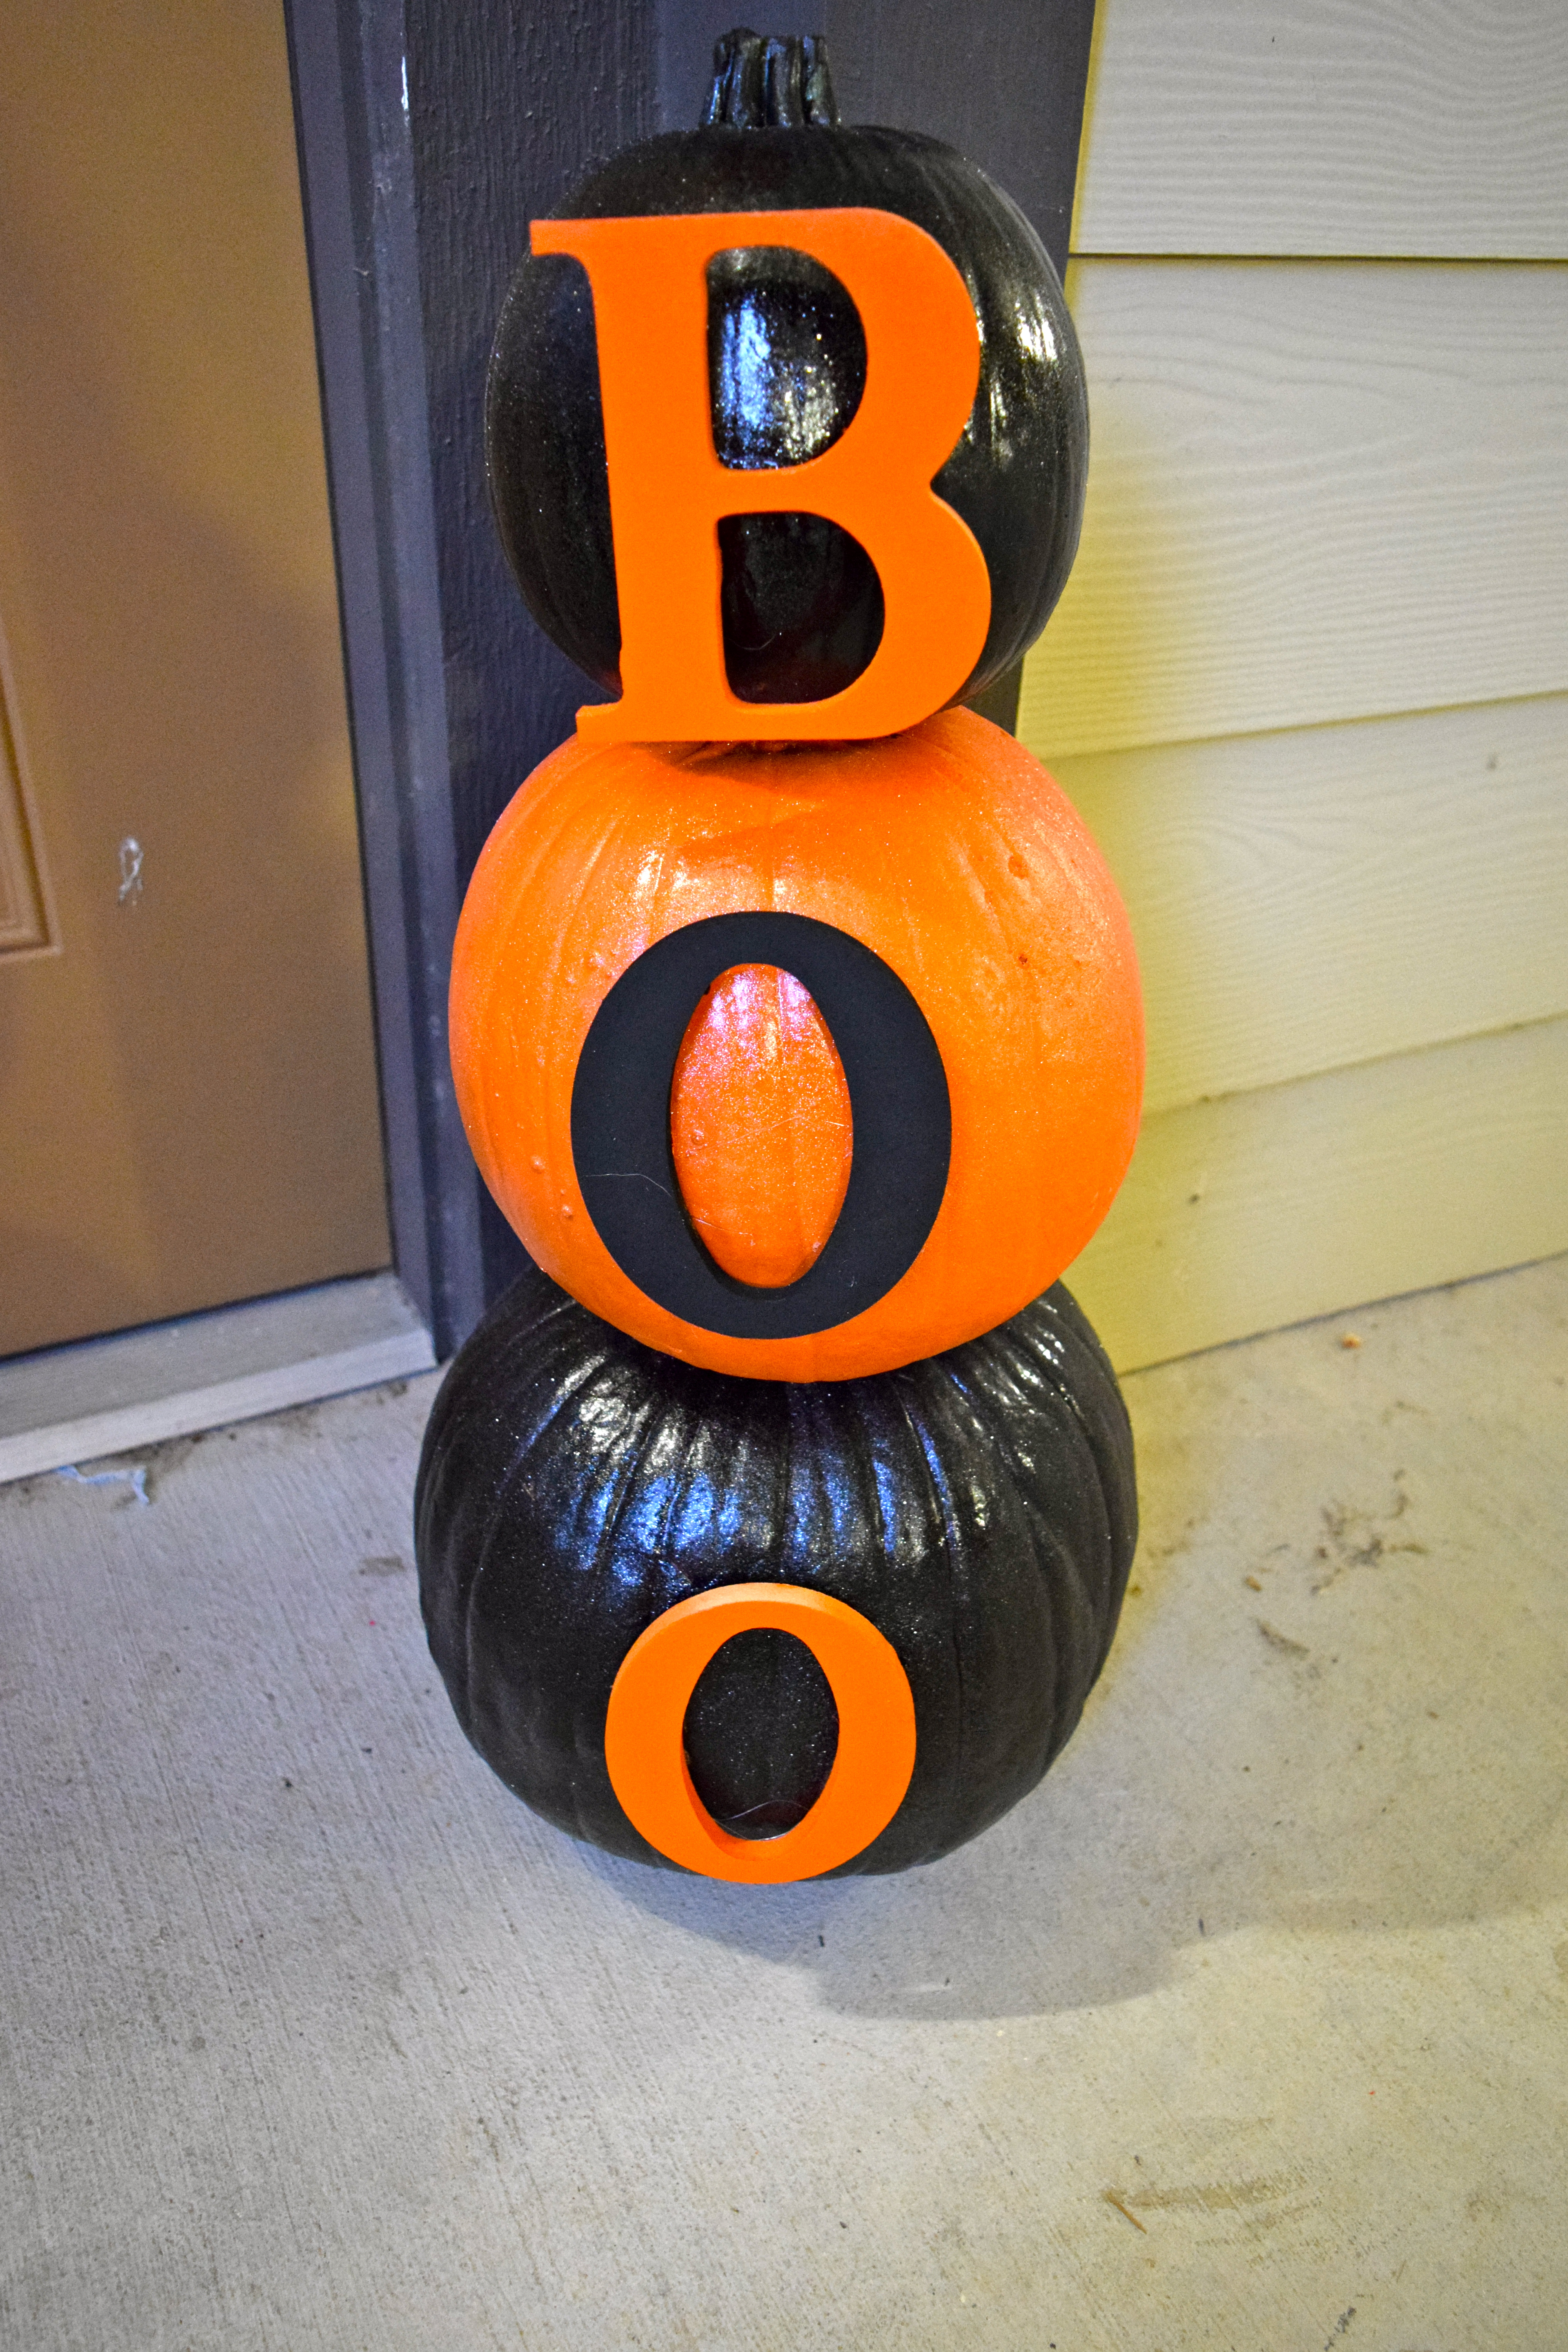
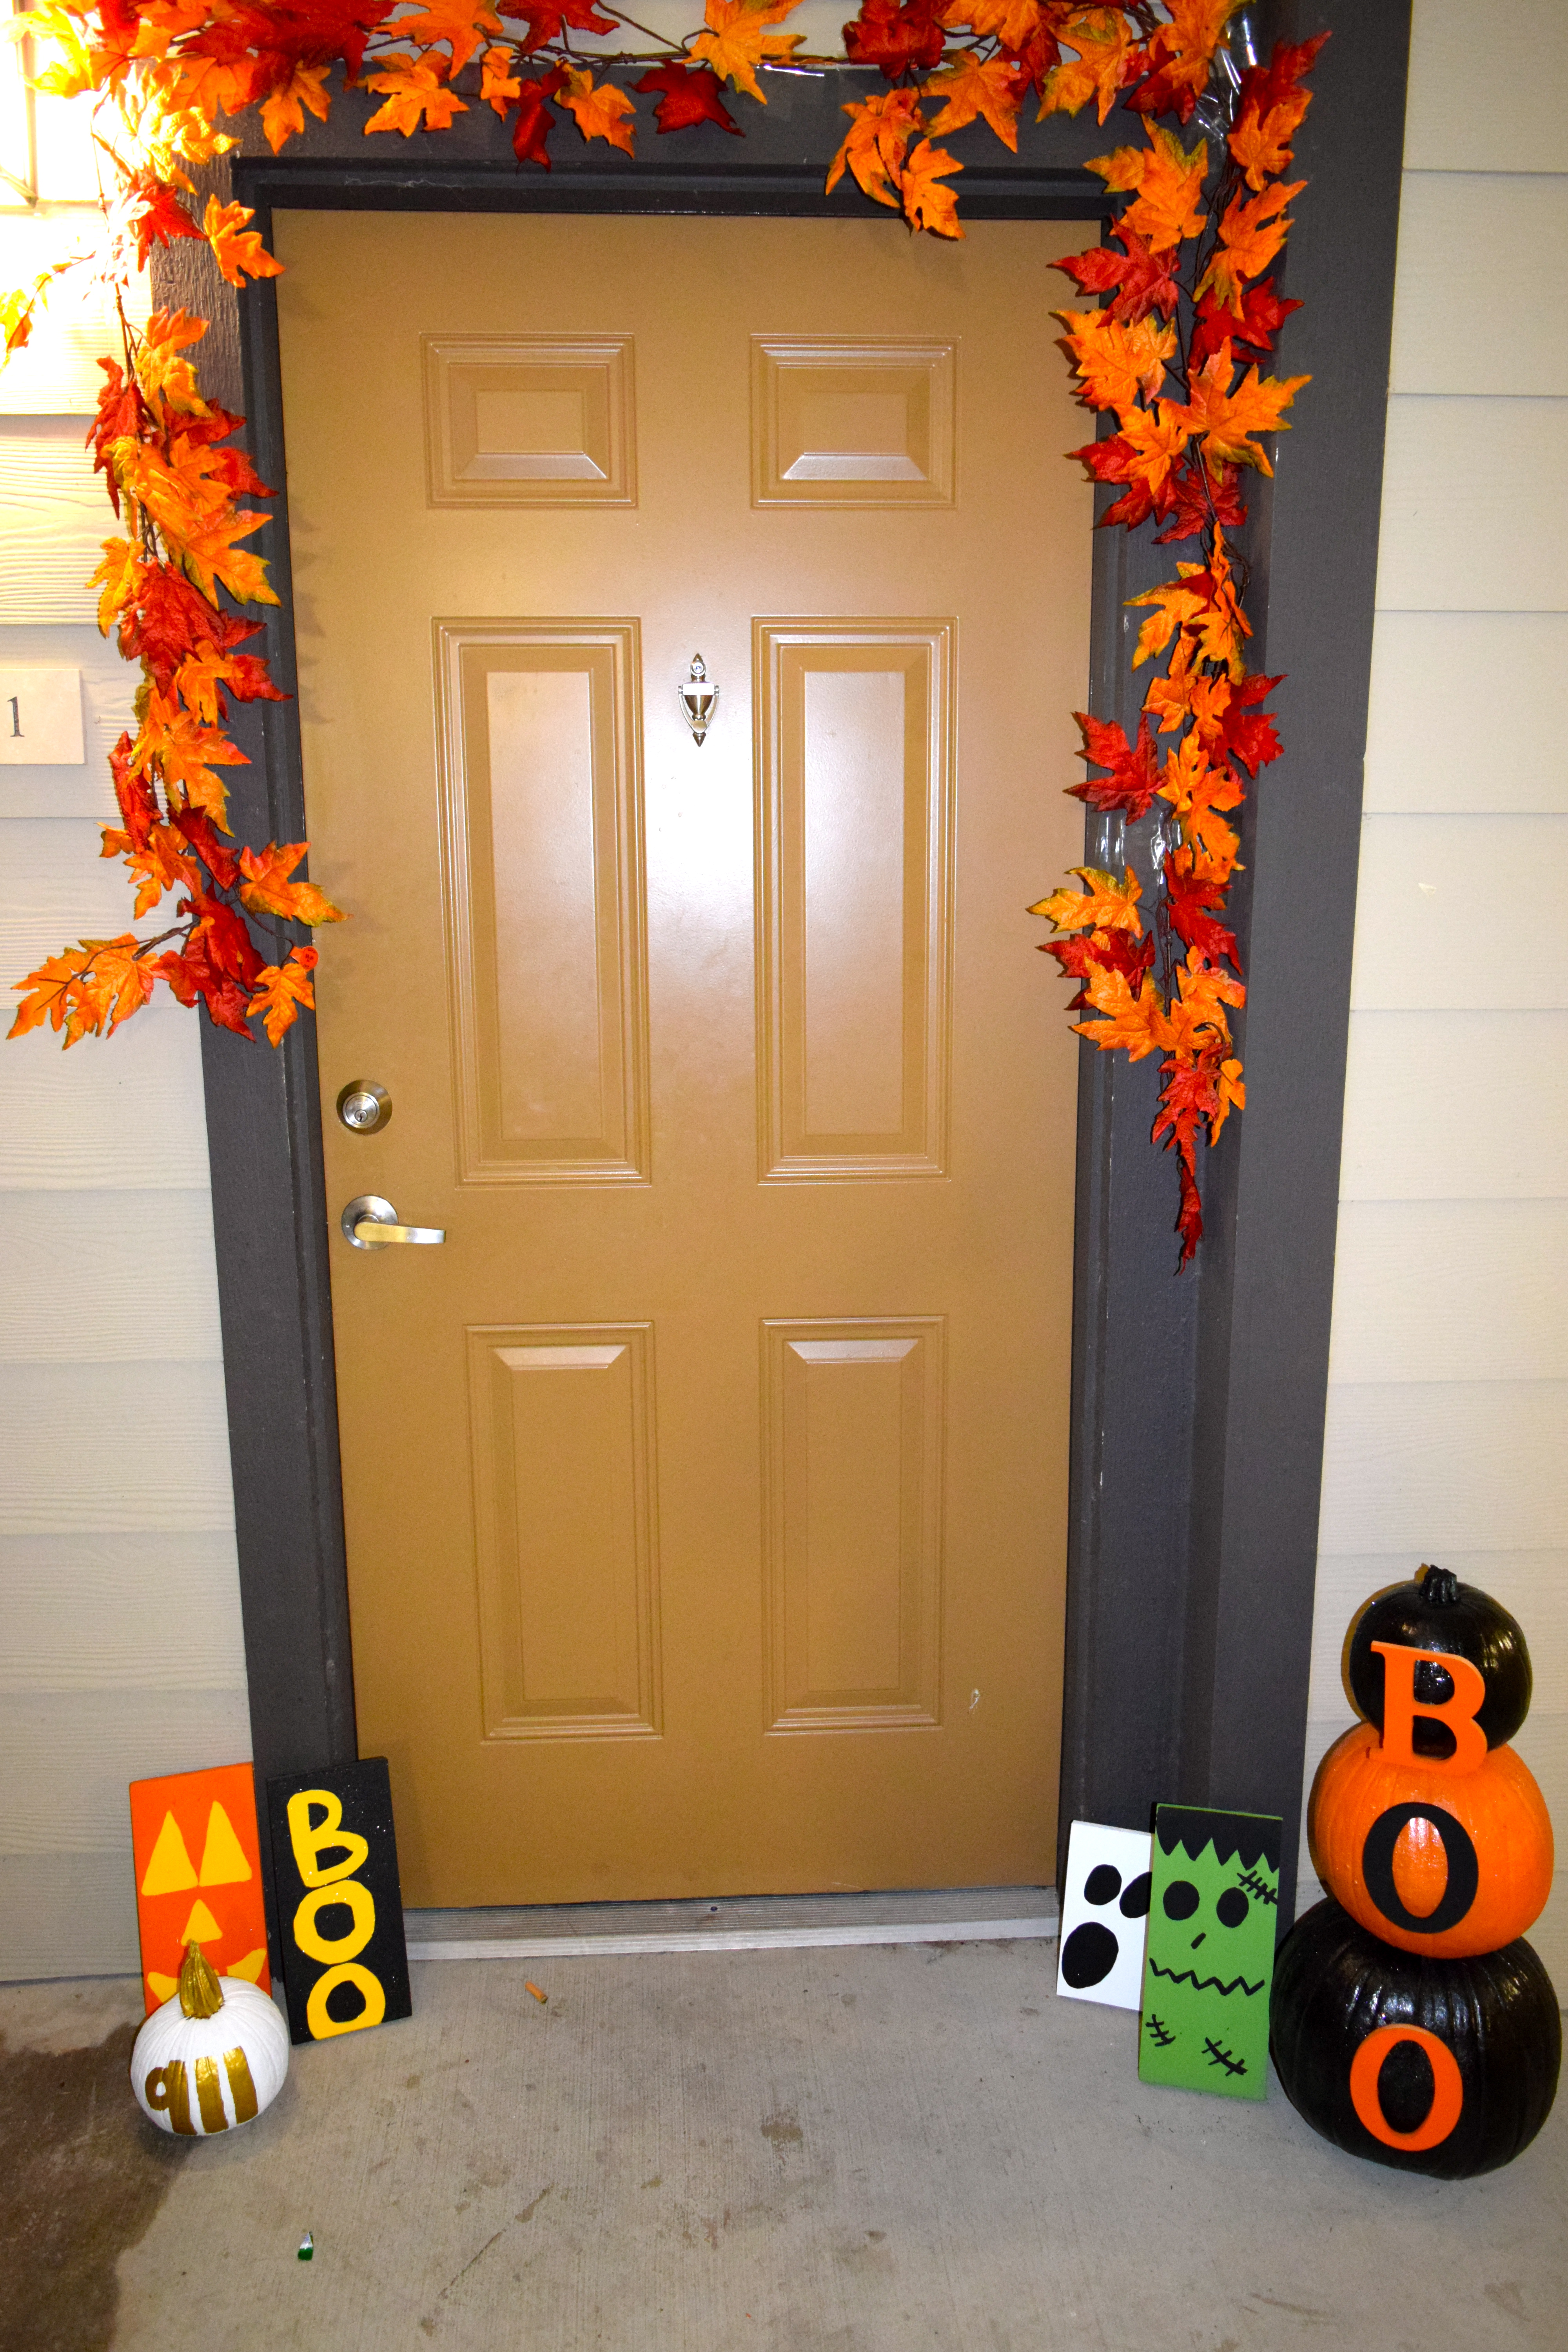
If you love fringe as much as I do, this dress is perfect. It doubles as a costume and the material is unbelievably soft! I paired it with 3 different booties to give y’all some different options. I got the necklace several years ago at Charming Charlie, but I linked similar necklaces that they are currently selling! I made the headpiece myself in under 20 mins with less than $10 worth of supplies from Hobby Lobby.

Thanks for reading and have a wonderful Monday! 🙂

Pumpkin Crafting

DSC_1060DSC_0990

DSC_0991

DSC_0992

DSC_1049

DSC_1055

DSC_1061

DSC_0994

DSC_0995

DSC_0998

DSC_0997

DSC_0999

DSC_1059

DSC_1051

DSC_1052

DSC_1053


WHAT YOU NEED:

Medium pumpkin

Small pumpkin

White paint

Gold paint

Pink paint

Yellow paint

Orange paint

Purple paint

small paint brush

medium paint brush


This is my first year painting a pumpkin instead of carving one! Definitely a little weird, though still just as fun. Tyler carved one so we still got to bake the yummy seeds. I decided to do a Sugar Skull, because I’m obsessed with them, and Dia de los Muertos is right around the corner, I thought why not! It ended up being easy, and turned out really cute. First, I painted the entire pumpkin white and did 3 coats to get it the way I liked it. Make sure you let it dry completely between each coat! Once the pumpkin dried, I painted two black circles for the eyes and did two coats for those. As that was drying, I painted a black heart upside down for the nose and a flower above the eyes, I did two coats for those as well. Then, I drew a line across the bottom for the mouth and did little humps for the teeth. Once I was done with that, I painted pink flowers inside the black circles and painted purple humps around the outside. Next, I drew swirls over the eyes with yellow paint and a heart between the eyes with 3 dots ascending in size. After that, I outline the mouth with orange paint and added some dots to the swirls and filled the hearts and dots. Finally I painted a black dot in the middle of each flower!

I was still feeling a little crafty, so I decided to paint the small pumpkin I got as well. For that one I painted two white coats of paint (make sure it drys completely between each coat). I then painted the stem gold, and did two coats for that as well. Finally I free handed our apartment number with the same gold paint, and did three coats for that. Super easy and adds a little sparkle to your front porch! Happy Halloween 🙂


Witch Hat Cookies

DSC_0814

DSC_0816

DSC_0817DSC_0804

DSC_0805

DSC_0810

DSC_0811

DSC_0814

DSC_0815


WHAT YOU NEED:

Fudge Stripes Cookies

Hershey’s Kisses

Orange icing


These cookies literally take 3 simple steps to make, and are seriously delicious!

Step 1: Put a quarter size dab of orange icing on middle of upside down cookie

Step 2: Place a Hershey’s kiss in the middle of the icing

Step 3: Press down on Hershey’s kiss

You can serve immediately or place in fridge!

ENJOY 🙂

Stacked “BOO” Pumpkins

DSC_1274

DSC_1063

DSC_1064

DSC_1150

DSC_1151

DSC_1152

DSC_1159

DSC_1160

DSC_1161

DSC_1162

DSC_1184DSC_1173

DSC_1175

DSC_1182


WHAT YOU NEED: 

1 small pumpkin

1 medium pumpkin

1 large pumpkin

3 wooden letters that spell out “BOO”

black and orange spray paint

sliver glitter spray

hot glue gun

Hot glue gun: Walmart

All other supplies: Hobby Lobyy


This pumpkin craft is really easy and turns out super cute. First, I spray painted the small and large sized pumpkins black and the medium sized pumpkin orange. You don’t have to spray paint the medium pumpkin orange, but mine was a little marked up and dirty and the paint covers that right up. The black pumpkins were spray painted with 2 layers. While I let the pumpkins dry I painted each letter for the ‘BOO’ and did two layers on those as well. Once the pumpkins were dry, I sprayed all three with silver glitter. After all the letters and pumpkins were dry, I hot glued the letters to the pumpkins and then glued the pumpkins on top of each other. The hot glue gun I use is high temperature and works really well. It is less than $7 at Walmart. It doesn’t come with the glue sticks, so make sure you get those and that they are the right size for the gun.  Lastly, I painted the stem of the pumpkin on top gold for a little extra touch. Happy Halloween! 🙂