Stripes

wool6

wool7


wool11

wool2

wool13

wool15

wool9

wool12

wool4


TOP: Gray & Black / Black & White

VEST:Dottie Couture

BOOTS: Charlotte Russe

NECKLACE: Kendra Scott


Happy Monday loves! I hope you had a wonderful Christmas with your friends and family. We spent the first part of our day in San Antonio with my family and the second part in Houston with Tyler’s family. Our dogs seriously love it when we come to Houston mainly due to the fact that they can run around freely in Tyler’s spacious childhood home. We are getting packed and organized for our trip to Pagosa Springs, Colorado tonight. Last year was our first trip to Colorado (my first time ever seeing snow) and we loved it so much that we decided to make it an annual occurrence. This year will be a little bit different (better) because we have Layla now!

This vest is a MUST for your winter wardrobe. The quality is astounding and adds a surprising amount of warmth to your outfit. It’s a little on the pricey side, but is totally worth every penny. The faux fur it is lined with is seriously SO soft and the leather on the outside is high quality. Below are a few of my favorite new arrivals this week from Dottie Couture.

⇓⇓⇓

1 , 2 , 3 , 4 , 5 , 6


Jackets I Love

coat8coat5

coat2

coat6

coat9

coat7

coat4


TOP: Dottie Couture / Similar

JACKET: Dottie Couture / Similar

JEANS: H&M

BOOTIES: Sold out / Similar

HAT: Sold out / Similar

NECKLACE: Kendra Scott


Happy Tuesday! Christmas is just 3 days away and I’m seriously so excited and overwhelmed at the same time. We are leaving in a week for Pagosa Springs, Colorado (another reason why I’m so overwhelmed) and we could not be more excited for some actual Winter weather. This jacket is definitely getting packed for our trip. The quality is seriously amazing, as it is perfect for layering, and Dottie Couture still has some small sizes left! I’m loving anything that’s olive green this season, especially jackets, so linked below are a few of my favorite.

⇓⇓⇓

 1 , 2 , 3 , 4

I’ve officially decided that for every fashion post I do, I am going to include my favorite new arrivals from a few of my favorite boutiques. Dottie has been killing me this week with their new arrivals!

⇓⇓⇓

1 , 2 , 3 , 4 , 5 , 6


Christmas is Best with a Drink & Dessert

∇ Healthy Cinnamon Eggnog ∇

drink4

drink

drink2

drink3

The holidays are the perfect time to break out the eggnog. But if you’re like me, and have never been a huge fan, you might be a little on the hesitant side. This slimmed-down/cinnamon version turned me into an eggnog fan. Skipping the heavy creme, using fewer yolks, and low fat milk makes this recipe somewhat more on the healthy side! 🙂
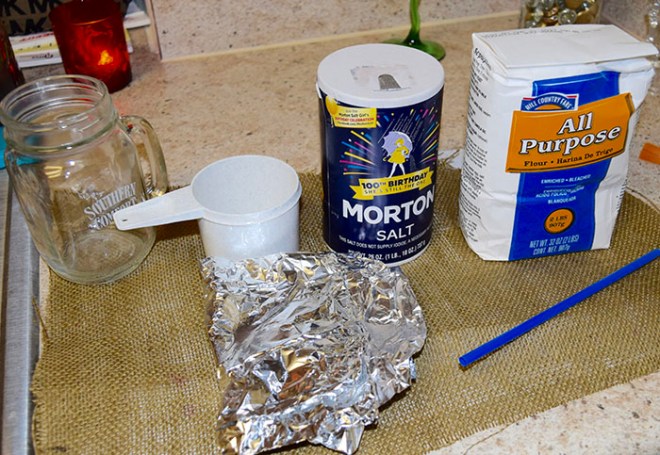
WHAT YOU NEED:

3 Large eggs

3 Large egg whites

51/2 Cups low-fat milk

1/2 Cup organic sugar

2 Tbsp cornstarch

2 Tbsp. vanilla

1/4 tsp salt

1/2 tsp cinnamon

1/2 Cup pure cane sugar

Red color dye

1/3 Cup dark Jamaican rum (optional)

↓↓↓

STEP 1: Mix in a bowl with a whisk eggs and egg whites; set aside. In a large saucepan, with heat-safe spatula, mix 4 cups milk with sugar, cornstarch, and salt. Cook on medium-high until mixture boils and thickens a little bit, stirring constantly. Boil 1 minute and then remove saucepan from heat.

STEP 2: Gradually mix 1/2 cup simmering milk mixture into eggs; pour egg mixture back into milk in saucepan, mixing constantly, to make custard.

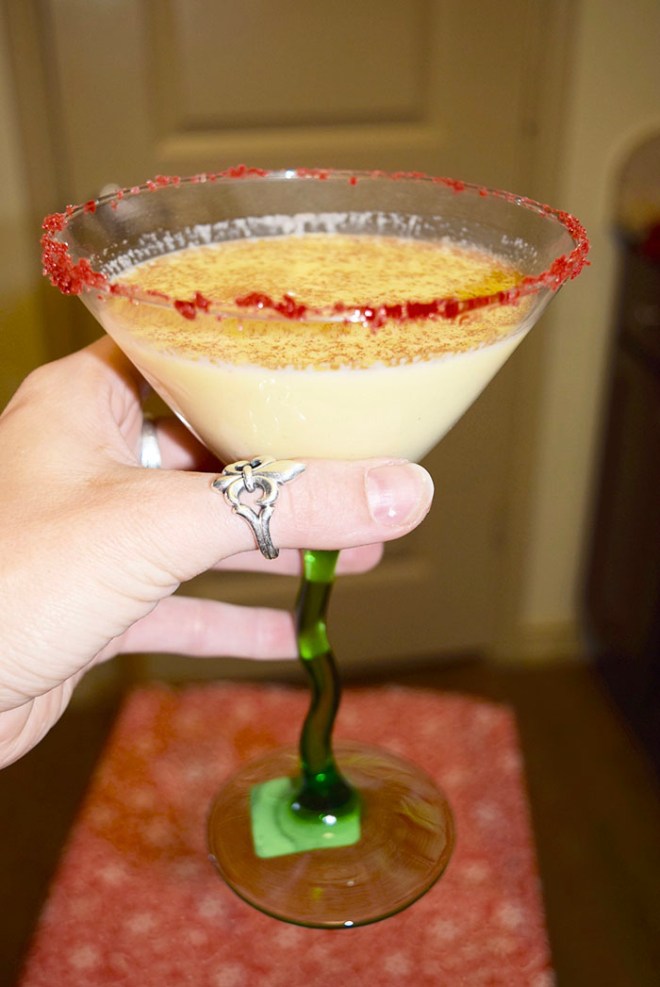
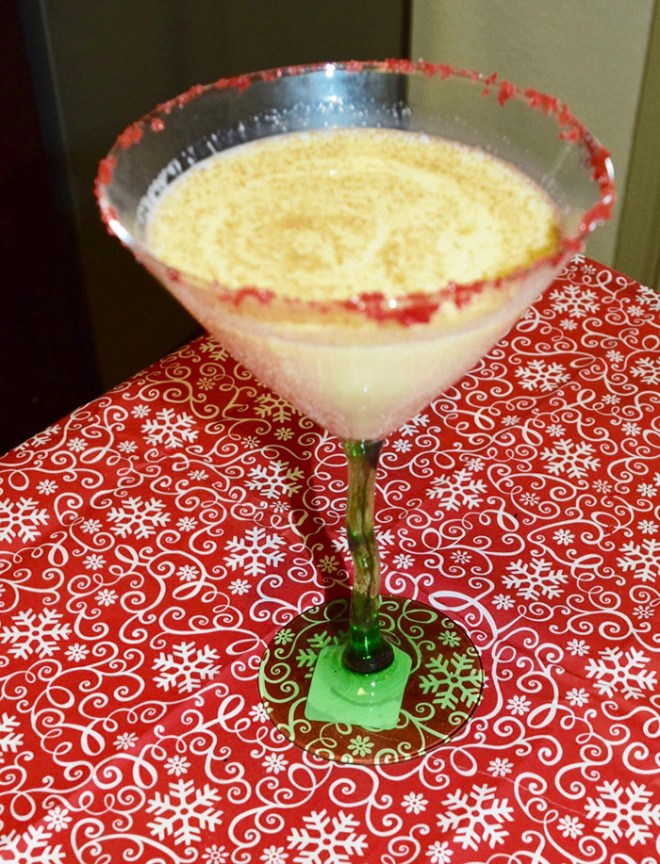
STEP 3: Pour custard into large bowl; stir in vanilla, nutmeg, rum, if using, and remaining 1 1/2 cups milk. Cover and refrigerate until well chilled, at least 6 hours or up to 2 days. Mix sugar and a few drops of color dye in a bowl, then transfer to plate. Get the rim of your glass wet and dip class into sugar. Sprinkle finished product with cinnamon. Makes about 7 cups.

*I got the glass I used at the dollar store and they had tons of other cute holiday glasses*


∇ Strawberry Christmas Trees ∇ 

tree

tree2tree5

tree6

This dessert is so so yummy and super easy to make. There are so many versions you can make by using the many options Oreo sells. We used the ‘mint’ flavored ones (warning: highly addictive) but you can pick which ever flavor you like. I wish I would have used a little darker icing but they still turned out pretty cute. This is a fun dessert to make with children as well!

WHAT YOU NEED:

Strawberries (tops cut off)

Oreo’s

White icing

Green icing

Sprinkles

↓↓↓

STEP 1: Place Oreo’s on serving plate and add a layer of white icing on top (snow). Cut off tops of strawberries.

STEP 2: Ice each strawberry with green icing and then add the sprinkles. After each strawberry is iced, place it on top of the Oreo.

STEP 3: Put serving plate in fridge for at least 30 minutes, serve and enjoy! 🙂


Happy Howlidays

∴ DIY ORNAMENT ∴

print2

print

Ornament

ornament2

ornament3

ornament4

ornament5

ornament6

ornament7

WHAT YOU NEED:

1 Cup salt

1 Cup all-purpose flour

1/2 Cup water

Aluminium foil or Parchment paper

Cup of your size

Straw for punching hole

↓ ↓ ↓

STEP 1: Mix salt, flour, and water into a bowl. Wash hands and use them to knead the dough. Preheat oven to 200 degrees.

STEP 2: Depending on the size of your dog’s paw, grab a decent size amount of dough and place on aluminum foil. Use the cup to make a circle to your size preference and to flatten out the dough.

STEP 3: Place your animal’s paw on the dough and then punch a hole at the top for the ribbon. You can carve your pets name and the year if you would like.

STEP 4: Bake in oven for about 2 hours or until completely hard. Let it cool and paint how you desire! Once paint has dried add ribbon and hang.


∴ DIY HOLIDAY PLAQUE ∴

pups

pups2

pups4

pups3

pups5

If your fur-babies are a member of your family just like ours, this is a perfect way to get them in the spirit! These are perfect to use in holiday pictures if you’re looking to include your pets!

WHAT YOU NEED:

2 Wood scraps

Red paint

Green paint

White paint

Gold paint

Ribbon

Hot Glue gun

↓↓↓

STEP 1: Sand and cut wood scraps to fit frame of your pet and paint desired color (2 coats).

STEP 2: Using white paint and fine brush, outline bone and then fill (3 coats). Once dried, paint Happy Holidays with desired color (2 coats) on top of the bone.

STEP 3: Paint stars around the bone area with desired color. Lastly, hot glue the ribbon to the back of the sign (make sure you measure out correct amount so it hangs right on your pet).